23 Stunning DIY Wall Art Ideas with Complete Guide
If your walls feel plain, these DIY wall art ideas will help you fill them with color, texture, and personality without spending much. Many homes have one bare wall that makes a room feel cold, and a shop print often costs more than it should. This guide solves that problem with 23 simple projects you can finish at home, using paint, paper, wood, fabric, and other low-cost supplies. You will find clear steps for each idea, plus tips on color, size, and placement, so you can choose what fits your room and your skill level. In my experience, a small handmade piece often feels more special than a store print, because it carries your choices and your time. Read through the list, pick one idea to start with, and enjoy making a wall that feels truly yours.
Canvas Painted Abstracts
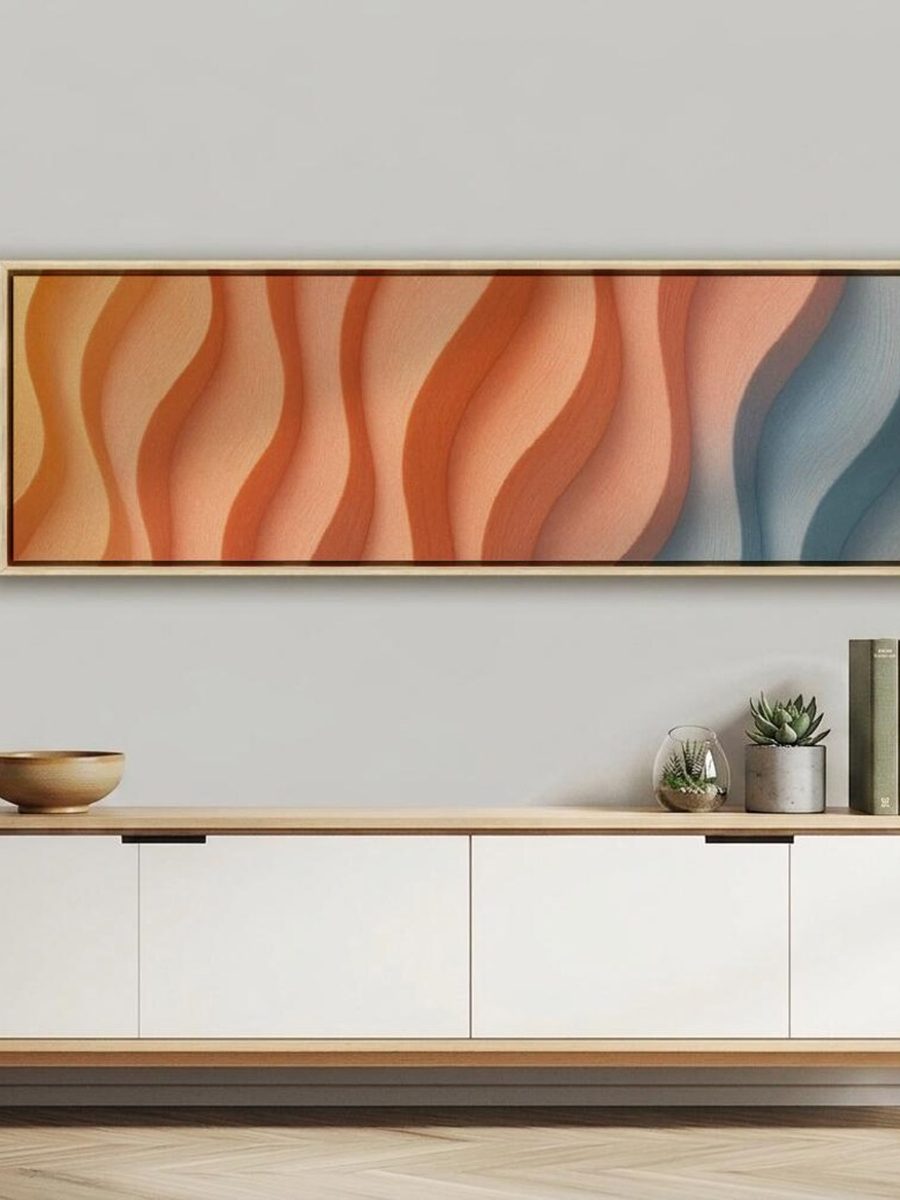
Bold paint strokes can wake up a plain wall in one afternoon. A large canvas, three paint colors, and a wide brush give you room to play with shape and movement. Start light and add darker marks slowly, letting each layer dry before you add the next one.
Hang the finished canvas at eye level above a sofa or bed. A simple black frame keeps the focus on the colors, while a white wall makes the paint look brighter. Leave space around the edges so the art feels calm, not crowded. A small plant nearby adds a fresh touch.
Macrame Wall Hanging
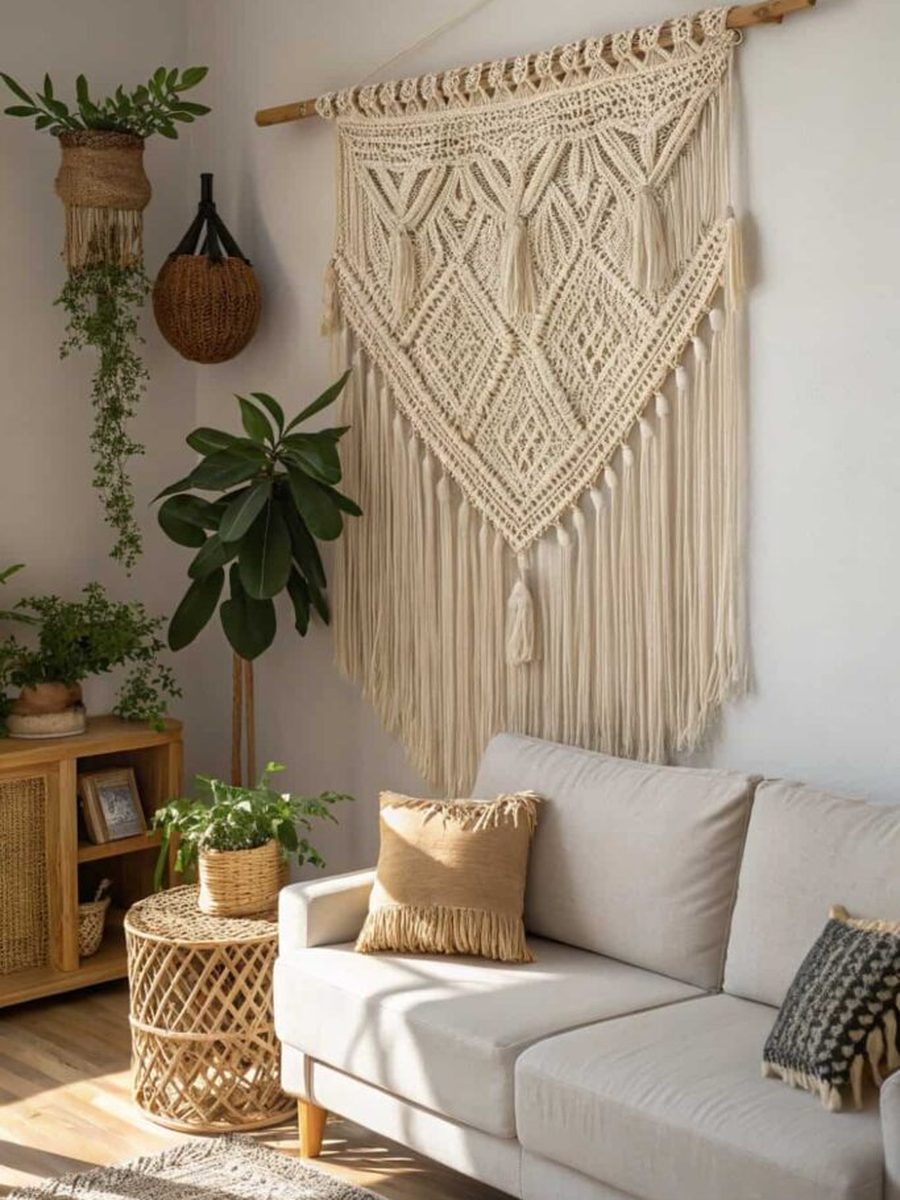
Soft knots and cream cotton cord bring gentle texture to a bare wall. Start with a wooden dowel, cut cords to equal lengths, and learn three basic knots first. A small practice piece helps you check tension before you start the full hanging.
- Hang the dowel from a nail or hook and keep cords even.
- Work row by row, pulling each knot snug but not tight.
- Trim the fringe ends with sharp scissors for a clean edge.
- Add wooden beads for a warm, simple accent.
- Steam the finished piece lightly to relax the fringe.
In my experience, a small hanging looks best above a bed or reading chair. Keep the colors soft so the knots stay the star. A plain wall behind it helps the texture stand out. Add a small wooden bead at the bottom for weight and a finished look.
Framed Fabric Panels
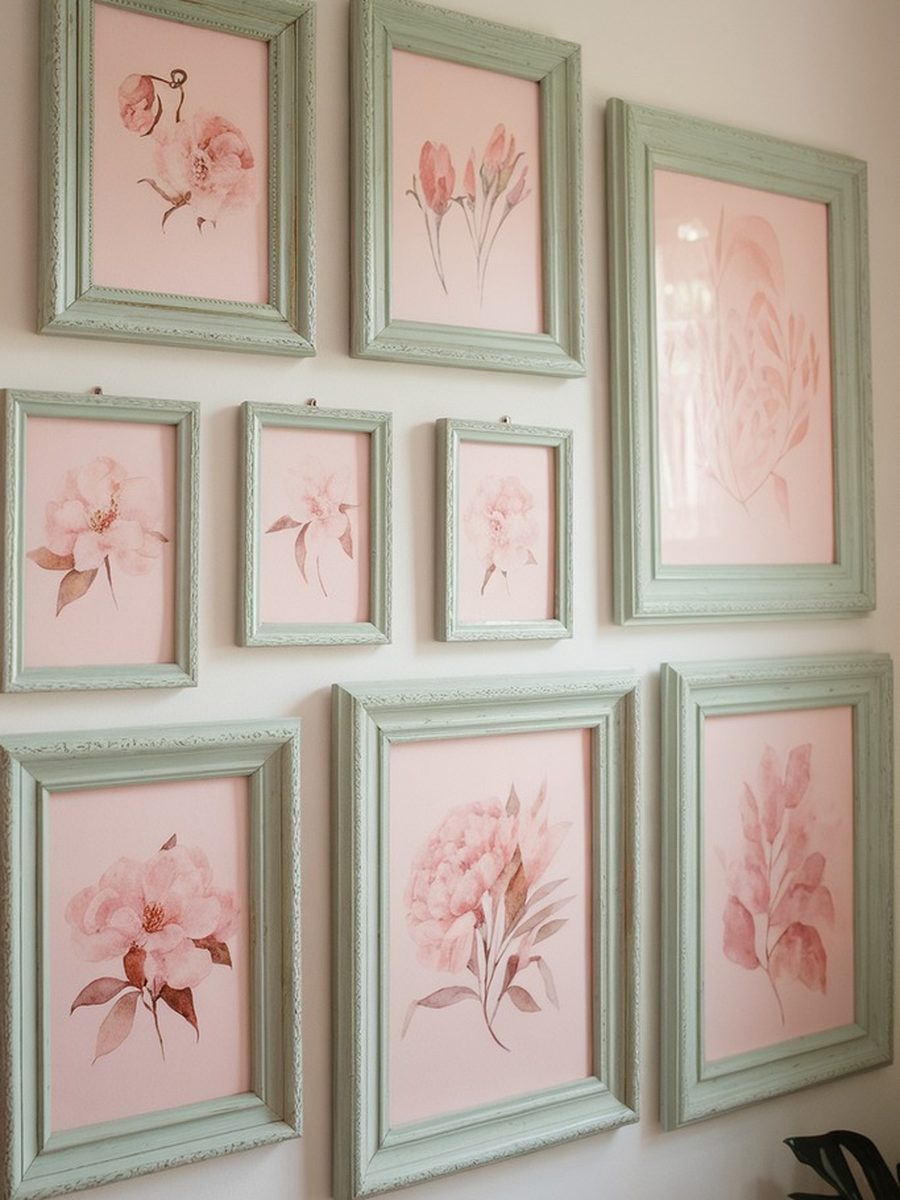
Quick Tip: Choose fabric with a small pattern so it reads well from across the room. Stretch it tight over a foam board, staple the back, and trim extra fabric before you frame it. A thin frame keeps the look light.
Fabric panels add color without paint or mess. Pick three fabrics that share one color so the set feels planned. Cut each piece a little larger than the frame, pull it smooth, and fix it at the back. Hang the panels in a row with even gaps for a neat finish.
Paper Cut Landscapes
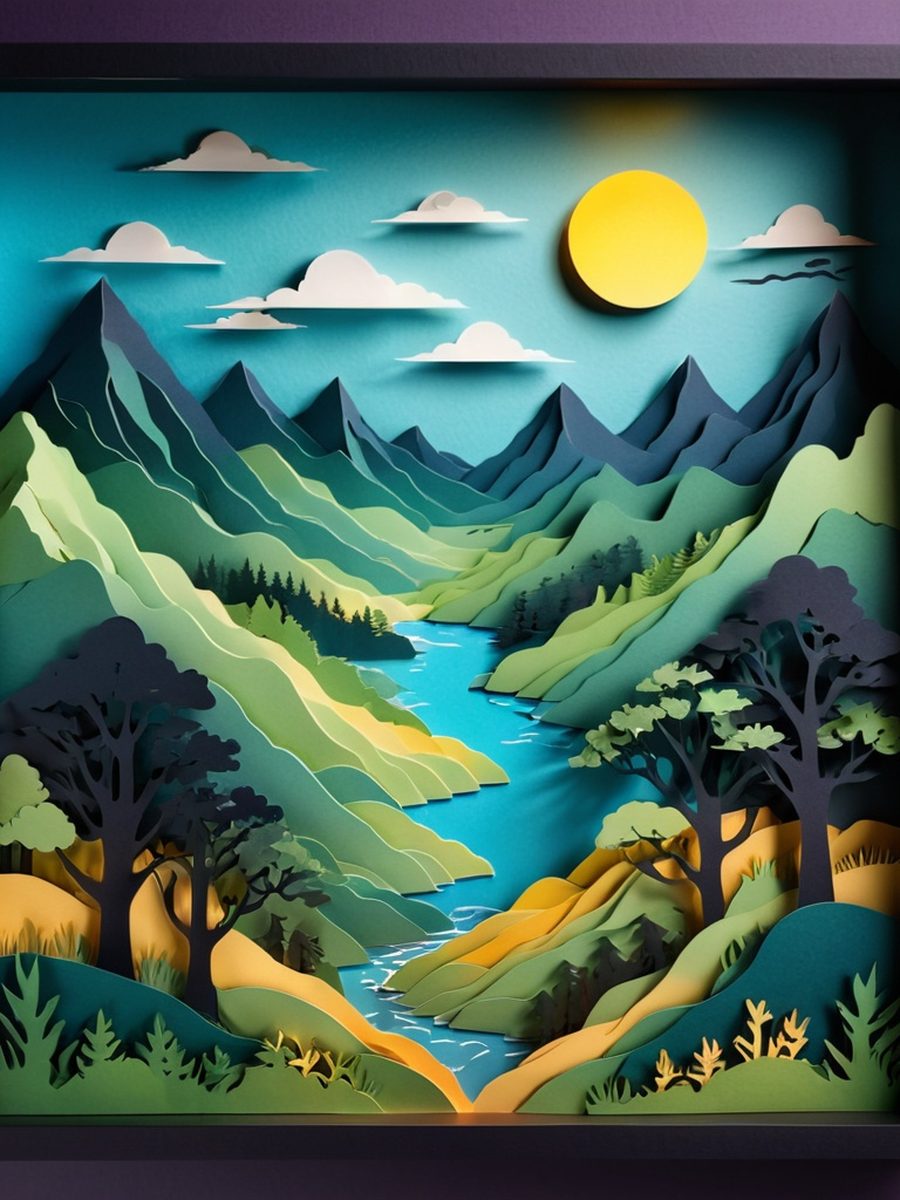
BEFORE: A plain white frame sat empty on the wall, and the room felt cold and unfinished. The desk below held loose paper and no clear focal point. The wall needed color but paint felt too permanent for a rented home.
AFTER: Layered paper hills and a soft sun now fill the frame, and the room feels warm and personal. The colors pull the eye up, and the desk below looks tidy and styled. Guests often ask where the art came from.
Paper layers create depth with very little cost. Cut hills from green paper, sky from blue, and add a round sun in cream. Glue each layer with a small foam pad behind it for a shadow effect. Frame it behind glass to keep dust away.
Wooden Plank Signs
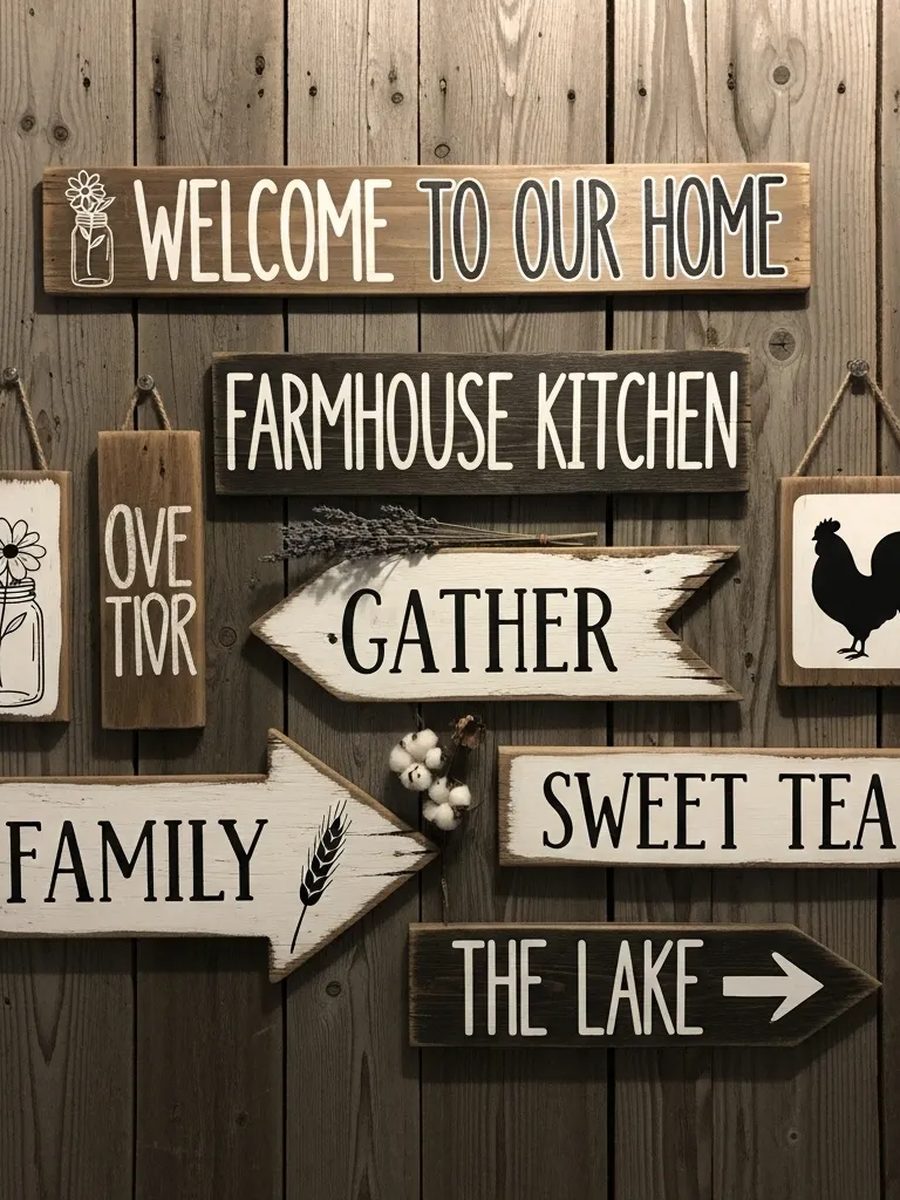
Warm wood and simple words make a hallway feel welcoming at once. Gather three planks, sand the edges smooth, and join them with two small battens at the back. Paint the words with a stencil so the letters stay even and neat.
- Sand each plank, then wipe away dust with a dry cloth.
- Join the planks with battens and small screws from behind.
- Place the stencil flat and paint with a foam brush.
- Let the paint dry fully, then seal with clear matte varnish.
- Hang with two strong hooks so the sign stays level.
A sealed sign lasts longer in a busy hallway. Keep the words short so they read fast from the door. A small wreath or hook beside it adds a homely finish. Check the hooks each season and wipe dust with a dry cloth to keep the wood looking fresh and warm.
Pressed Flower Frames
| Option | Pressed Flowers | Printed Floral Art |
|---|---|---|
| Cost | Low, flowers from the garden | Medium, print and frame cost |
| Time | One week to press and dry | One afternoon to print |
| Look | Real texture and soft color | Flat, even color and sharp detail |
| Best For | Small frames and gifts | Large walls and bold color |
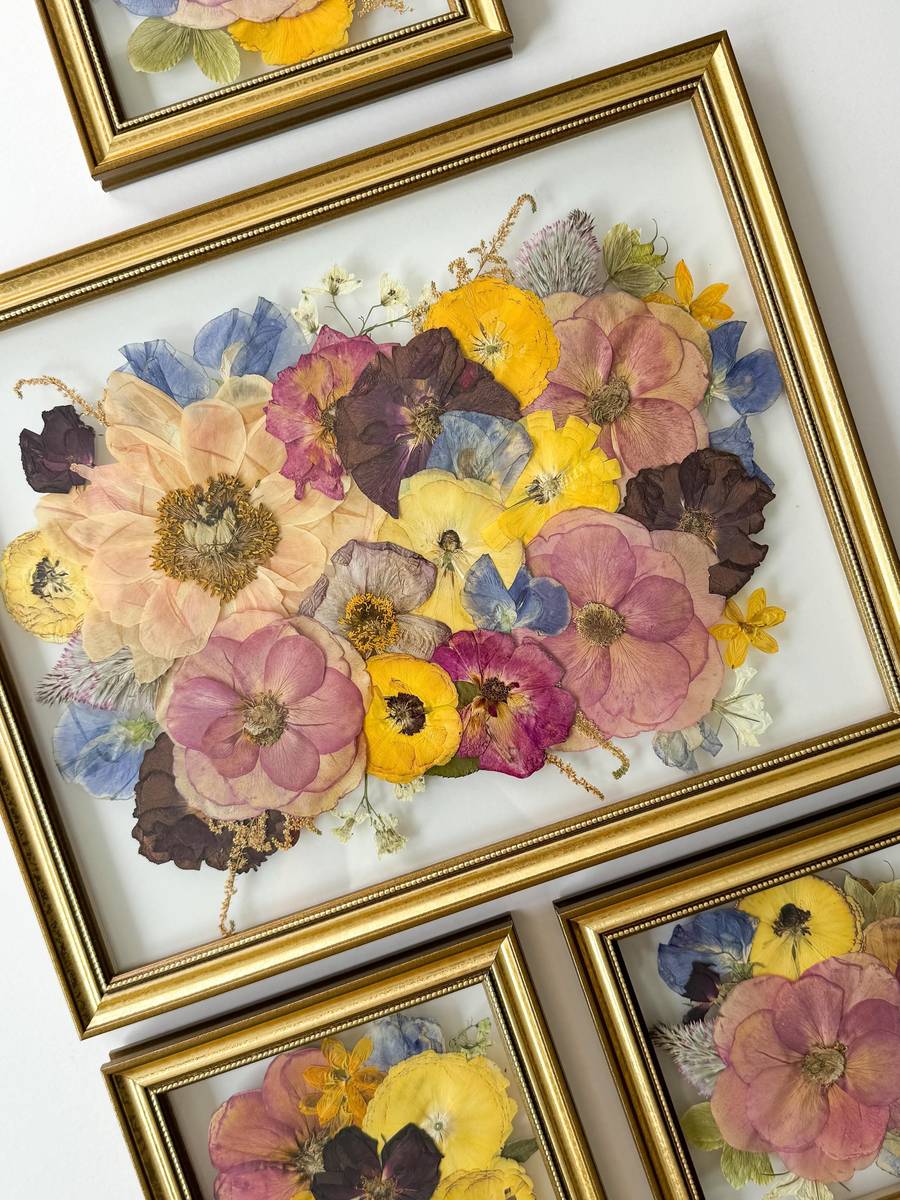
Dried flowers keep a garden memory on the wall all year. Press small blooms between paper for a week, then arrange them on white card with tweezers. A thin gold frame and clear glass protect the petals while the colors stay soft. Keep the frame out of damp rooms for best results.
Clay Relief Tiles
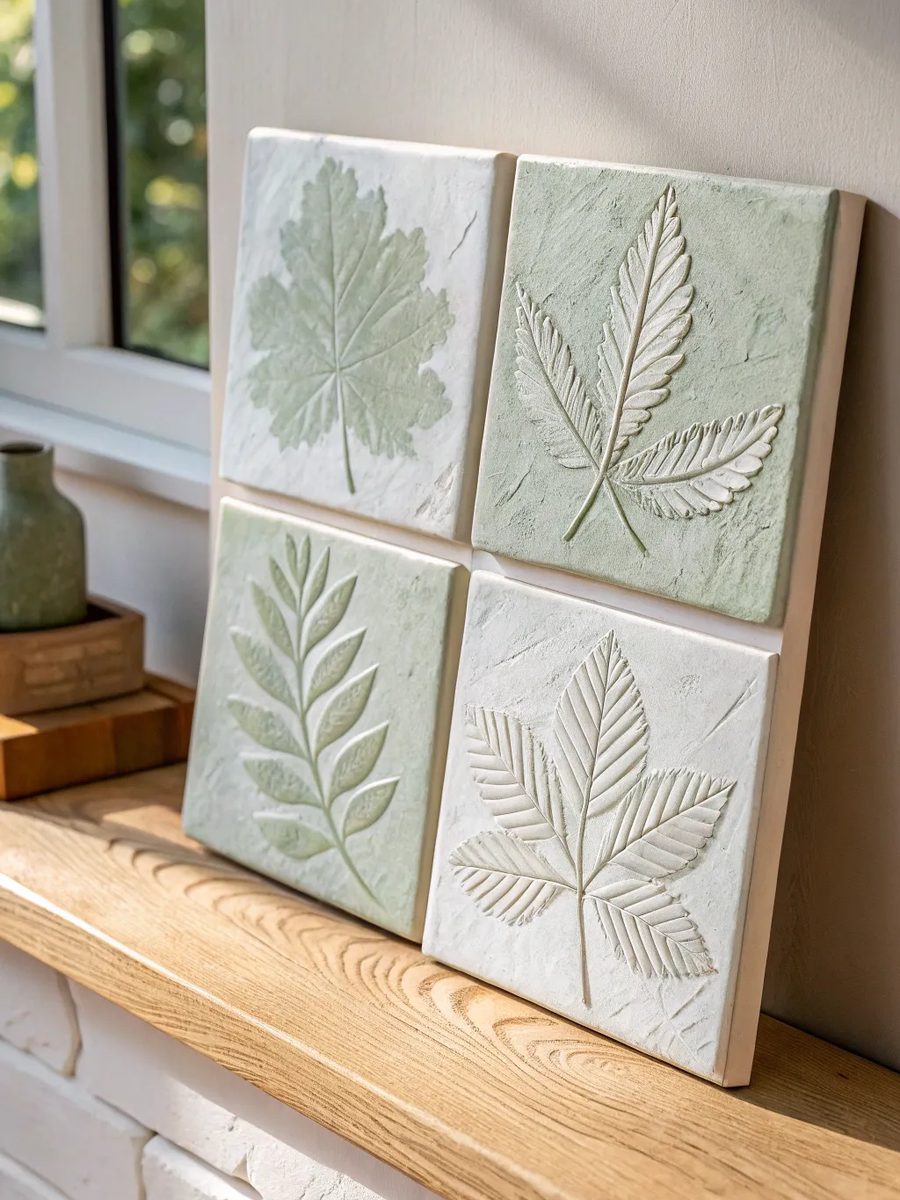
- DO: Knead the clay well before you shape it so it does not crack.
- DO: Press leaves gently to leave a clear print.
- DO: Let tiles dry slowly away from direct sun.
- DO: Seal the finished tiles with clear matte varnish.
- DON’T: Roll the clay too thin or it will break.
- DON’T: Rush drying with heat or the edges will warp.
- DON’T: Use wet paint on soft clay.
- DON’T: Hang heavy tiles with a single small nail.
Clay tiles add a handmade, earthy feel to a kitchen or hallway. Roll the clay flat, cut neat squares, and press a leaf or stamp into each one. Dry them slowly, paint lightly if you like, and hang them in a small grid. Wipe dust gently each week to keep colors fresh.
String Art Shapes
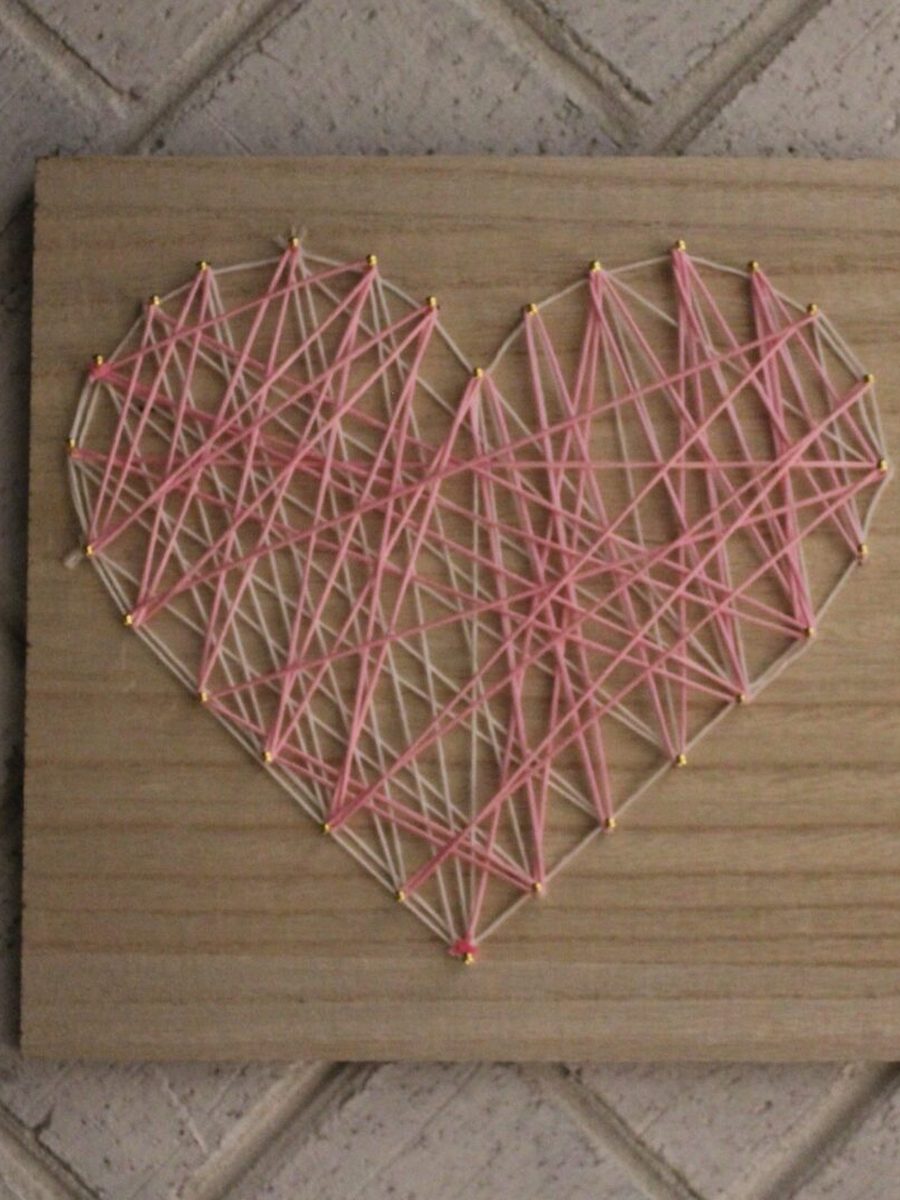
Cost: Low | Time: Two hours | Skill Level: Beginner | Best For: Bedrooms and gifts
A heart or star in thread turns a plain board into a bright focal point. Hammer small nails along your shape outline, then wind thread back and forth until the shape fills in. Keep the tension even so the lines stay neat and clear. Keep the board level so the shape stays even.
Photo Grid Collage
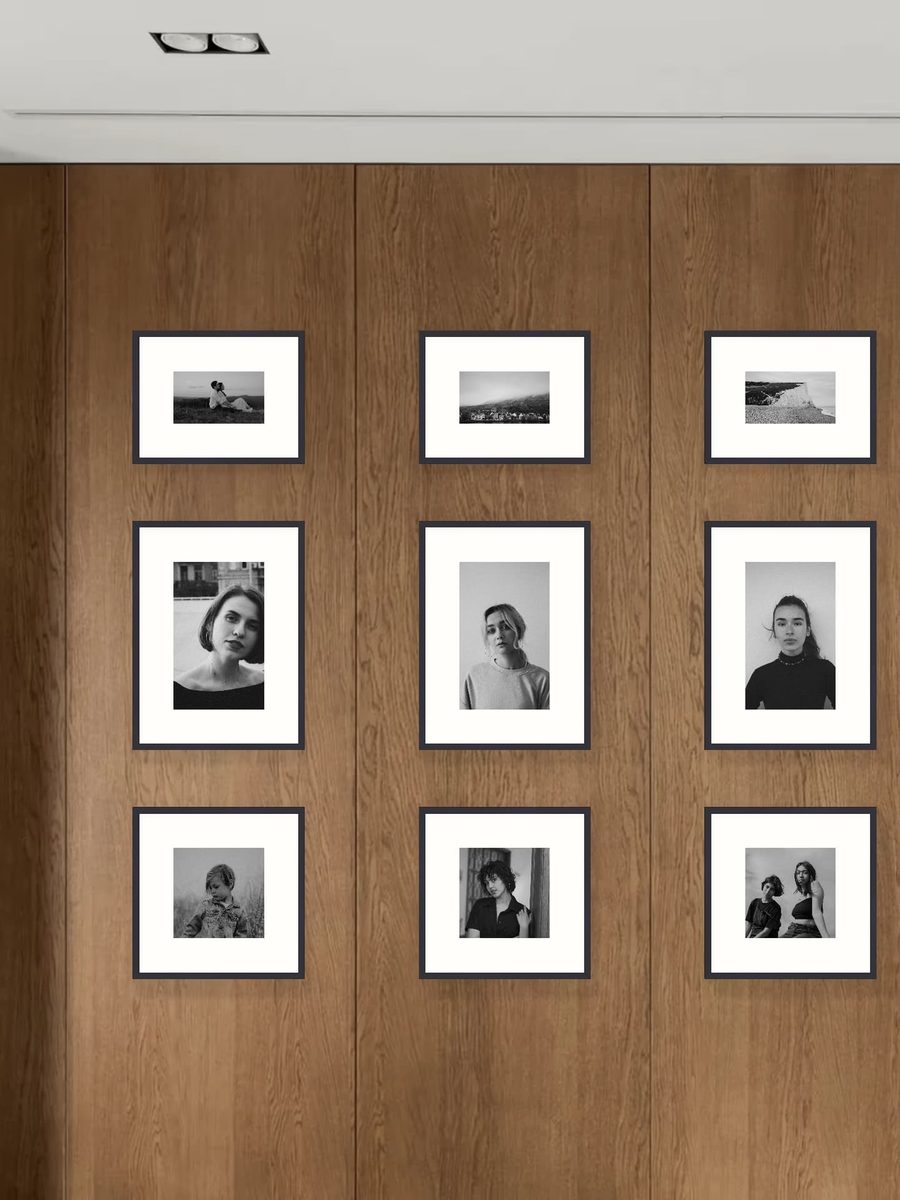
Nine small photos tell a story better than one large print. Print the photos in black and white, use matching frames, and lay them on the floor first to plan the grid. Mark the wall lightly with pencil so each frame sits straight and even.
Hang the middle row first, then work up and down from it. Use a small level for each frame so the grid stays tidy. Leave the same gap between frames, about two fingers wide, for a calm look. Step back often to check the grid from across the room.
Woven Basket Display
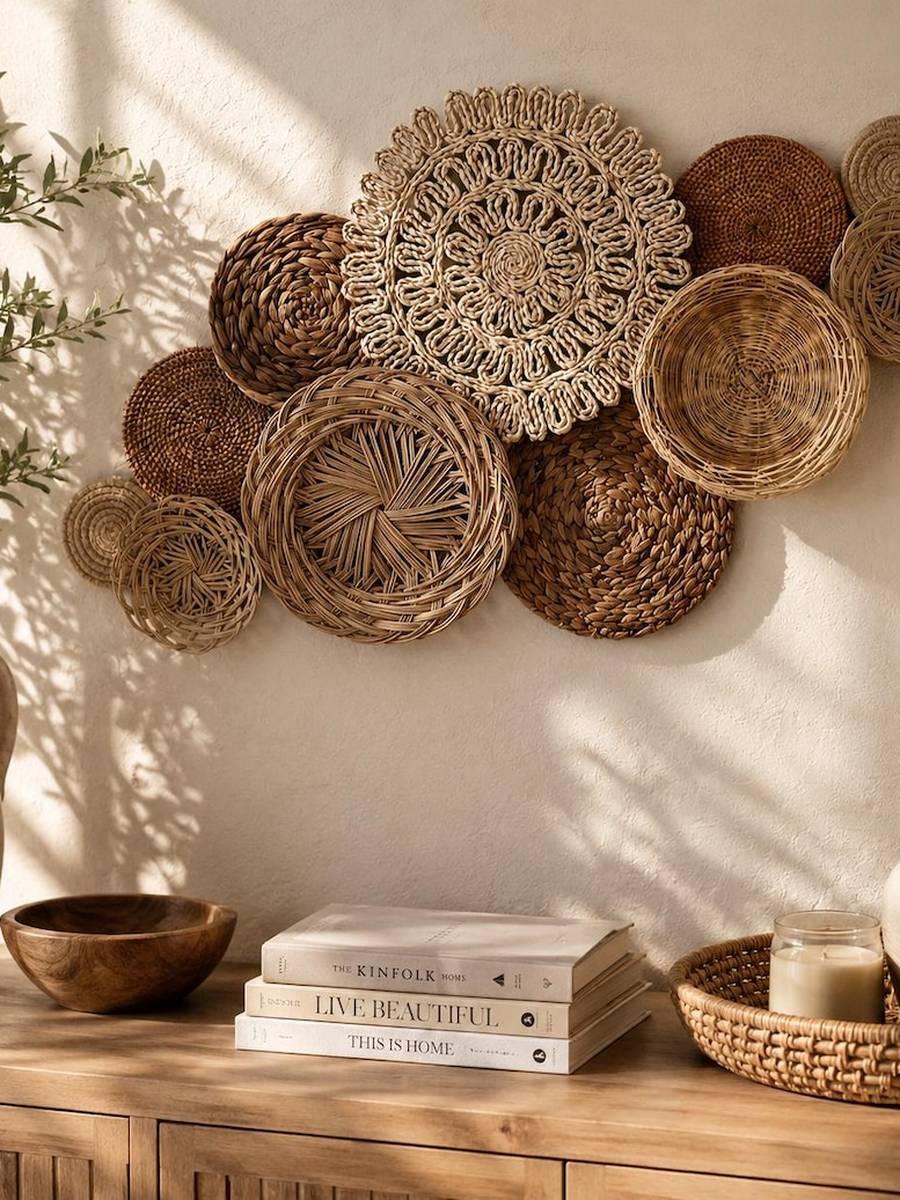
Round baskets bring warmth and shape to a dining wall. Collect baskets in different sizes but similar tones, and plan the layout on the floor first. Hang the largest one in the center, then add smaller ones around it.
- Use strong picture hooks so heavy baskets stay safe.
- Keep the colors in one family for a calm look.
- Mix flat and deep baskets for shape and shadow.
- Add one dark basket to anchor the group.
- Step back often to check the balance.
Basket walls suit dining rooms and hallways well. A plain white wall lets the weave stand out, and a plant below softens the edge. Dust them lightly with a dry cloth each month. Test different basket sizes first on the floor, then hang the largest one in the center for balance.
Mirror Mosaic Panels
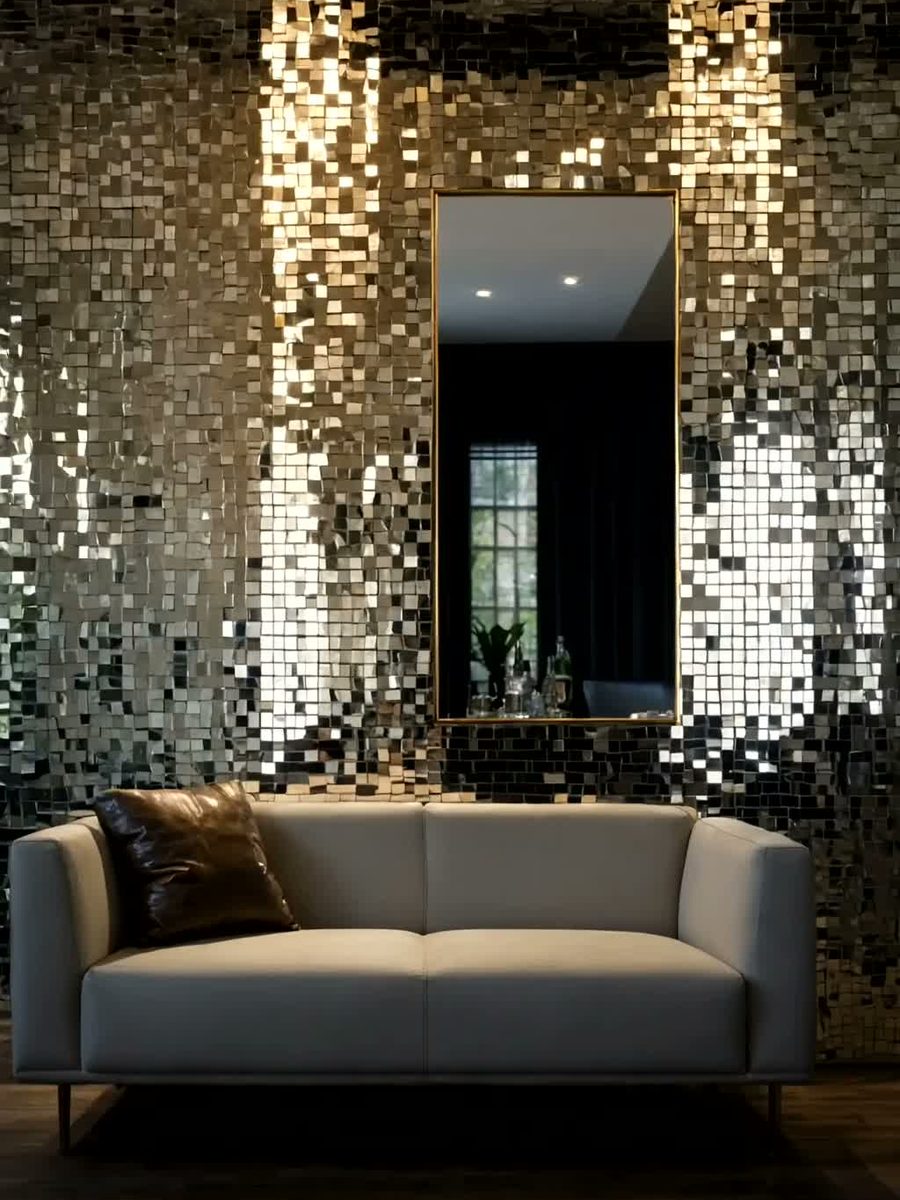
Quick Tip: Cut mirror tiles with care and wear gloves. Lay the pieces on the board first, leave tiny gaps, and use strong mirror glue. A thin grout line in white keeps the panel neat and safe.
Mirror pieces bounce light around a dark corner. Stick small squares to a board in a neat grid, mixing silver and gold for warmth. Hang the panel opposite a window so it catches daylight and makes the room feel larger. Clean the mirrors weekly so the shine stays bright and clear.
Botanical Leaf Prints
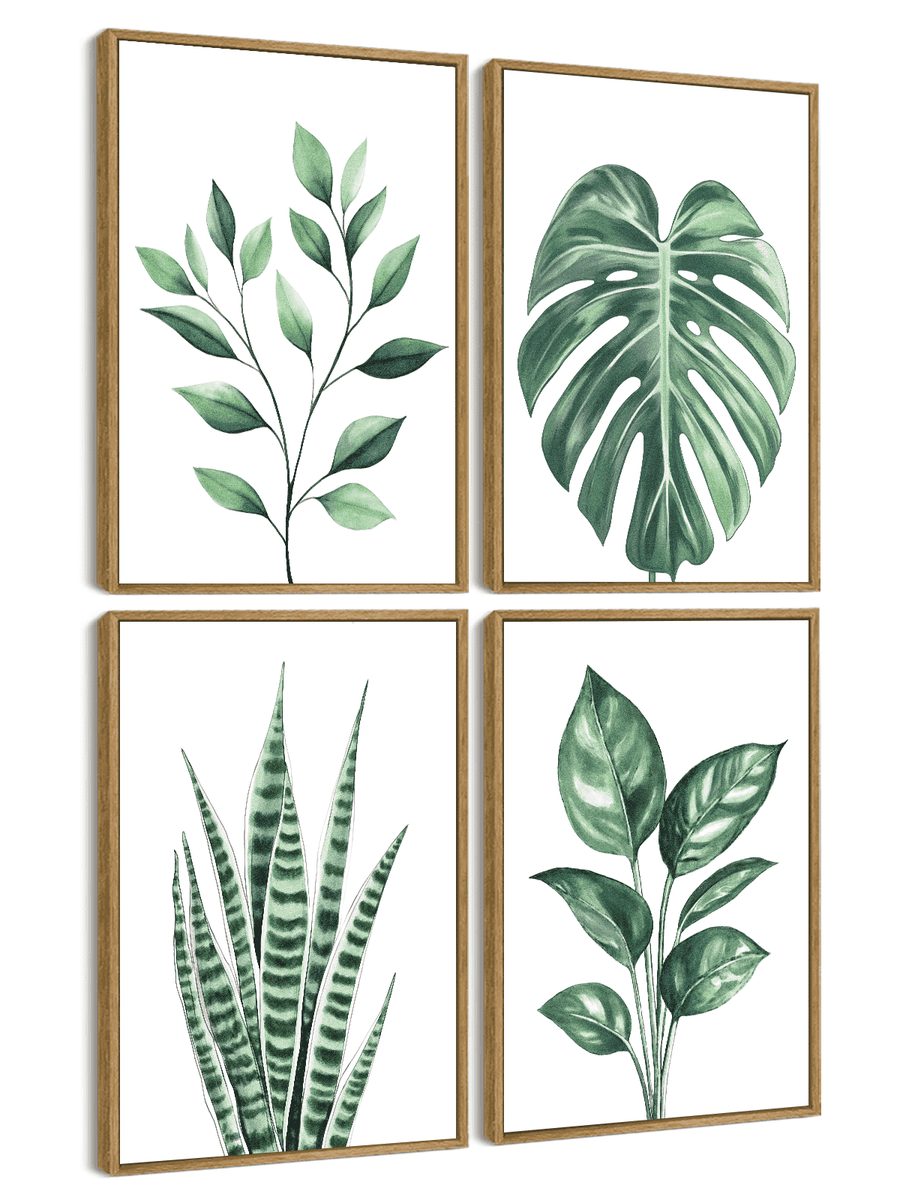
BEFORE: The hallway wall was bare white, and the space felt plain and cold. The door at the end drew all the attention, and nothing softened the walk through. The home needed a natural touch without much cost.
AFTER: Green leaf prints now line the hallway, and the walk feels calm and fresh. The frames echo the plant on the sill, and the white wall looks styled, not empty. The prints cost little but change the mood at once.
Leaf prints are simple to make with real leaves and ink. Paint a leaf lightly, press it on paper, and lift it straight up for a clear vein pattern. Frame two or three prints in a row for a tidy botanical set. Keep prints away from damp walls to protect the paper.
Embroidery Hoop Art
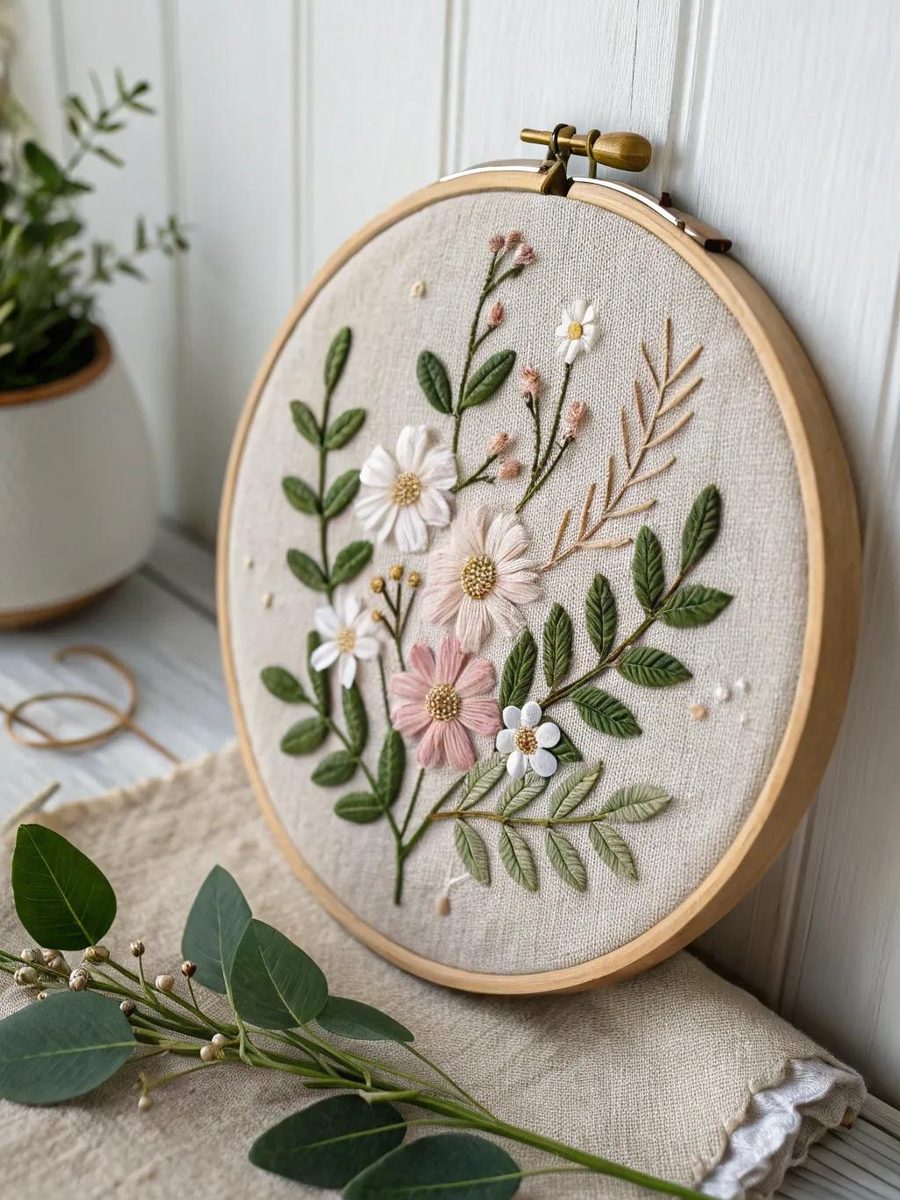
Colorful stitches turn plain linen into soft wall art. Stretch fabric in a hoop, sketch a simple flower, and stitch with three basic stitches. A small hoop is quick to finish and easy to hang in a group.
- Stretch the linen tight and fix the hoop screw snug.
- Draw the flower with a pencil, keeping lines light.
- Stitch petals with satin stitch and stems with backstitch.
- Trim thread ends at the back and knot them neat.
- Hang hoops in a cluster with small nails.
Hoop art suits bedrooms and craft corners best. Keep the palette to three colors so the group feels calm. A plain wall behind the hoops lets the stitches stand out clearly. Rinse the needle often and store hoops flat to keep fabric smooth and ready for display.
Painted Terracotta Plates
| Option | Hand Painted Plates | Plain Terracotta Plates |
|---|---|---|
| Cost | Low, paint and plates only | Low, plates only |
| Time | One afternoon to paint | Minutes to hang |
| Look | Patterned and personal | Warm, plain, and earthy |
| Best For | Kitchens and dining walls | Simple, calm displays |
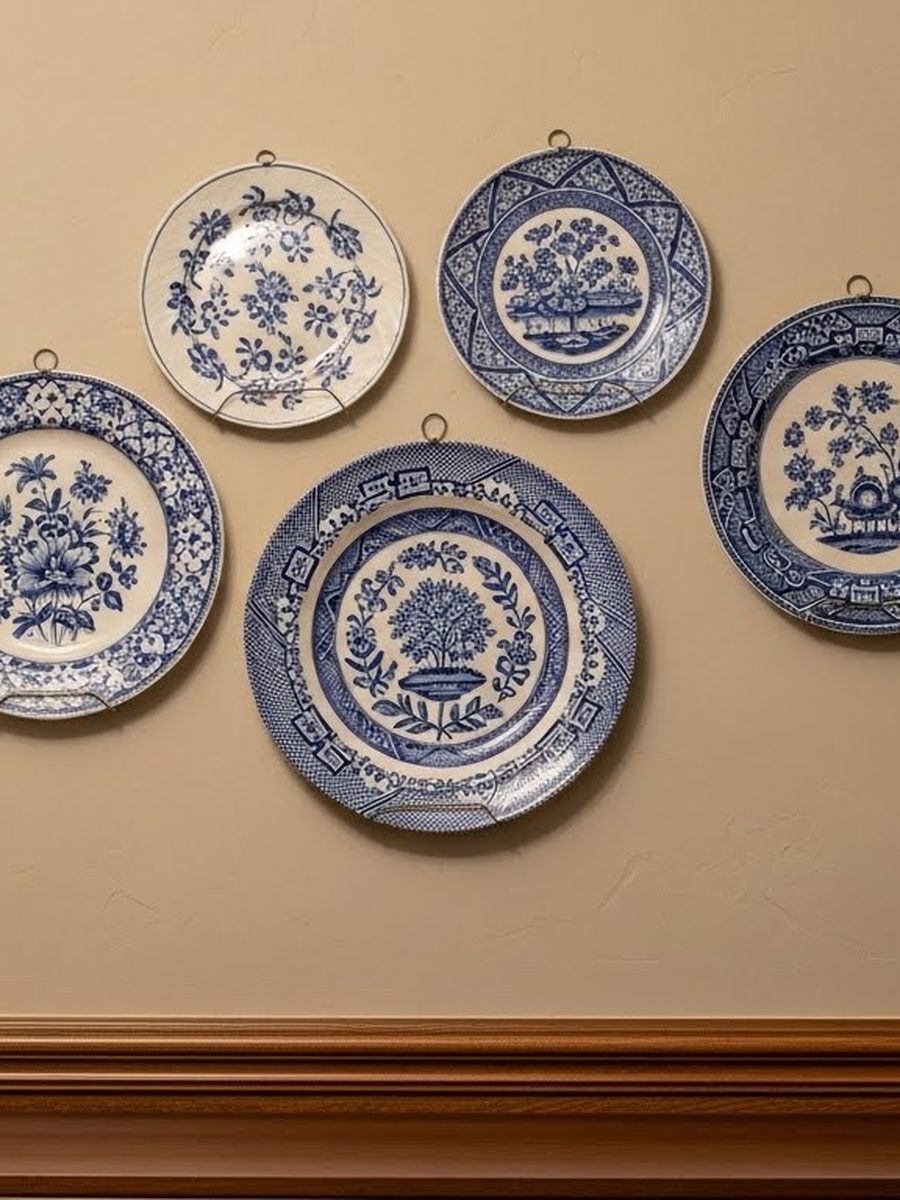
Painted plates add a sunny touch to a kitchen wall. Clean each plate, paint a simple pattern with ceramic paint, and let it dry fully. Hang them with plate hangers in a loose cluster, mixing sizes for a relaxed look. Wipe plates gently with a dry cloth each week.
Fabric Scrap Patchwork
- DO: Sort scraps by color before you start sewing.
- DO: Press each seam flat for a neat finish.
- DO: Back the patchwork with plain cotton for strength.
- DO: Hang it from a wooden dowel for a clean top edge.
- DON’T: Mix very thick and very thin fabrics together.
- DON’T: Skip pressing or the squares will pucker.
- DON’T: Use glue alone, as it will loosen over time.
- DON’T: Hang it in damp rooms where fabric can spoil.
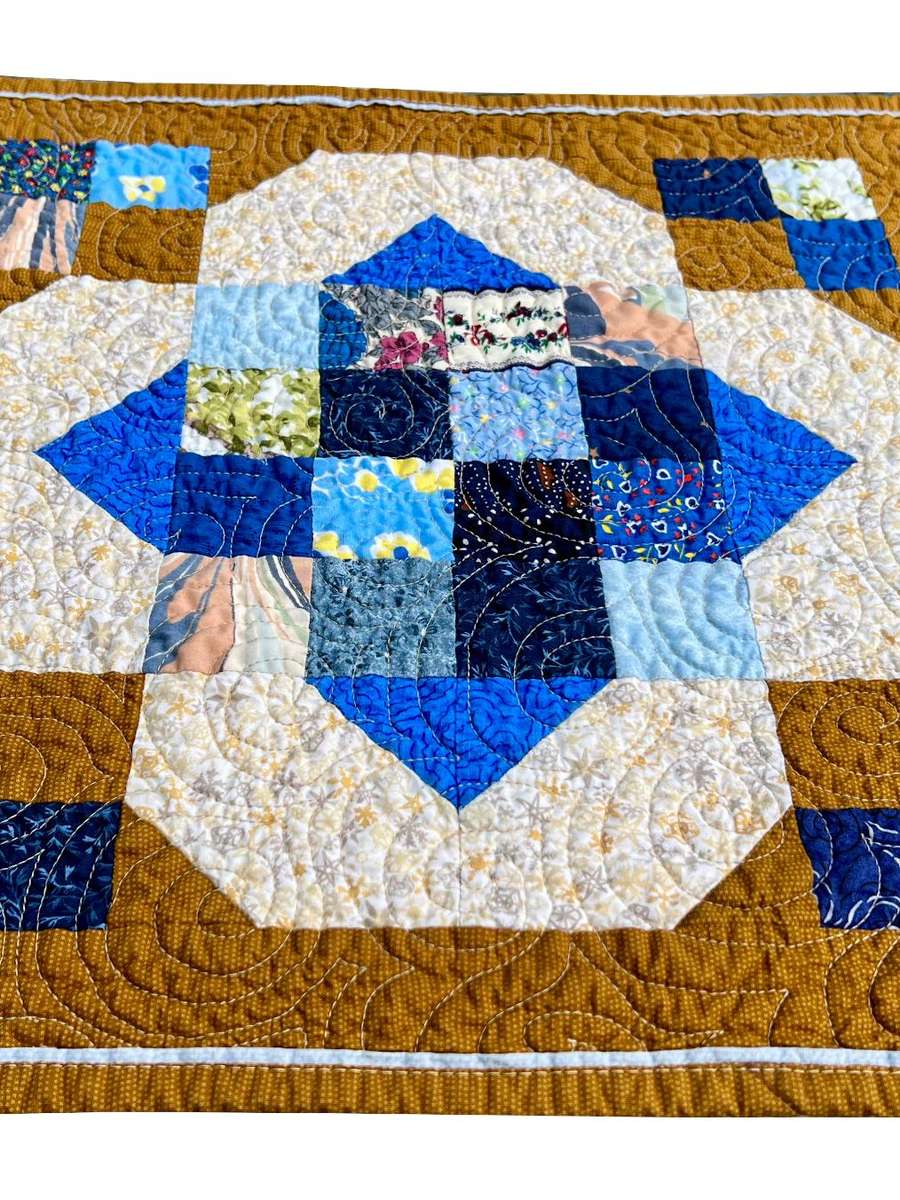
Patchwork turns leftover fabric into a cheerful wall piece. Cut squares the same size, sew them in rows, and press each seam flat. Back the panel, add a dowel at the top, and hang it where it catches soft light. Air the hanging outside on dry days to keep it fresh.
Driftwood Branch Mobile
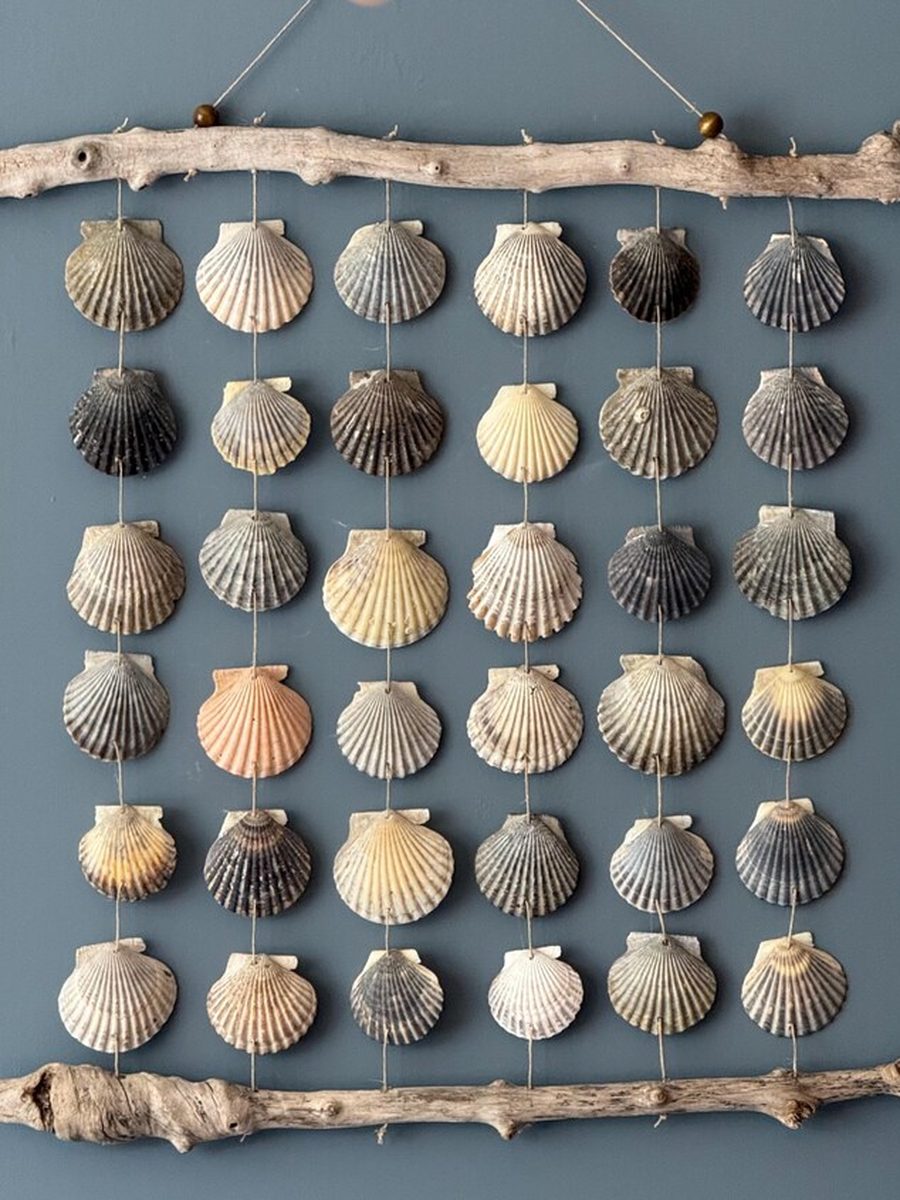
Cost: Low | Time: One afternoon | Skill Level: Beginner | Best For: Bedrooms and bathrooms
A driftwood mobile brings a calm coastal feel indoors. Tie shells, beads, and small wood pieces to a branch with cotton cord at different lengths. Hang the branch from the ceiling with strong cord so it moves gently in the air. Keep it away from busy walkways so it hangs safely.
Stenciled Quote Boards
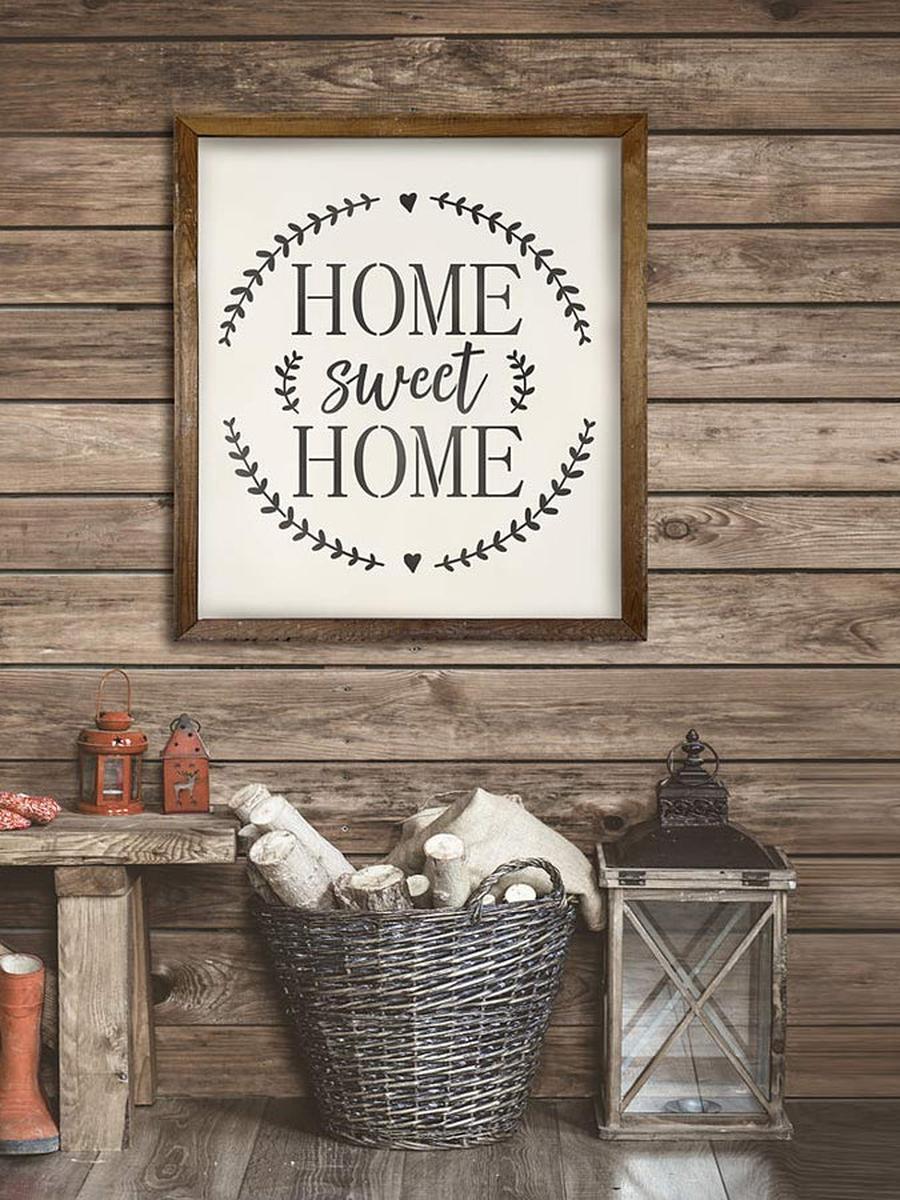
Short words on wood make a room feel personal in minutes. Sand a board smooth, place a stencil flat, and paint the letters with a foam brush. A dark color on cream wood reads well from across the room.
Choose a short line you love and keep the font simple. Paint slowly so the edges stay sharp, and let it dry before you lift the stencil. Hang it at eye level where guests will see it first. Add a small hook below for keys and keep the board dust free with a soft cloth.
Yarn Wrapped Letters
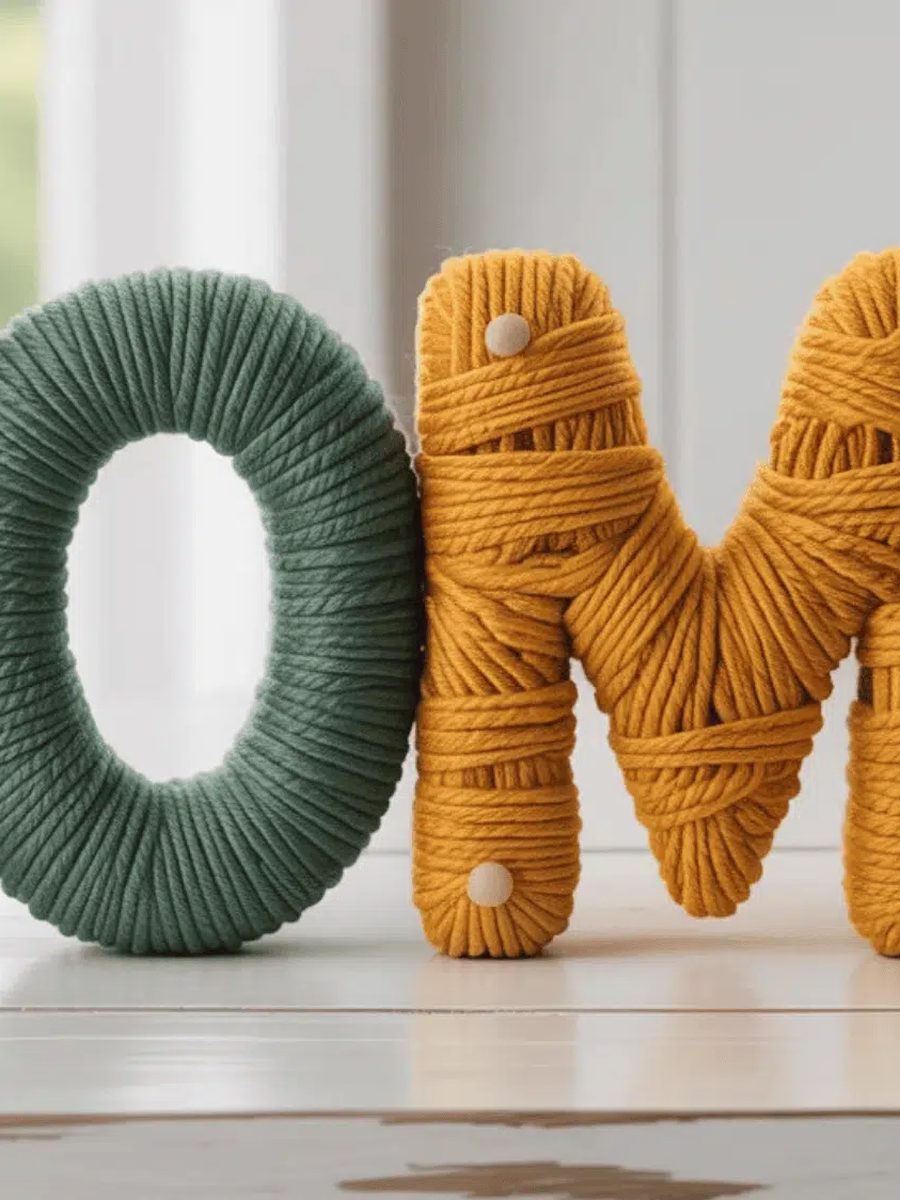
A word in soft yarn adds warmth to a shelf wall. Wrap cardboard letters tightly with yarn, fixing the end with a small dot of glue. Use one color per letter for a calm look, or mix tones for a playful feel.
- Start at one corner and wrap in neat, even rows.
- Keep the yarn snug so no cardboard shows through.
- Tuck the end at the back with glue.
- Use foam letters for a light, easy hang.
- Hang the word straight with a small level.
Yarn letters suit family rooms and kids rooms well. Keep the word short so it reads fast, and hang it above a shelf or sofa. A plant nearby softens the yarn texture nicely. Soft colors suit a calm room, while bright colors suit a playful kids space best.
Vintage Map Collage
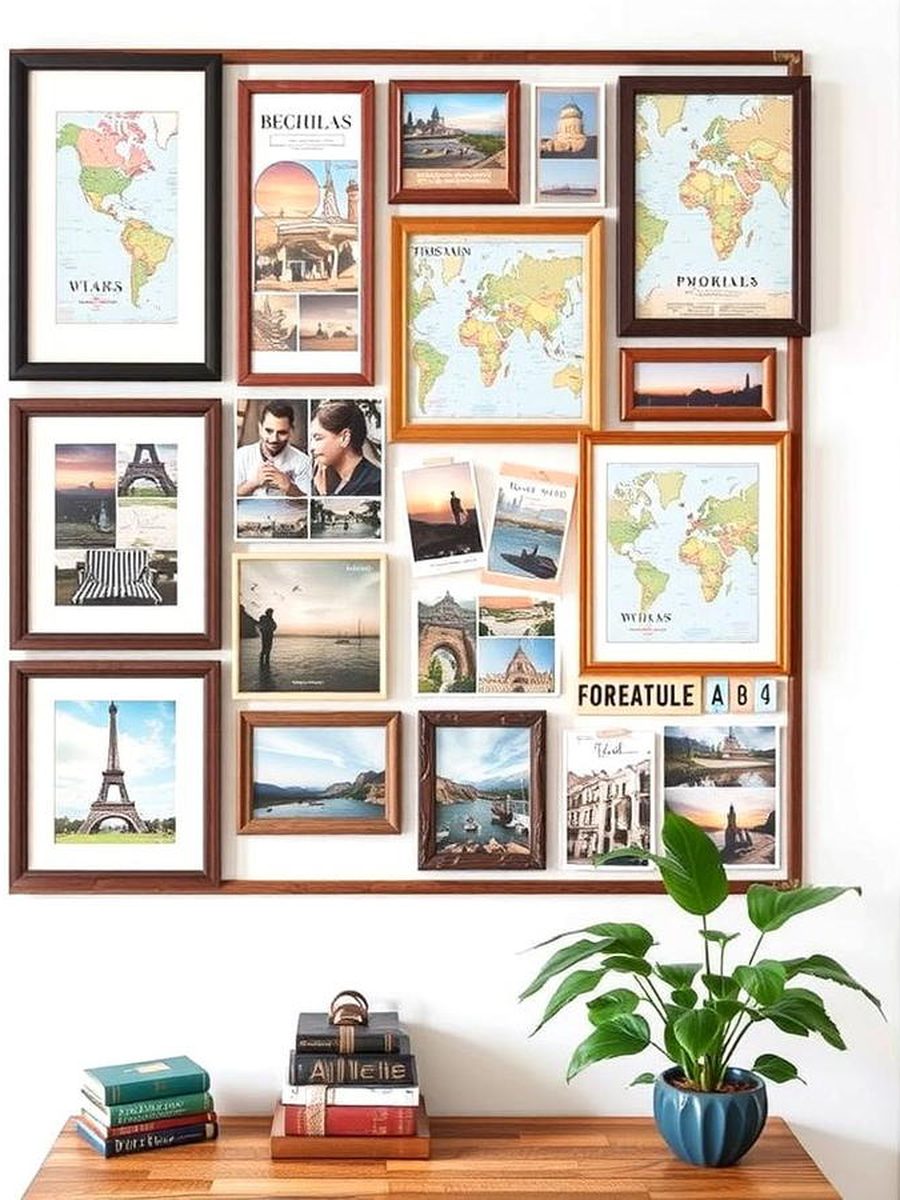
Quick Tip: Use old maps or printed copies, not rare originals. Cut maps into squares, glue them to a board with even gaps, and seal with clear matte varnish. A dark frame makes the aged paper look rich.
Old maps turn a study wall into a travel story. Choose maps from places you love, cut them to the same size, and lay them in a grid. Glue each piece flat, seal the surface, and hang the frame where it catches soft light. Keep the frame level so the grid stays neat.
Painted Rock Gallery
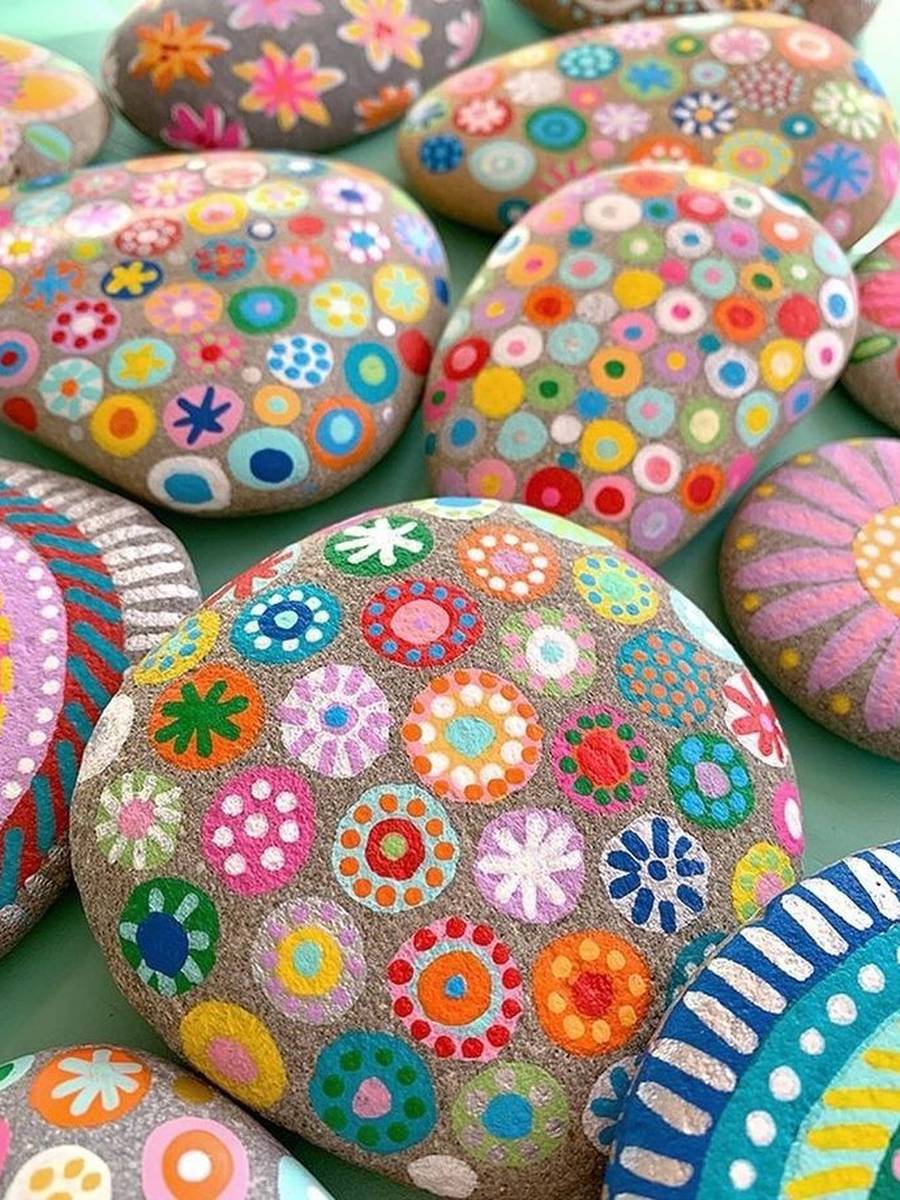
BEFORE: A small wall near the door felt bare and dull. The shelf below held keys and mail, but nothing made the spot feel cared for. The space needed a small, bright touch without a big frame.
AFTER: Painted rocks now sit on small white shelves, and the corner feels cheerful and personal. The bright dots catch the eye as you enter, and the shelf looks styled, not cluttered. Guests smile at the tiny art.
Painted rocks are a quick, low-cost craft for any age. Wash stones, paint dots, stripes, or flowers with acrylic paint, and seal them when dry. Place them on small shelves in a loose row for a playful gallery. Seal the paint well so colors stay bright for months.
Hanging Plant Frames
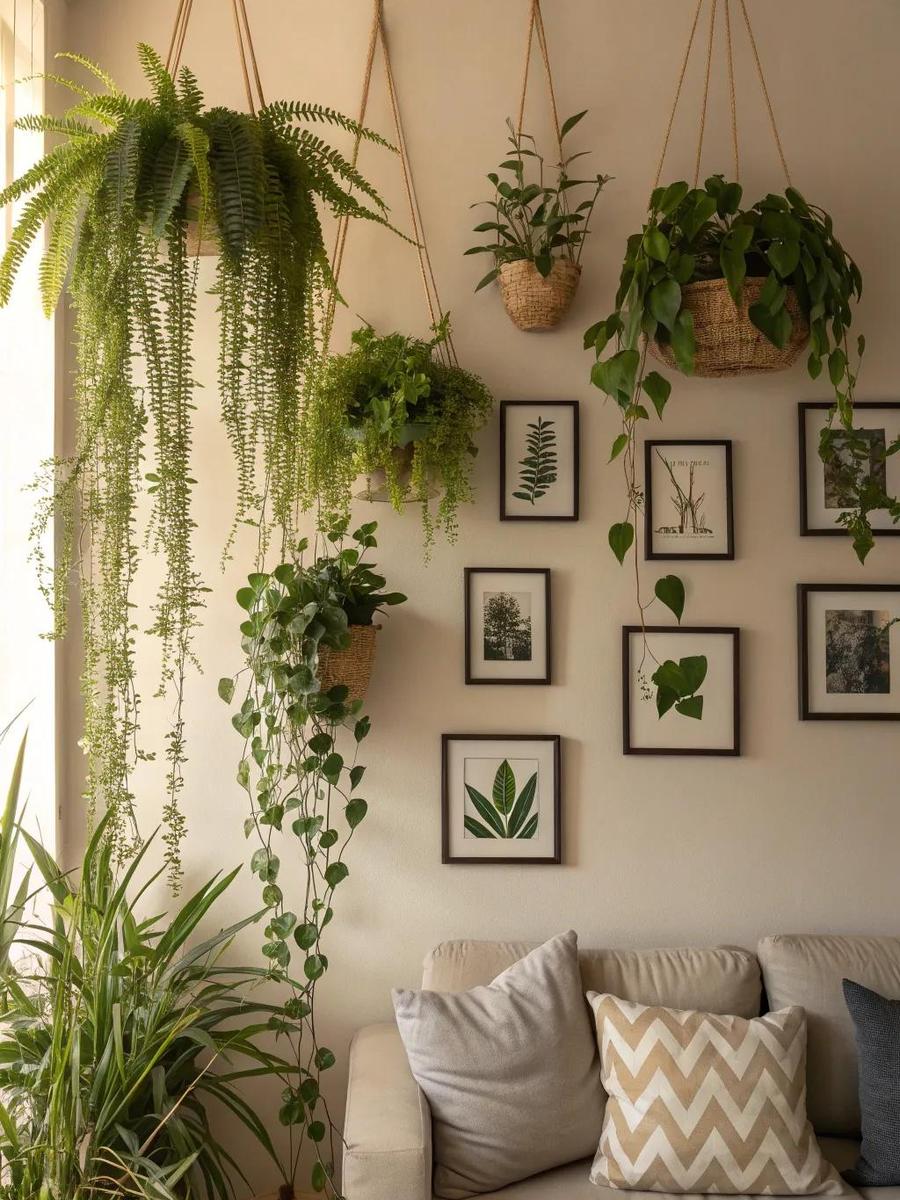
Green plants in frames bring life to a plain wall. Fix small glass or wood frames to the wall, add a tiny pot inside, and choose trailing plants that like bright, indirect light. Water lightly and let the leaves spill over the edge.
- Choose light frames that can hold a small pot safely.
- Line each frame with a small waterproof tray.
- Add soil and a trailing plant like pothos.
- Hang frames at different heights for a natural look.
- Water a little each week and trim long stems.
Plant frames suit kitchens and living rooms best. Keep the plants small so the frames stay light, and hang them near a window for soft light. A plain wall lets the green stand out. Check soil moisture weekly and move frames if leaves turn pale or dry.
Geometric Tape Murals
| Option | Tape Mural | Painted Mural |
|---|---|---|
| Cost | Low, tape and paint only | Medium, more paint and tools |
| Time | One afternoon to tape | A full weekend to paint |
| Look | Sharp lines and bold blocks | Soft edges and blended color |
| Best For | Renters and quick change | Permanent walls and large art |
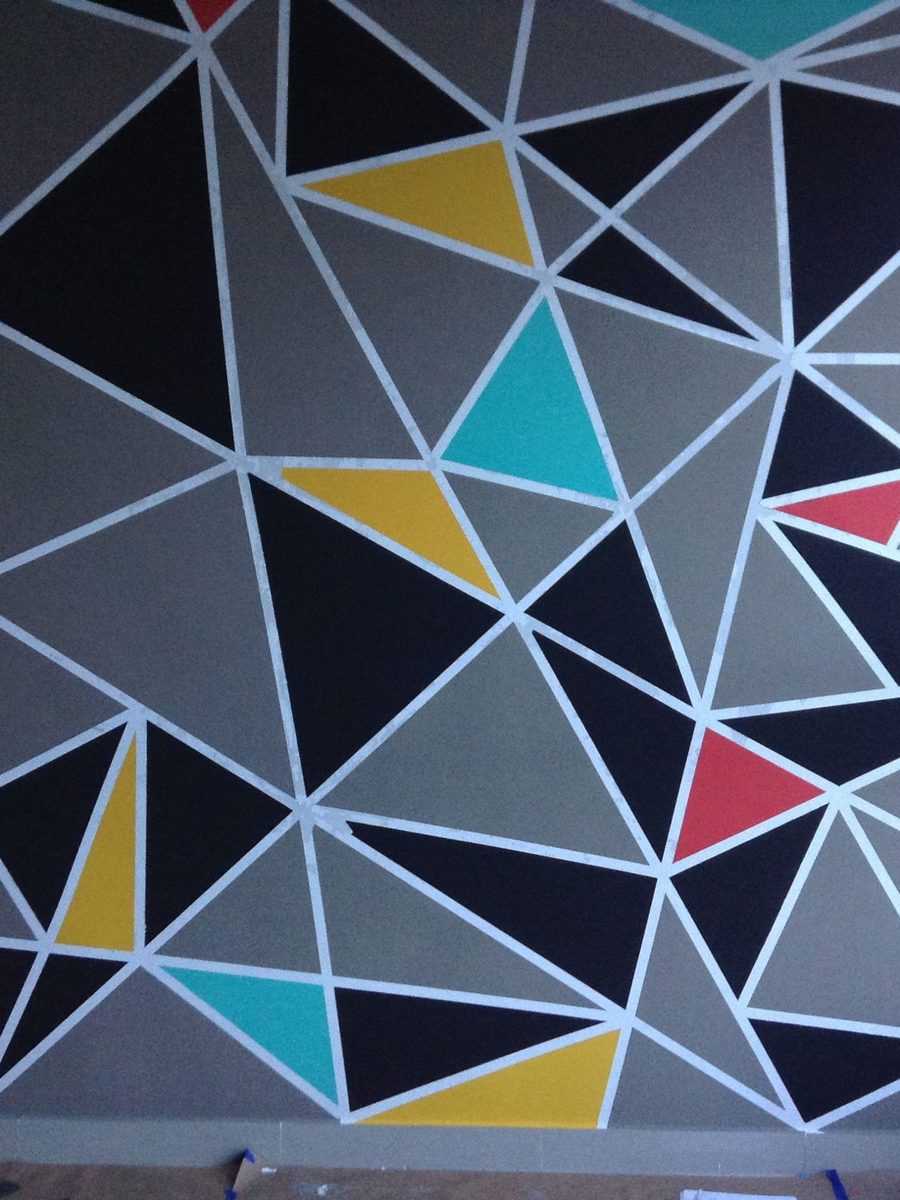
Tape murals give bold color without a big commitment. Mark triangles with painter tape, paint each block, and peel the tape while the paint is still slightly wet. The sharp lines make a simple wall look designed and modern. Peel tape slowly and touch up edges with a small brush.
Handmade Paper Garlands
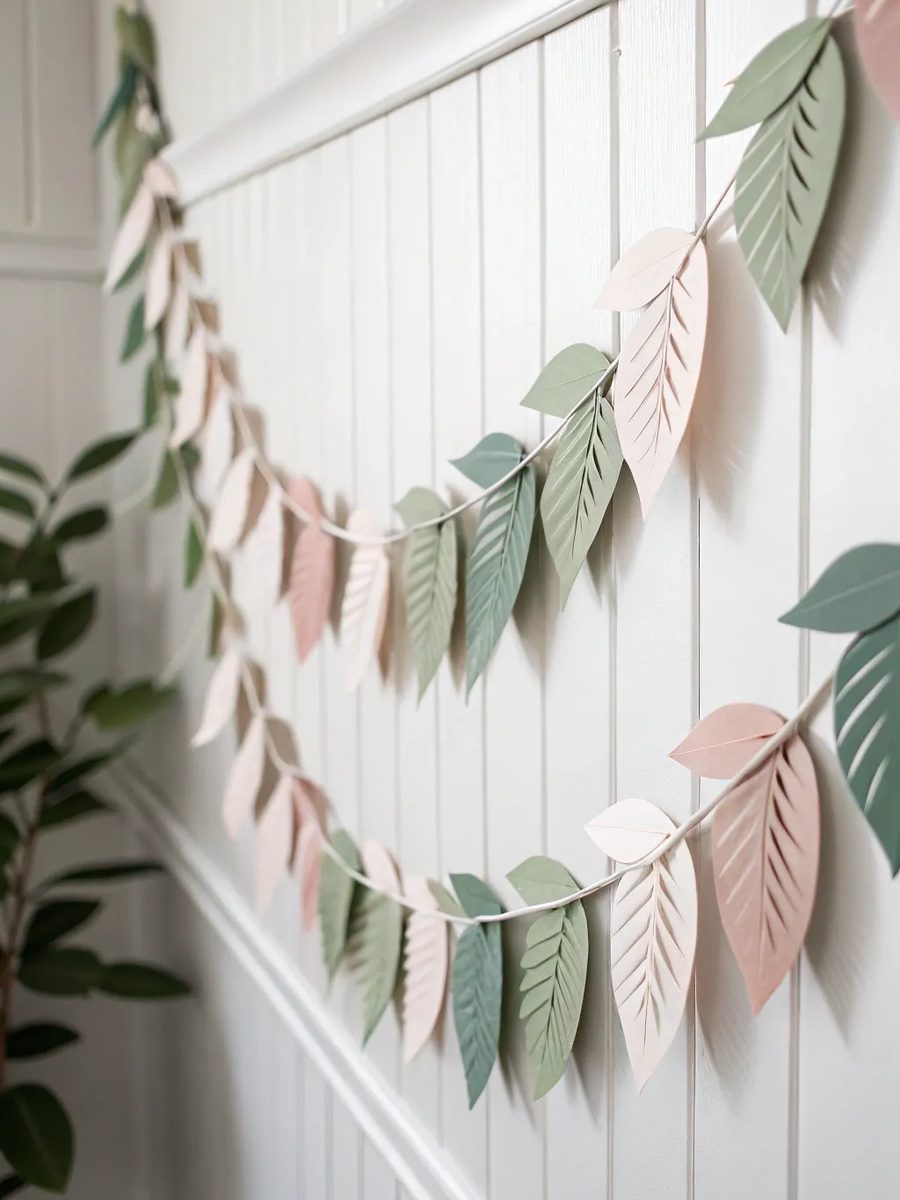
- DO: Cut paper shapes with sharp scissors for clean edges.
- DO: Use thick paper so shapes hold their form.
- DO: Space shapes evenly along the string.
- DO: Hang garlands with small clear hooks.
- DON’T: Use thin paper that tears easily.
- DON’T: Hang garlands where they will get wet.
- DON’T: Pull the string tight or shapes will bunch.
- DON’T: Mix too many colors in one garland.
Paper garlands add a soft, festive touch to a party wall or bedroom. Cut leaves and circles from thick paper, thread them on string with even gaps, and hang them in gentle swags. I’ve seen this work well for birthdays and simple seasonal decor. Store spare paper flat so shapes stay crisp for next time.
Conclusion
These 23 DIY wall art ideas show that a beautiful wall does not need a big budget or special skill. Pick one project, gather simple supplies, and give yourself an afternoon to make something by hand. Hang your piece where you will see it every day, and notice how the room feels warmer and more personal. Save this post on Pinterest so you can find it again, try one more idea when you are ready, and share it with a friend too. I’ve seen how small changes like these can shift the way a space feels, and your wall is a good place to start.