20 Renter-Friendly Backsplash Ideas for a Stylish Kitchen
A plain kitchen backsplash can make your entire kitchen feel unfinished, but upgrading it doesn’t have to mean expensive renovations or risking your security deposit. The right details can make a big difference!
These renter friendly backsplash ideas offer creative ways to add color, texture, and personality without committing to permanent changes. From elegant marble-look panels and classic subway tiles to playful geometric patterns and warm wood finishes, there are options for different budgets, kitchen sizes, and decorating styles.
The best part? Many removable backsplash products are designed for straightforward installation, making them appealing to renters who want a fresh look without major construction. I’ve noticed that coordinating a new backsplash with existing cabinets and countertops often creates a more polished result than adding lots of unrelated decorations. Explore these ideas to find a style that suits your space, your budget, and your lease requirements.
1. Peel-and-Stick Subway Tiles
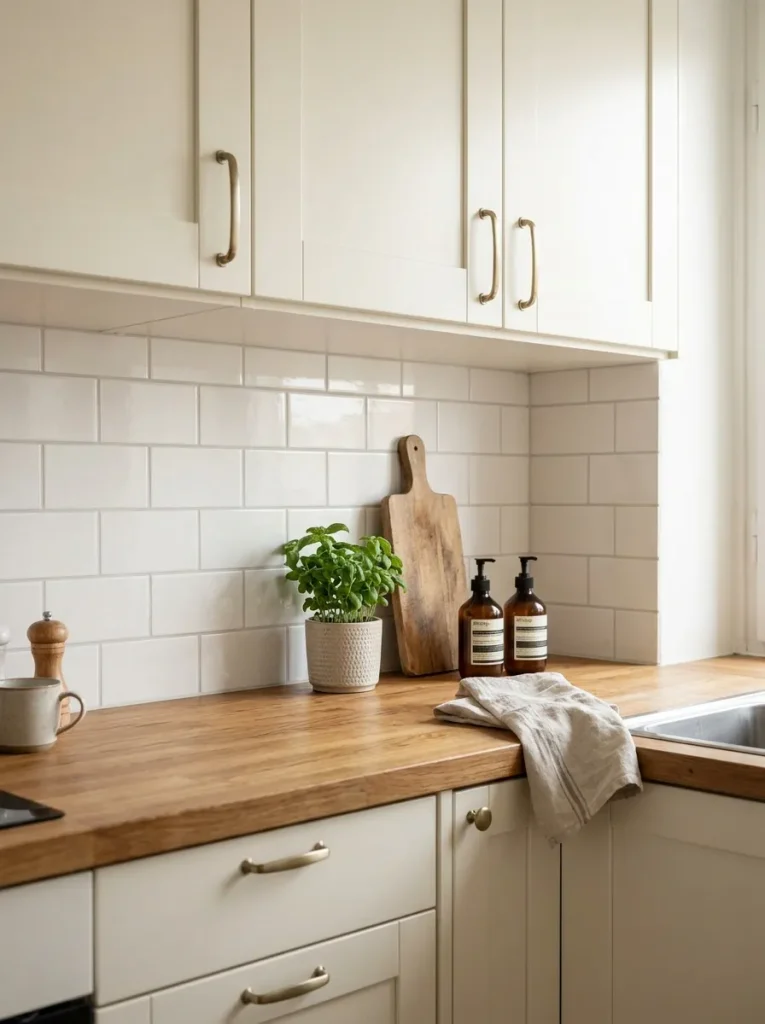
White subway tiles bring classic kitchen charm without the commitment of permanent renovations. Peel-and-stick versions create the familiar look of ceramic tiles while offering a more rental-friendly alternative. Choose glossy white for a brighter appearance or warm ivory for a softer, traditional feel.
Before purchasing, measure the backsplash area carefully and check whether the product is suitable for your existing wall surface. Some adhesives can damage paint or leave residue when removed. Test a small, hidden section first and review your lease requirements before installation.
2. Marble-Look Adhesive Panels
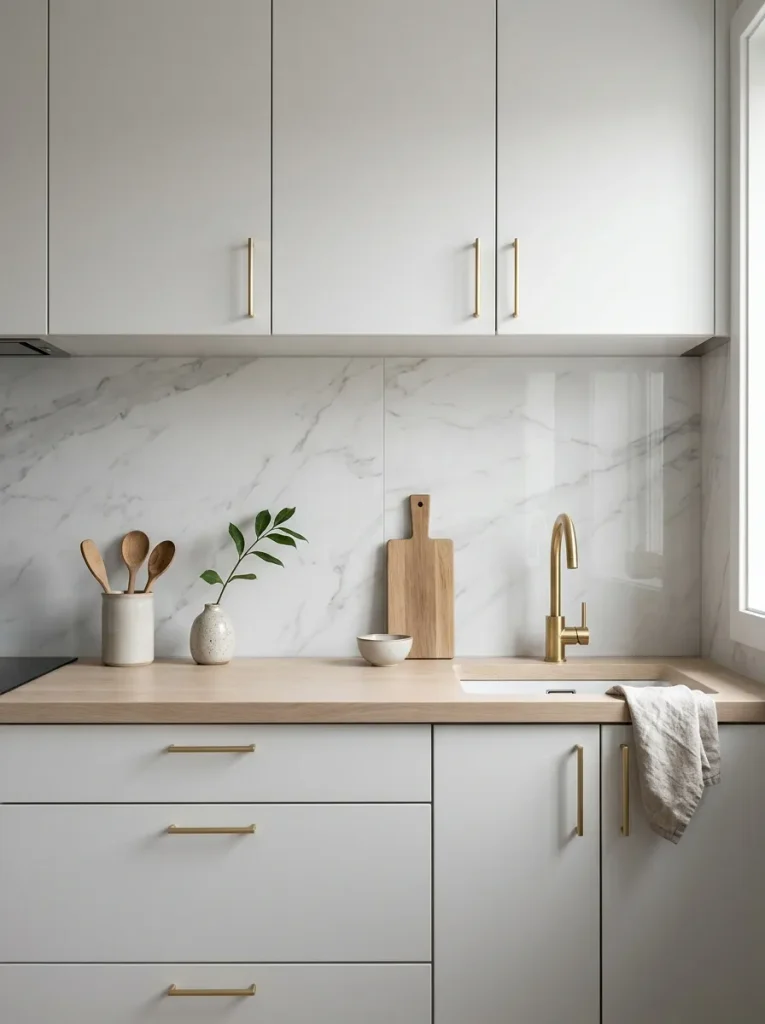
- Choose subtle veining: Soft gray or beige patterns create a natural marble appearance without overwhelming a small kitchen.
- Match your countertops: Coordinate the panel colors with existing counters for a cohesive finish.
- Measure before ordering: Check panel dimensions and buy enough material to align patterns across the wall.
- Check heat resistance: Follow the manufacturer’s guidance around stovetops and other hot surfaces.
- Test removability: Confirm that the adhesive suits your wall finish before covering a large area.
Marble-look panels work especially well in rental kitchens that need a polished update without the cost of natural stone. Large patterns can make the backsplash feel continuous, while smaller veining keeps the design understated. Pair the panels with simple accessories so the faux marble remains the main visual feature.
3. Quick-Tip Contact Paper Backsplash
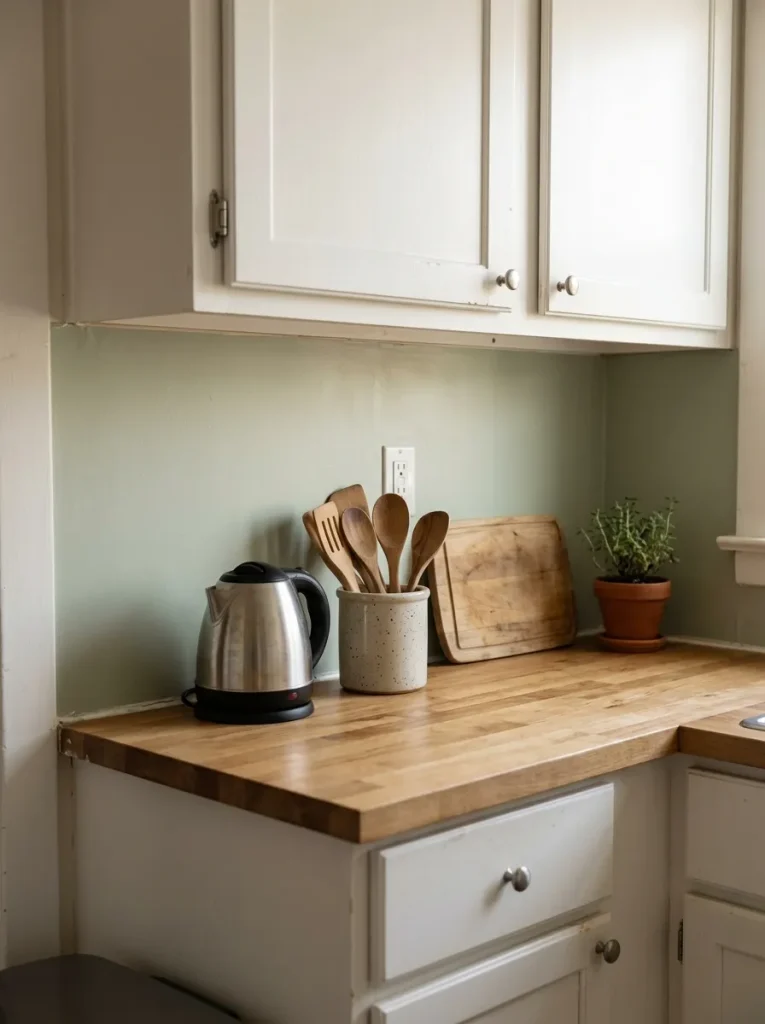
Quick Tip:
Choose contact paper specifically designed for the intended surface, and test a small patch before applying it across the wall. Keep seams straight, smooth out air bubbles with a plastic squeegee, and avoid areas exposed to direct flame or excessive heat unless the manufacturer explicitly approves them.
Contact paper offers an affordable way to introduce color or a subtle pattern into a plain kitchen. Sage green, soft beige, and delicate geometric prints can complement existing cabinets without requiring new fixtures. For the neatest finish, apply the paper slowly to a clean, dry surface and trim edges with a sharp utility knife.
4. Removable Geometric Tiles
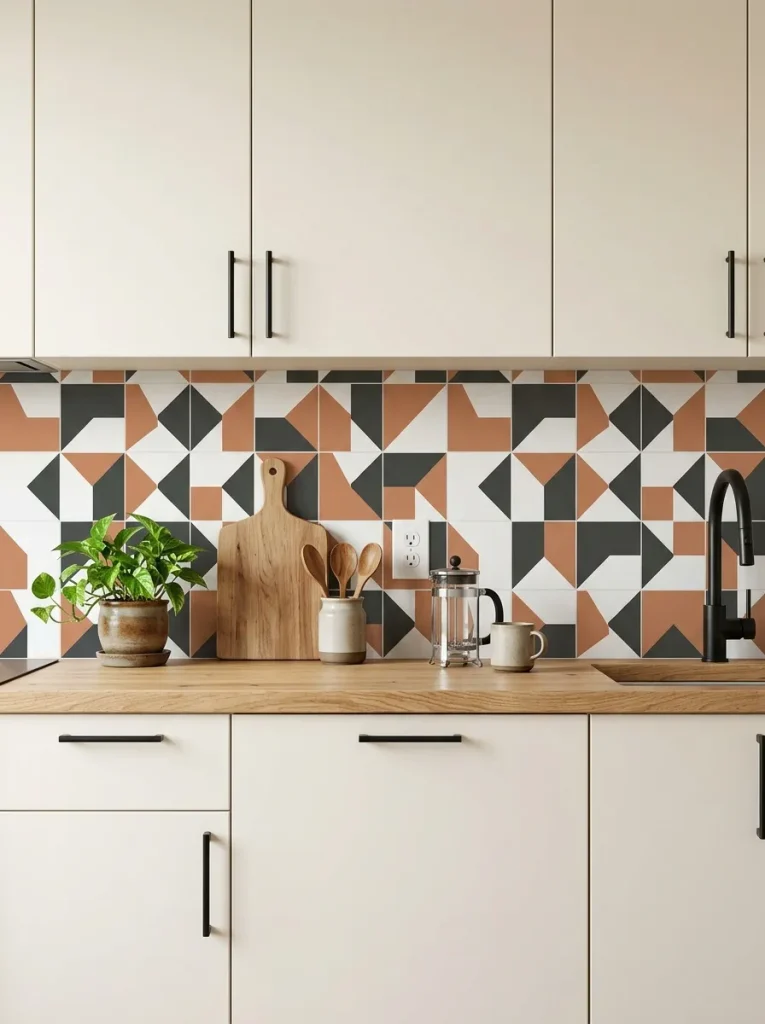
BEFORE
A plain kitchen wall can make even attractive cabinets feel unfinished. The space may lack color, contrast, and a clear focal point.
AFTER
Geometric adhesive tiles introduce movement and personality without requiring permanent construction. A repeating pattern connects the countertop and cabinets while making the cooking area feel thoughtfully designed.
For a balanced result, choose two or three coordinating colors rather than a busy multicolor print. Align the pattern carefully at corners and edges. These renter friendly backsplash ideas work especially well behind open shelving or above a simple countertop, where the design remains visible without competing with other decorations.
5. Faux-Tin Ceiling Tiles
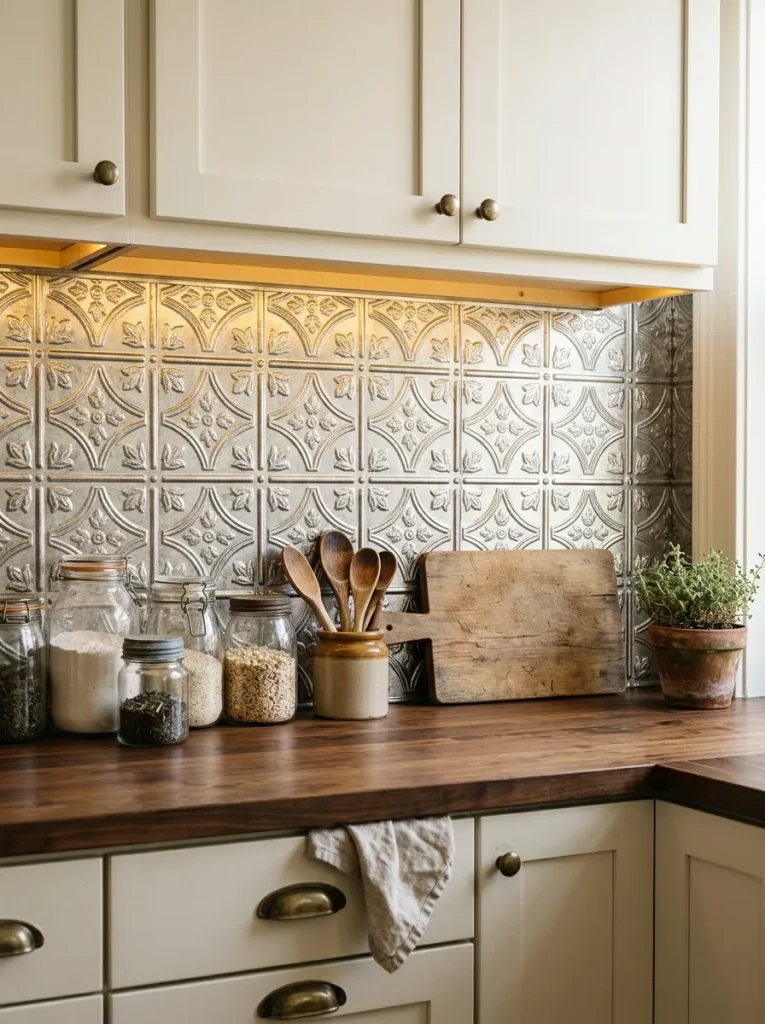
- Measure the backsplash: Calculate the wall width and height to determine how many lightweight decorative panels you need.
- Select the finish: Choose brushed silver, antique copper, or painted white to complement your existing kitchen hardware.
- Test the adhesive: Check compatibility with the wall surface and confirm that the panels can be removed safely.
- Plan the layout: Dry-fit the panels first, aligning embossed patterns before securing them.
- Finish the edges: Use compatible removable trim where needed for a neat, intentional appearance.
Faux-tin panels add vintage character and texture to an otherwise simple kitchen. Their raised patterns catch the light, creating visual interest without introducing several new colors. Choose lightweight panels designed for interior walls, and keep them away from direct heat unless specifically rated for that location. A small backsplash area is often enough to achieve the look.
6. Temporary Tile Stickers
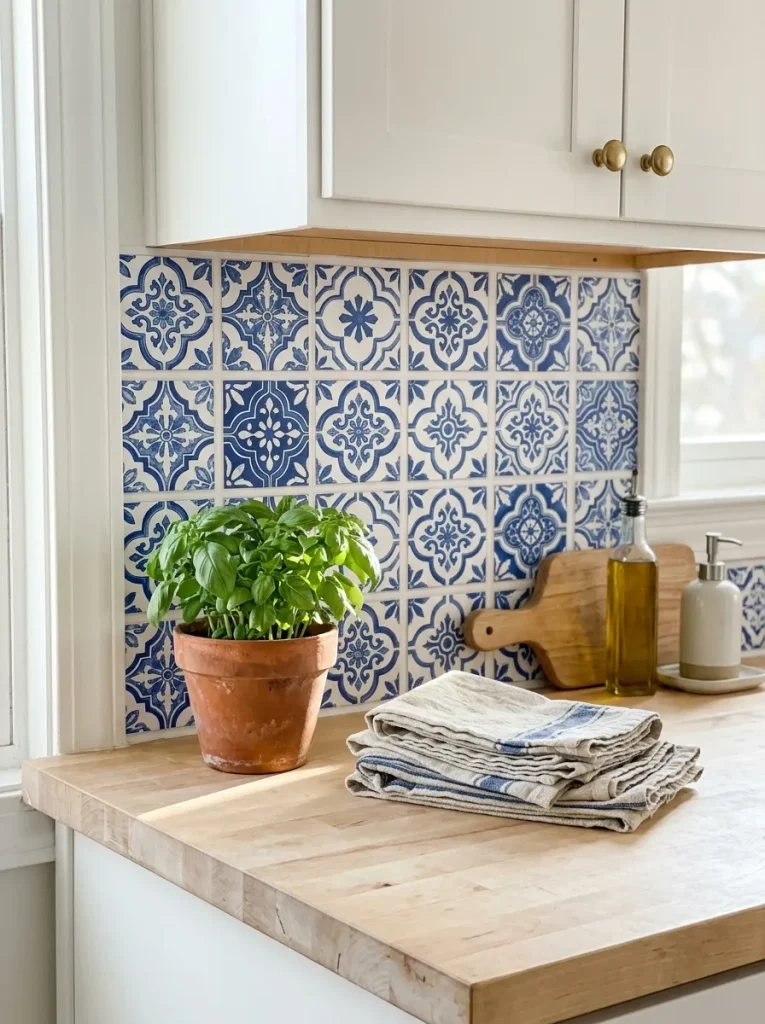
| Feature | Option A: Plain Stickers | Option B: Patterned Stickers |
| Visual effect | Subtle and understated | Decorative and eye-catching |
| Color palette | Neutral or monochrome | Blue, green, terracotta, or mixed tones |
| Best placement | Small kitchens and narrow walls | Simple kitchens needing a focal point |
| Styling approach | Coordinate with cabinets | Keep nearby accessories minimal |
Temporary tile stickers offer a quick way to introduce decorative detail without installing individual tiles. Look for designs sized to fit your existing backsplash grid, or use a repeating pattern to create a consistent finish. Clean the surface before application, check moisture resistance, and confirm removal instructions to protect the original wall.
7. Beadboard Backsplash Panels
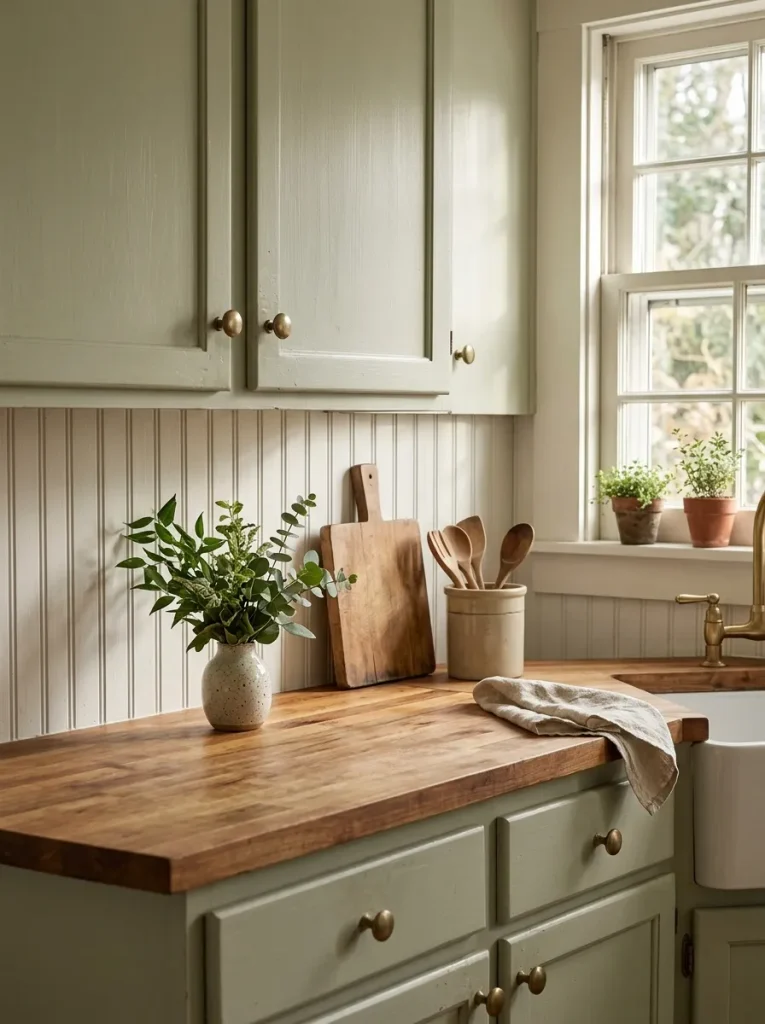
DO
- Choose lightweight beadboard panels designed for interior walls.
- Paint removable panels in white, cream, or muted sage if the product allows painting.
- Measure carefully so the vertical grooves align neatly with cabinet edges.
- Use an approved removable mounting method suitable for your wall surface.
DON’T
- Don’t attach panels with permanent construction adhesive without landlord approval.
- Don’t install ordinary wood panels near direct flames or excessive heat.
- Don’t cover damp walls or surfaces with peeling paint.
- Don’t assume painted panels will remain easy to clean around cooking splashes.
Beadboard creates a charming cottage look through simple vertical lines and subtle texture. It works particularly well with shaker cabinets, wooden countertops, and vintage-inspired accessories. For a rental kitchen, choose a lightweight, removable installation system and confirm that the material can handle the moisture and cleaning demands of your chosen location.
8. Stainless Steel Backsplash Sheets
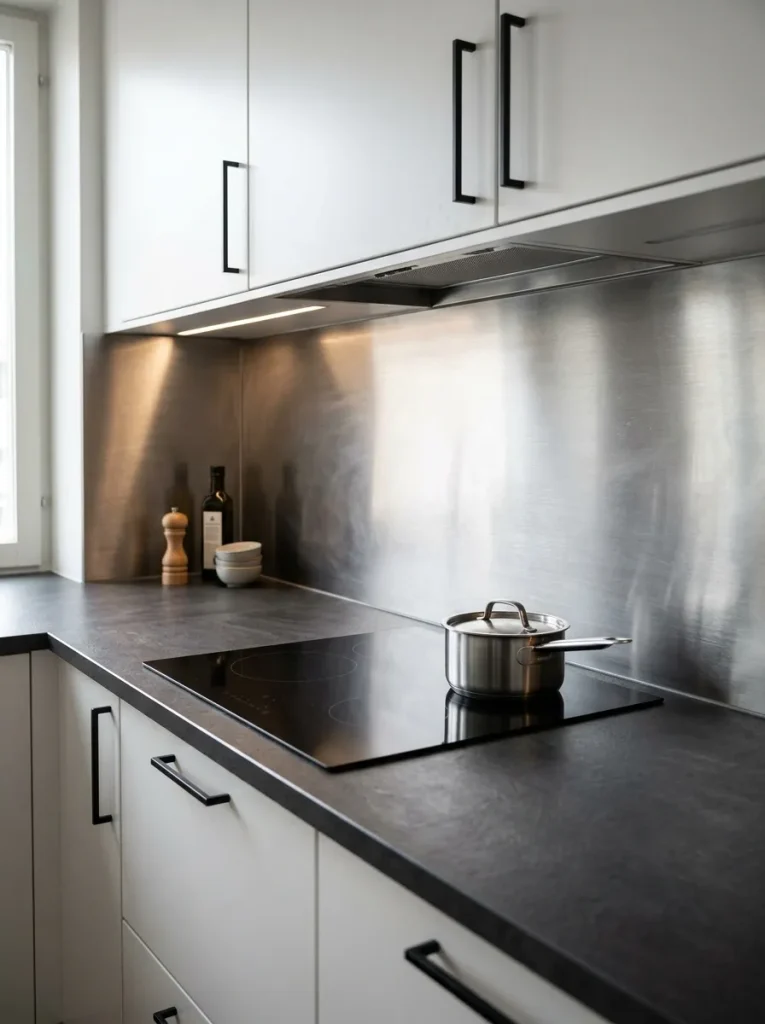
Cost: Moderate, depending on sheet size and material.
Installation Time: Approximately one to three hours for a small area, depending on preparation.
Skill Level: Beginner to intermediate.
Best For: Contemporary kitchens and compact cooking zones.
Brushed metal sheets introduce a clean, professional look while complementing stainless steel appliances. Their smooth surface can also make routine wiping easier, provided the material is suitable for the installation area. Select sheets with safe, finished edges, and verify heat ratings and mounting requirements before placing them behind a cooktop.
9. Faux-Brick Adhesive Wallpaper
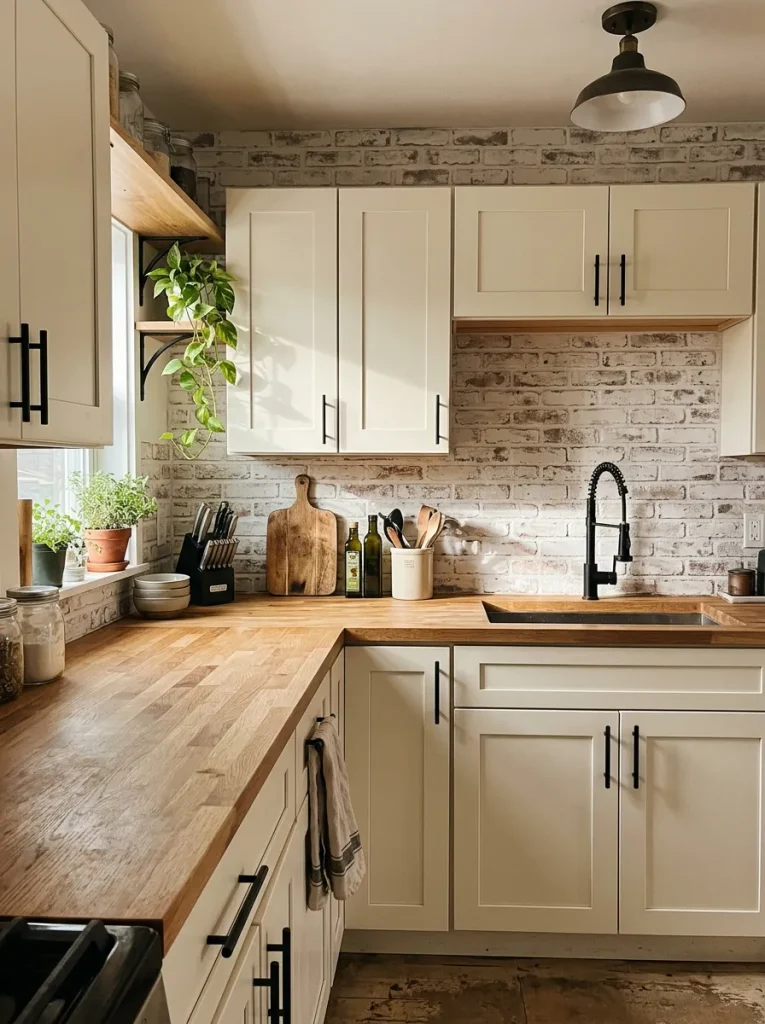
Exposed-brick character doesn’t require an exposed-brick wall. Faux-brick adhesive wallpaper creates the texture of a rustic kitchen while keeping the original surface intact when the product is properly selected and removed.
Choose whitewashed brick for a bright farmhouse appearance or soft beige for a warmer, more traditional finish. Keep surrounding cabinets simple so the printed texture stays in focus. Before applying it, confirm that the wallpaper is suitable for kitchen moisture and can be removed from your specific wall finish without damage.
10. Peel-and-Stick Mosaic Tiles
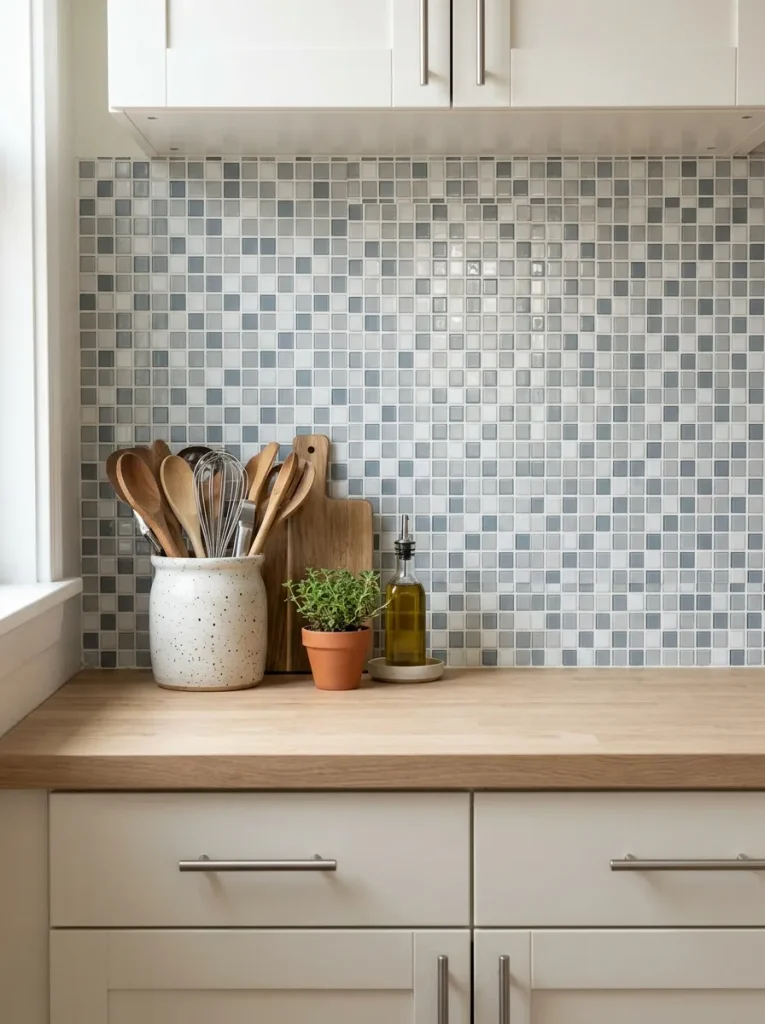
- Choose a cohesive palette: White, gray, and soft blue create a fresh appearance without overpowering the kitchen.
- Measure the installation area: Calculate the required sheets and allow extra material for cuts around outlets and corners.
- Prepare the wall: Remove grease and dust, then let the surface dry completely before applying the tiles.
- Align the pattern: Start from a straight reference line and check each sheet before pressing it firmly into place.
- Check product limitations: Confirm suitability for moisture, cleaning products, and nearby heat sources.
Mosaic patterns add detail to a kitchen without requiring new cabinets or countertops. Small tiles can make a plain wall feel more finished, especially when the surrounding surfaces remain simple. Choose a pattern that complements your existing finishes, and test the adhesive on an inconspicuous spot before covering the entire backsplash.
11. Removable Wallpaper Panels
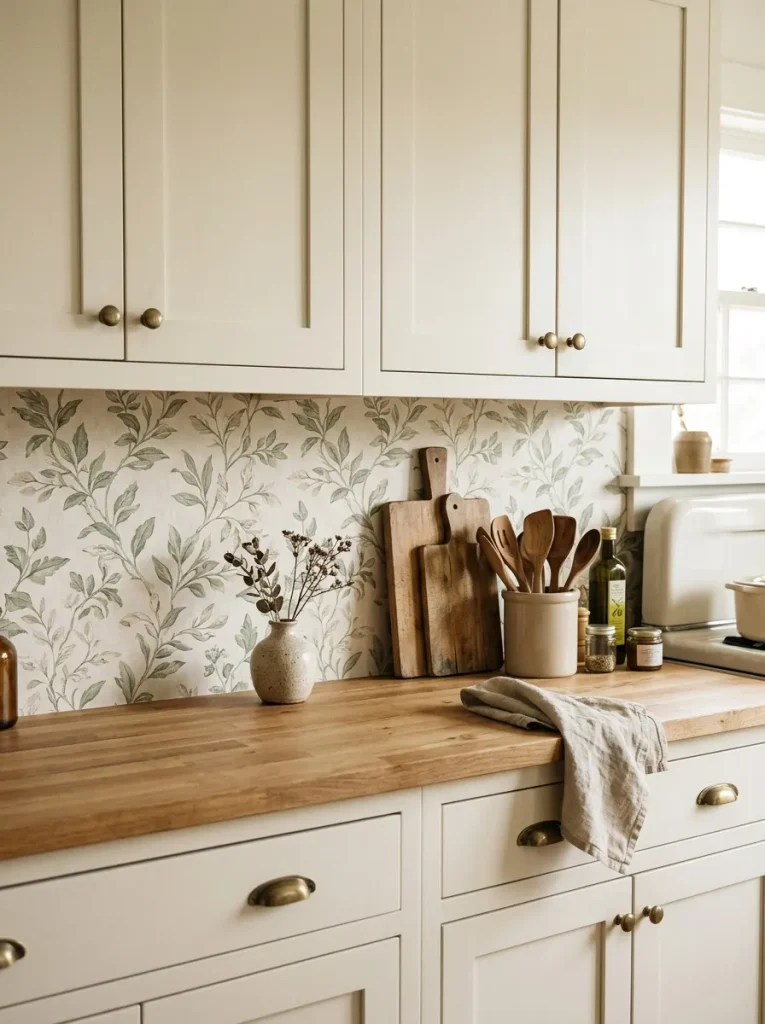
Quick Tip:
Choose peel-and-stick wallpaper specifically labeled as removable, and check whether it is suitable for kitchen use. Keep ordinary wallpaper away from direct heat, and use a backsplash-rated protective product only if the manufacturer confirms compatibility.
Wallpaper panels provide an easy way to bring botanical prints, delicate stripes, or subtle vintage patterns into a rental kitchen. For a coordinated look, repeat one color from the wallpaper in your dish towels or countertop accessories. Apply the panels to a smooth, dry wall, and test removal before committing to a large section.
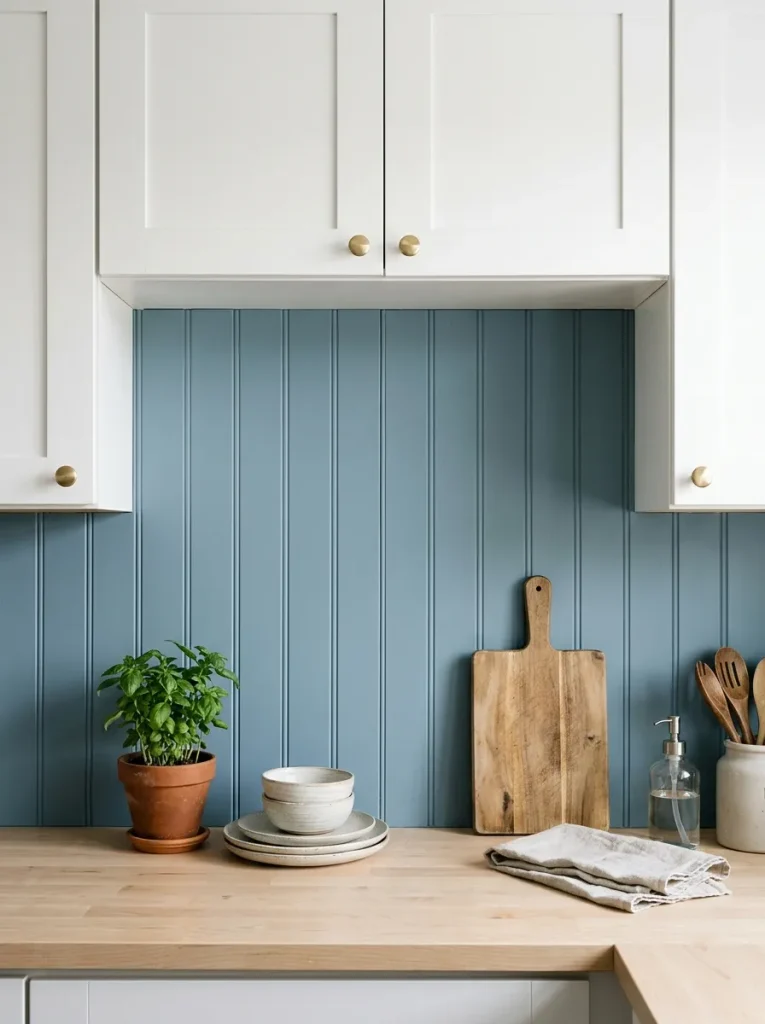
12. Painted Removable Wall Panels
BEFORE
A plain white backsplash can leave the kitchen feeling unfinished, particularly when the cabinets and countertops have little contrast. Permanent paint or tile changes may not be allowed under a rental agreement.
AFTER
Removable wall panels introduce a controlled block of color while preserving the option to restore the original wall later. Dusty blue, warm cream, or sage green can create contrast without making a compact kitchen feel crowded.
Measure the space between the countertop and upper cabinets before cutting the panels. Use a suitable removable mounting system and select paint compatible with the panel material. Keep panels away from direct flame and excessive heat unless specifically rated for those conditions, and confirm that the installation meets your landlord’s requirements.
13. Peel-and-Stick Herringbone Tiles
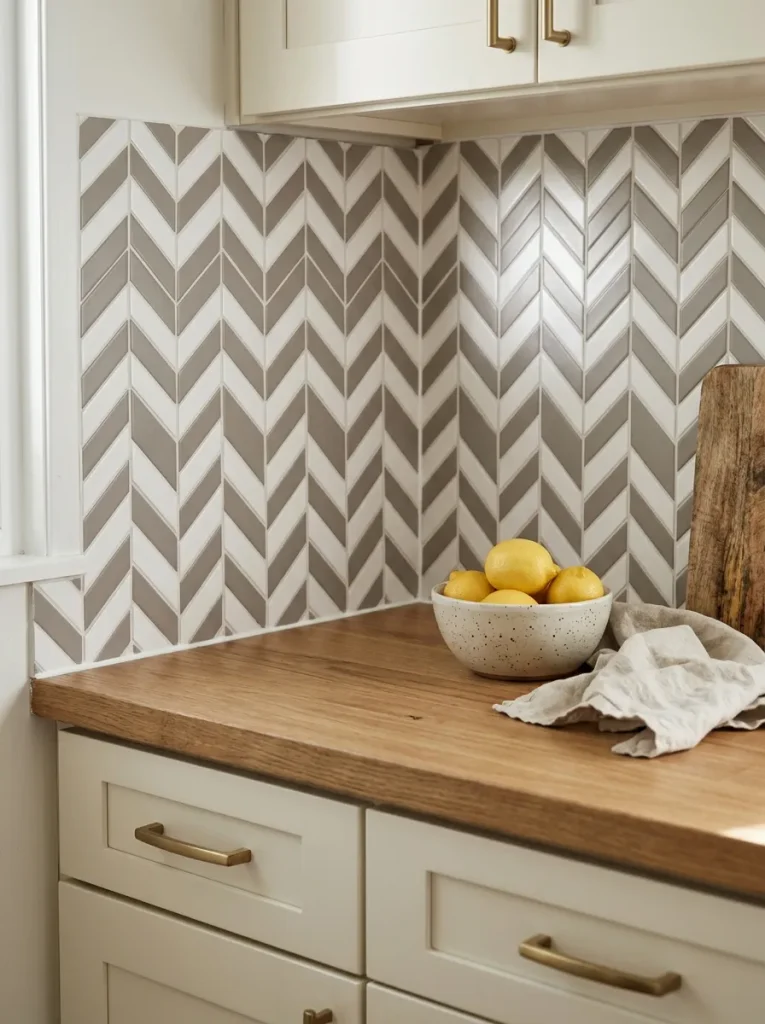
- Measure the backsplash: Record the height and width, including narrow spaces beside cabinets and around outlets.
- Choose the pattern: Select white, marble-look, or pale gray herringbone tiles for a bright, coordinated finish.
- Mark a guide: Use a level to establish a straight starting line so the diagonal pattern remains consistent.
- Apply slowly: Press each sheet into place, smoothing bubbles and checking alignment before continuing.
- Finish the edges: Trim carefully around corners and fixtures according to the manufacturer’s instructions.
Herringbone patterns create movement without relying on bold colors or busy prints. The angled lines draw attention to the backsplash and make simple cabinets look more considered. For a cohesive rental kitchen, repeat one of the tile’s colors in your countertop accessories, and check that the adhesive is appropriate for your wall surface.
14. Faux-Terrazzo Adhesive Sheets
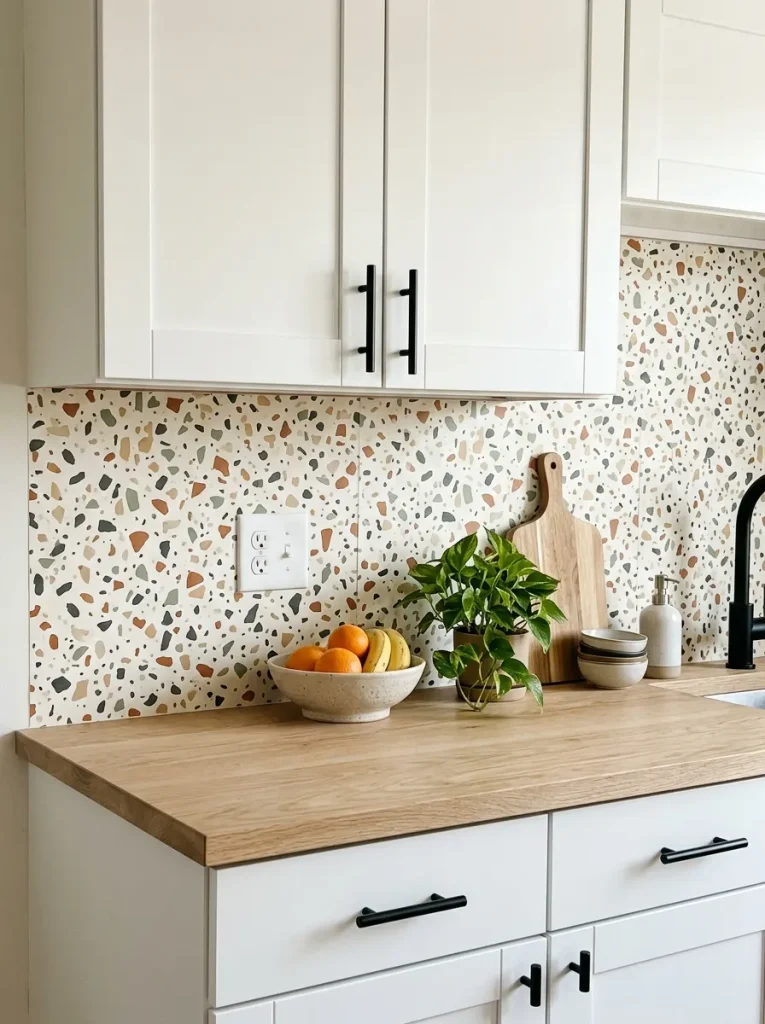
| Feature | Option A: Fine Terrazzo Flecks | Option B: Large Terrazzo Chips |
| Overall appearance | Subtle and understated | Bold and decorative |
| Best color palette | Cream, beige, and gray | Sage, rust, blue, and charcoal |
| Visual effect | Keeps the wall visually calm | Creates a stronger focal point |
| Styling approach | Works with patterned accessories | Pairs best with simple countertops |
Faux-terrazzo sheets bring several colors into a kitchen without requiring new fixtures or expensive materials. Fine flecks suit smaller spaces where a quiet pattern works best, while larger chips create a more graphic look. Match at least one shade to your existing cabinets or countertop, and check the product’s cleaning and removal instructions before installation.
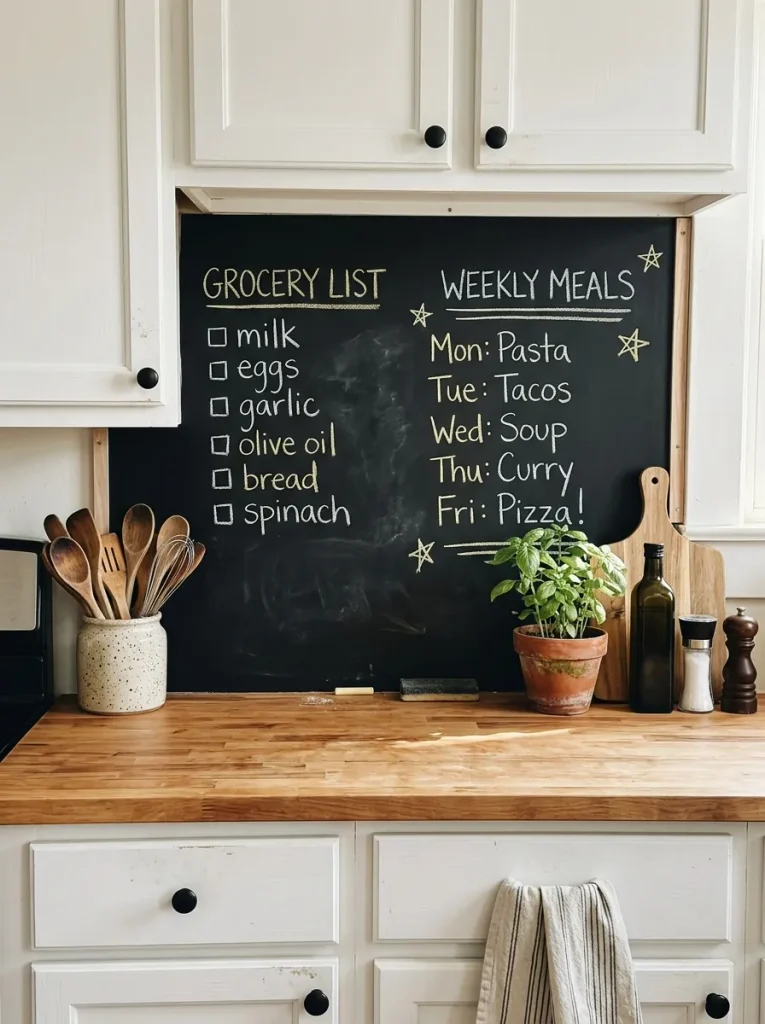
15. Removable Chalkboard Panels
DO
- Choose a lightweight chalkboard panel designed for removable installation.
- Keep handwritten notes small and organized to avoid visual clutter.
- Use white chalk or compatible chalk markers for clear contrast.
- Place the panel in a low-splash area away from direct cooking heat.
DON’T
- Don’t mount an ordinary chalkboard surface directly behind a hot burner.
- Don’t use permanent adhesive without checking your lease.
- Don’t write directly on an unapproved wall covering.
- Don’t ignore cleaning instructions, especially where chalk dust could reach food preparation areas.
A chalkboard backsplash adds a practical feature to a rental kitchen while introducing a bold, modern contrast. Use it for grocery reminders, quick recipes, or a weekly meal plan, and keep the rest of the backsplash visually simple. Before installation, verify that the panel can be removed safely and that its finish is suitable for your intended location.
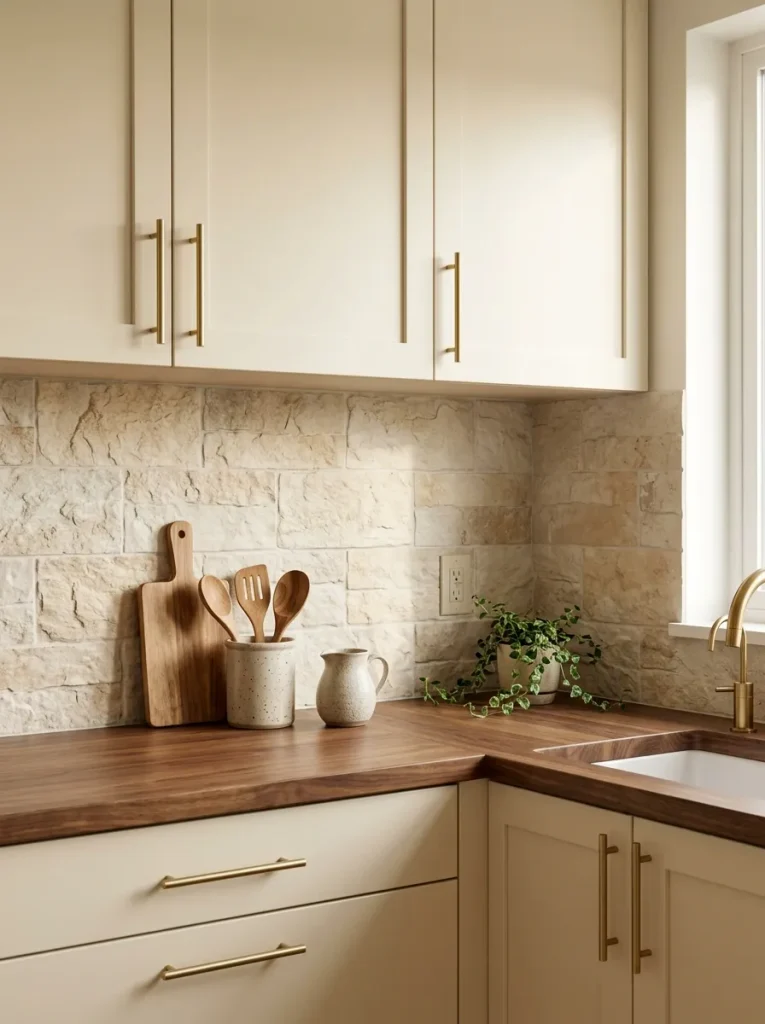
16. Faux-Stone Adhesive Panels
Cost: Moderate, depending on panel thickness and finish.
Installation Time: Around two to four hours for a small backsplash, depending on cutting and preparation.
Skill Level: Beginner to intermediate.
Best For: Kitchens with neutral cabinets and natural wood accents.
Faux-stone panels introduce the textured appearance of limestone or travertine without the weight and expense of natural stone. Beige and ivory finishes work particularly well with wooden countertops, while light gray adds a contemporary touch. Check the panel’s heat and moisture ratings, and choose a removable mounting system compatible with your wall before installation.
17. Classic Checkerboard Tiles
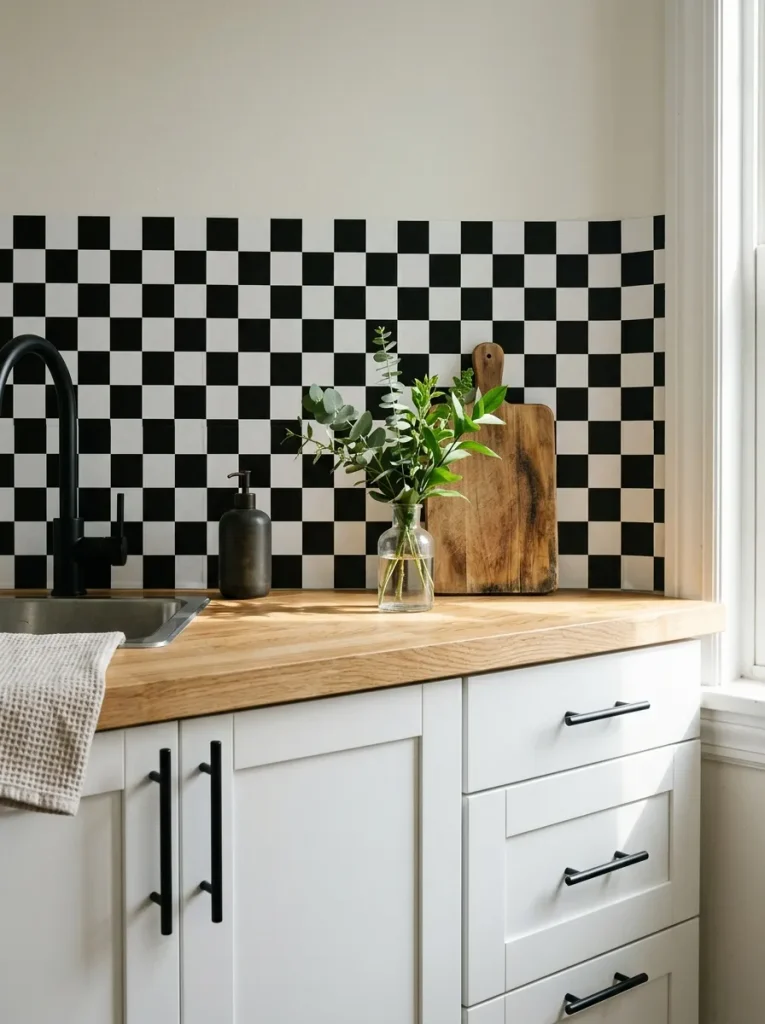
A checkerboard backsplash adds instant graphic contrast to an otherwise simple kitchen. Black and white creates a classic retro look, while cream and sage offer a softer, more contemporary alternative.
For the cleanest result, plan the layout before applying the tiles so the squares align with the countertop and cabinet edges. Keep nearby accessories understated to prevent the pattern from competing with other visual details. Removable tile sheets can be a useful option, but check their adhesive requirements and suitability for the chosen wall surface first.
18. Faux-Cement Tile Stickers
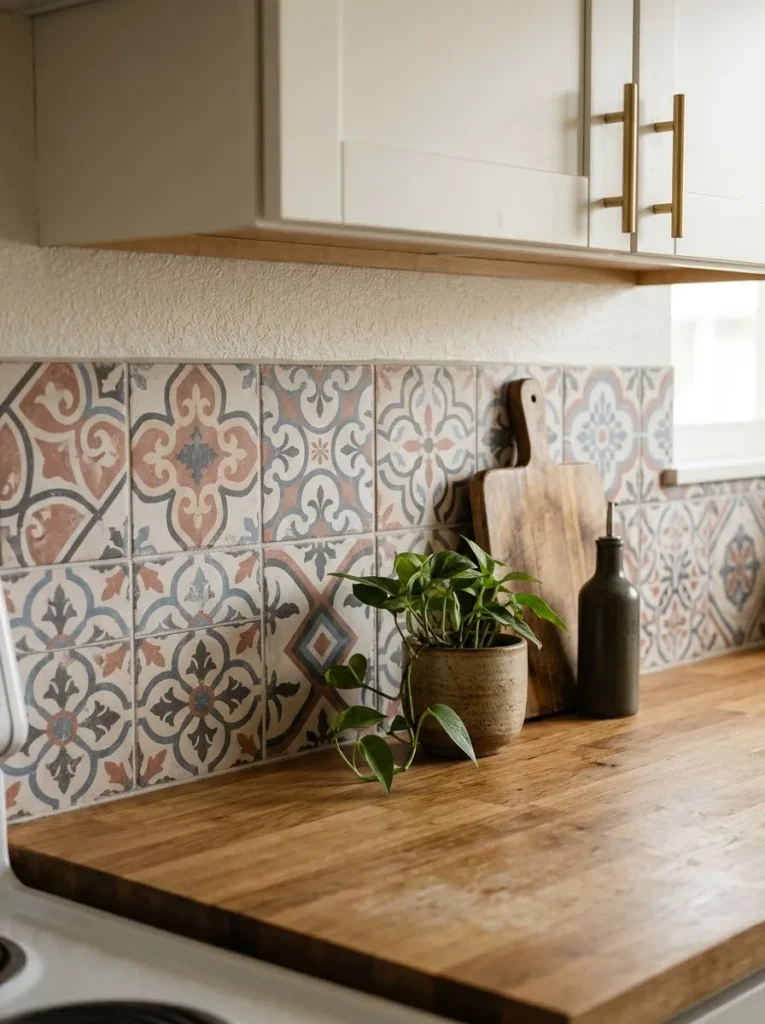
BEFORE
Plain rental kitchen walls can look unfinished, especially when the cabinets and counters have little decorative detail. Replacing the original backsplash may be too expensive or restricted by the lease.
AFTER
Faux-cement tile stickers introduce the intricate patterns associated with Mediterranean and Spanish-inspired interiors. Muted colors create a decorative focal point without requiring permanent tile installation.
Choose a design that repeats one or two colors already present in the kitchen. Apply the stickers to a clean, smooth surface and align the motifs carefully at the seams. Check that the product is suitable for kitchen conditions, and test removal first to avoid damaging the original finish.
19. Wood-Look Backsplash Panels
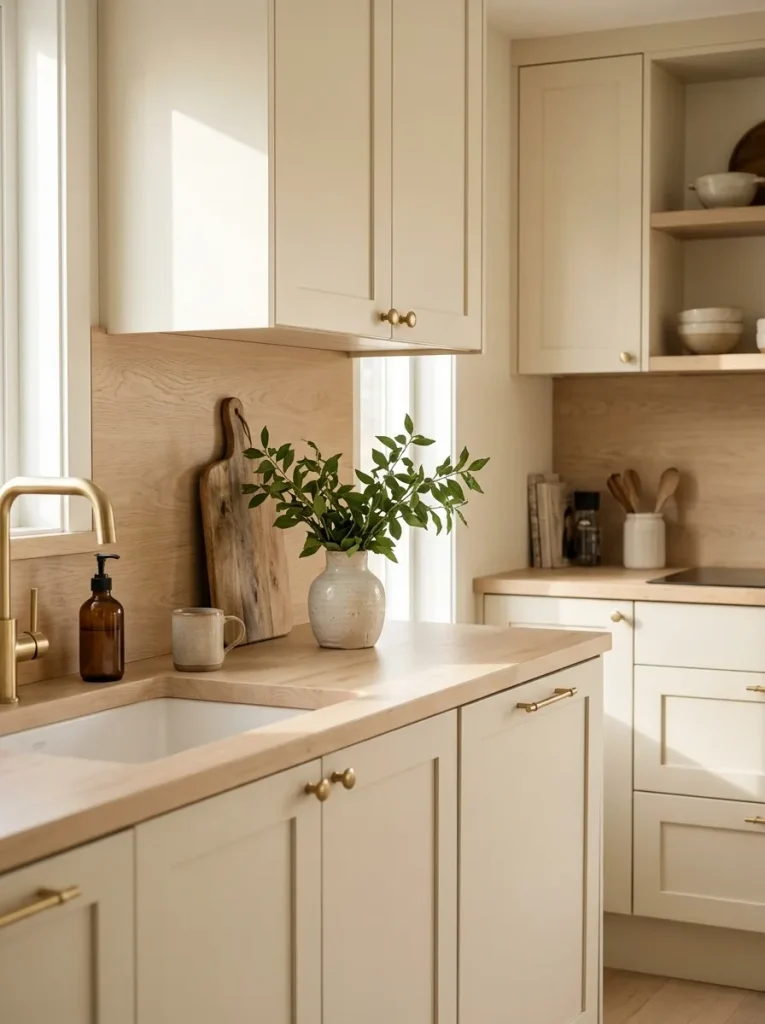
- Select the finish: Choose light oak for a Scandinavian look or medium walnut for a richer, warmer appearance.
- Measure carefully: Calculate the wall area and plan panel placement around outlets, corners, and cabinets.
- Check the material: Select panels rated for the intended kitchen conditions, including moisture and heat exposure.
- Plan removable mounting: Use a compatible system that suits both the panel and the original wall surface.
Wood-look panels bring warmth to kitchens with white cabinets, cool-toned countertops, or stainless steel appliances. Their natural grain softens hard surfaces and creates a more cohesive appearance. For rental-friendly installation, choose lightweight panels with clear removal instructions, and avoid placing ordinary wood products near direct flames or other high-heat sources.
20. Acrylic Backsplash Panels
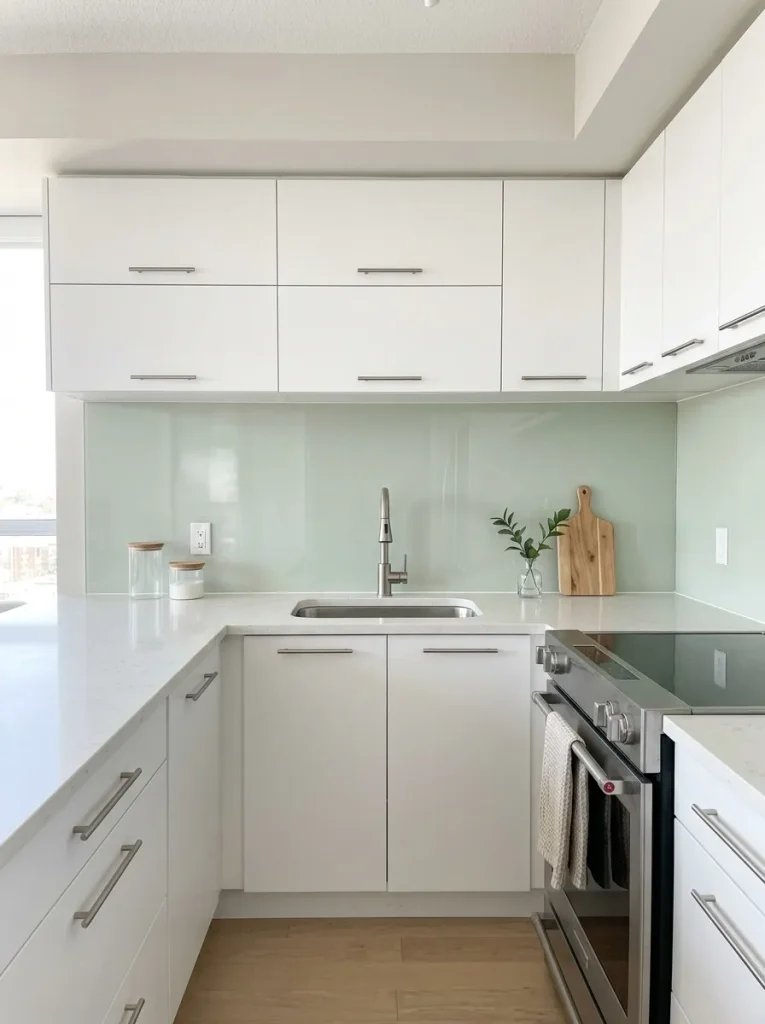
| Feature | Option A: Clear Acrylic | Option B: Colored Acrylic |
| Appearance | Subtle and light | More decorative and distinctive |
| Color choices | Transparent or lightly tinted | Sage, white, beige, or soft gray |
| Visual effect | Preserves a minimal look | Adds a defined color accent |
| Main consideration | Requires a suitable backing surface | Needs careful color coordination |
Acrylic panels create a smooth, modern backsplash with fewer visible seams than many small-tile designs. Clear or pale finishes suit compact kitchens, while colored panels provide a stronger focal point. Check the manufacturer’s heat rating before installing acrylic near cooking equipment, and use a removable mounting method approved for the panel and your wall surface.
Conclusion
Refreshing your kitchen doesn’t require a complete makeover. With the right renter friendly backsplash ideas, you can bring fresh color, attractive patterns, and personal style to your space while keeping permanent changes to a minimum.
Whether you love marble-inspired finishes, vintage patterns, or simple neutral panels, start with one idea that complements your existing kitchen. Always check your lease, test removable adhesives on a hidden area, and follow product safety instructions, especially near cooking appliances.
Save this article on Pinterest for inspiration, try your favorite idea, and share it with friends who want a stylish rental kitchen. Small changes can make your kitchen feel more like home!