21 Ways to Prevent Garden Mess During Heavy Rain
Heavy rain can turn a beautiful garden into a muddy, messy space in just a few hours. From washed-away soil to flooded flower beds and slippery garden paths, dealing with the aftermath can feel exhausting.
The good news? A few smart changes can help prevent garden mess heavy rain leaves behind while keeping your outdoor space attractive and easier to maintain. Whether you have a small backyard, a vegetable patch, a flower garden, or a spacious lawn, simple improvements can make a noticeable difference.
In this guide, you’ll discover 21 practical ideas for managing rainwater, protecting your soil, reducing mud, and keeping garden pathways clean. From gravel paths and raised beds to rain barrels and drainage solutions, these ideas offer options for different budgets and garden styles. You’ll also learn how to choose solutions that suit your landscape, so you can spend less time cleaning up after storms and more time enjoying your garden.
1. Raised Garden Beds
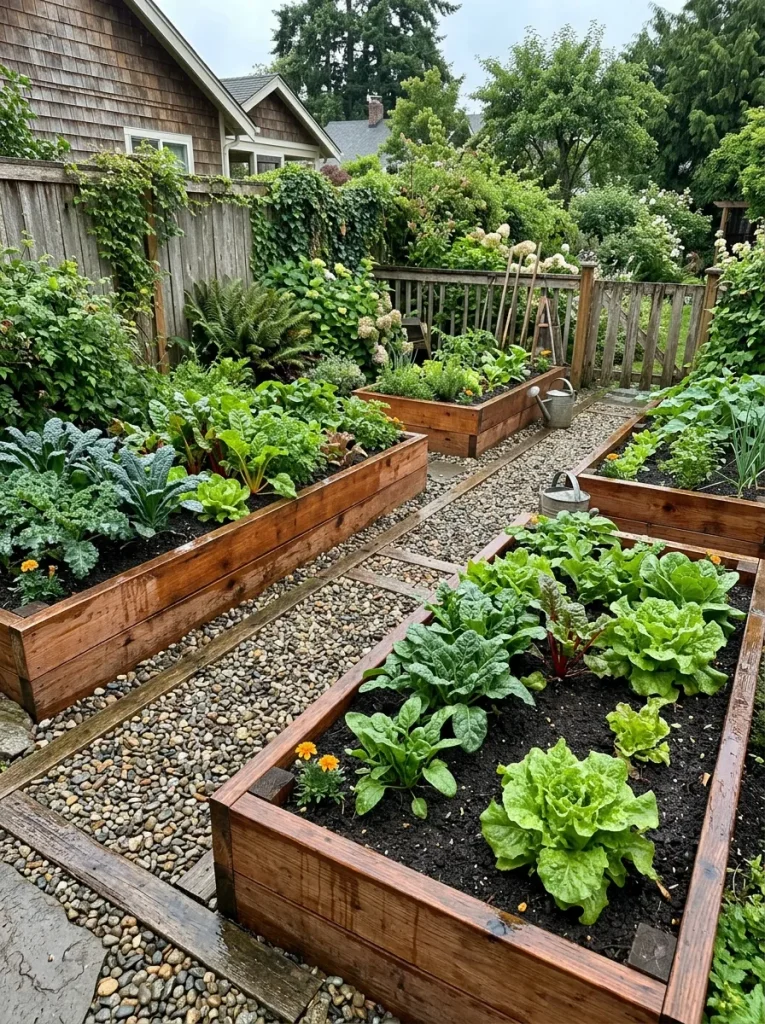
Rain can turn a tidy garden into a muddy mess surprisingly quickly. Raised garden beds lift vegetables, herbs, and flowers above the surrounding ground, helping manage excess water when the beds have suitable drainage. They also create clear planting boundaries, keeping loose soil away from nearby lawns and walkways.
The goal is to prevent garden mess heavy rain often leaves behind while protecting plant roots from prolonged waterlogging. Build beds with rot-resistant materials and fill them with well-draining soil. Position them away from natural runoff channels, since raised beds alone cannot prevent flooding during severe storms.
2. Gravel Garden Paths
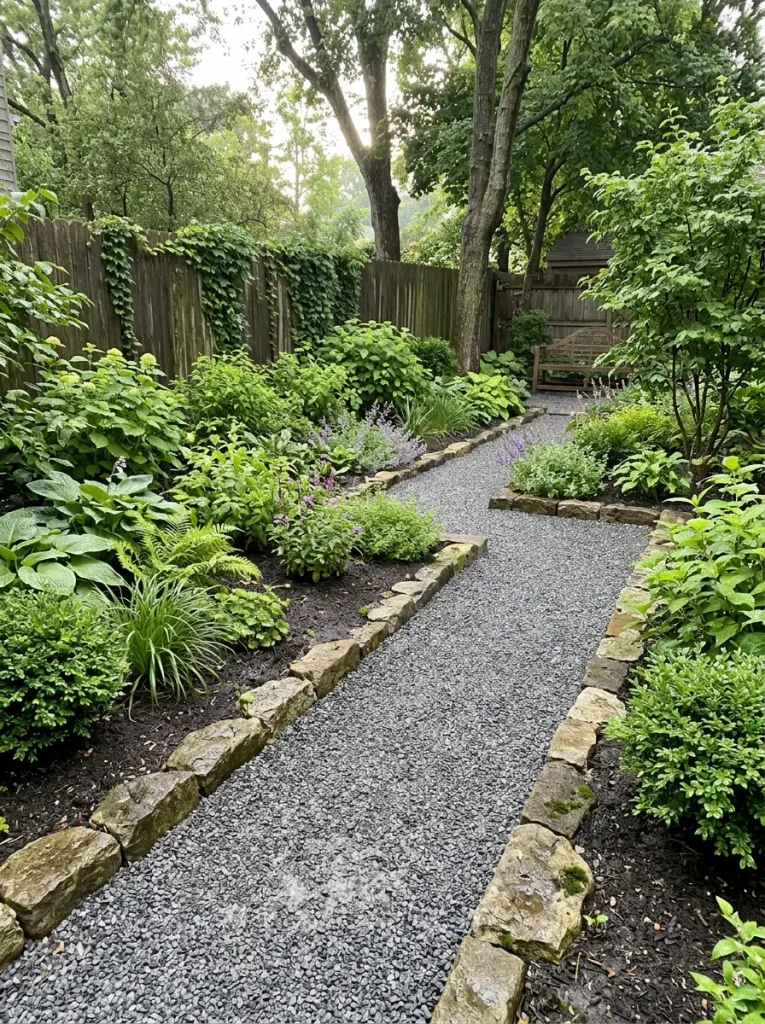
- Choose suitable gravel: Angular gravel generally stays in place better than rounded, loose stones.
- Install sturdy edging: Metal, stone, or treated timber borders help prevent gravel from spreading into planting beds.
- Prepare the base: Remove soft soil and install a properly compacted, suitable base before adding gravel.
- Plan water flow: Give paths an appropriate grade so runoff moves toward a safe drainage area.
- Maintain the surface: Rake displaced stones back into place and remove accumulated leaves after storms.
Gravel paths provide a practical alternative to muddy walkways, especially between vegetable beds and flower borders. A well-prepared base helps reduce sinking, while strong edging keeps the layout neat. Choose a gravel size that feels comfortable underfoot, and avoid directing runoff toward your house or neighboring property.
3. Mulched Planting Beds
Quick Tip:
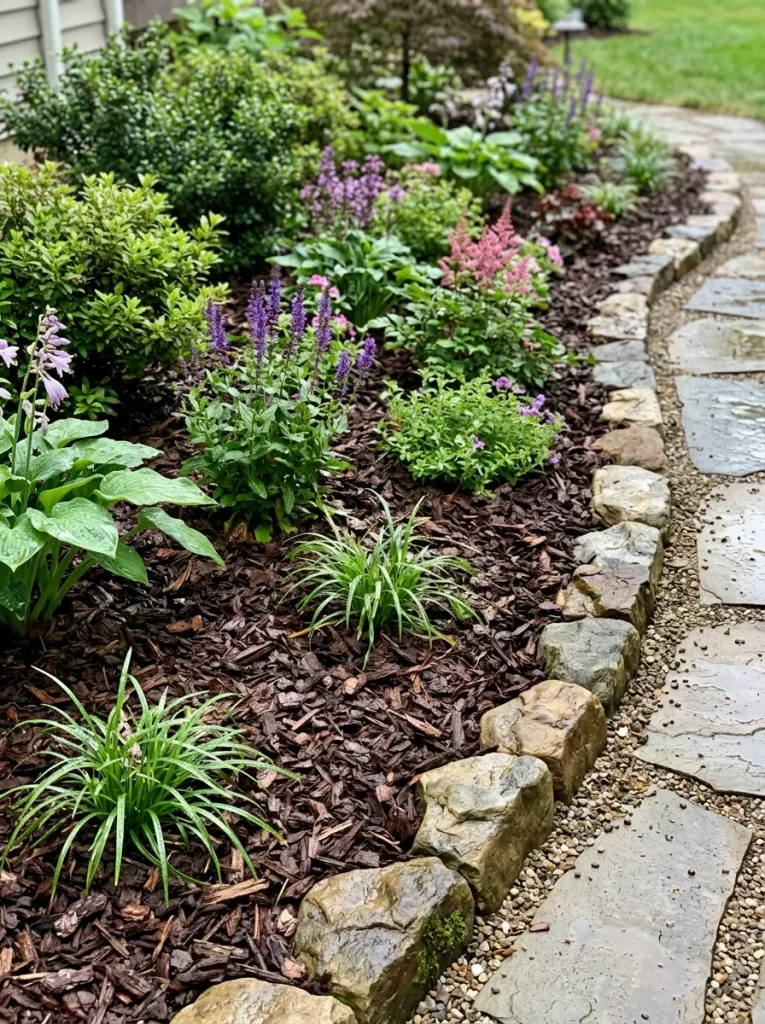
Spread mulch in an even layer about 2 to 3 inches deep, keeping it several inches away from plant stems and tree trunks. On sloped areas exposed to strong runoff, use a suitable heavier mulch or secure erosion-control matting to reduce displacement.
Mulch helps soften the appearance of garden beds while protecting exposed soil from the impact of heavy raindrops. It can also reduce splashing onto leaves, nearby paving, and outdoor furniture. Choose shredded bark, wood chips, or another suitable material for your garden, and replenish washed-away patches after the soil has drained.
4. Extended Downspouts
BEFORE
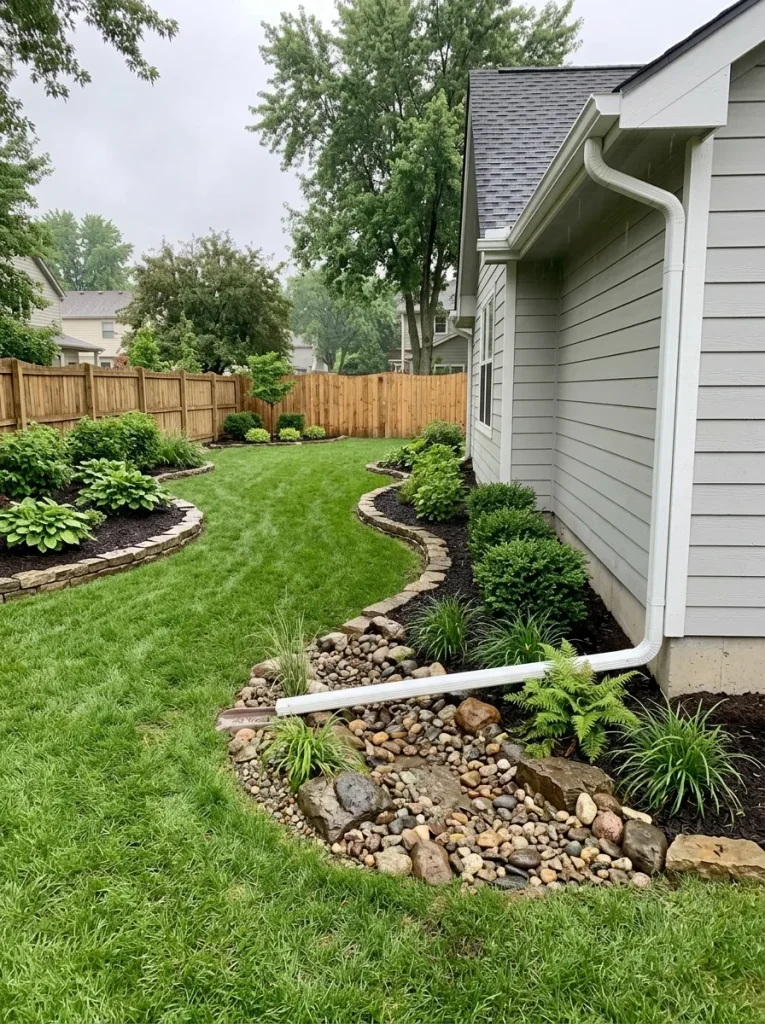
Heavy rain pours from roof gutters and collects beside the house, creating puddles, muddy patches, and splashes across nearby flower beds. Soil may wash onto paths, while standing water can threaten the foundation.
AFTER
Properly extended downspouts direct roof water toward a suitable drainage area, reducing concentrated runoff around the garden. A carefully planned outlet helps protect planting beds and keeps walkways cleaner.
Choose a downspout extension that reaches a stable discharge point away from your foundation. Make sure the outlet does not send water toward neighboring properties or erode the lawn. Check local drainage requirements, and inspect the extension after storms to ensure it has not shifted or become blocked.
5. Permeable Stepping Stones
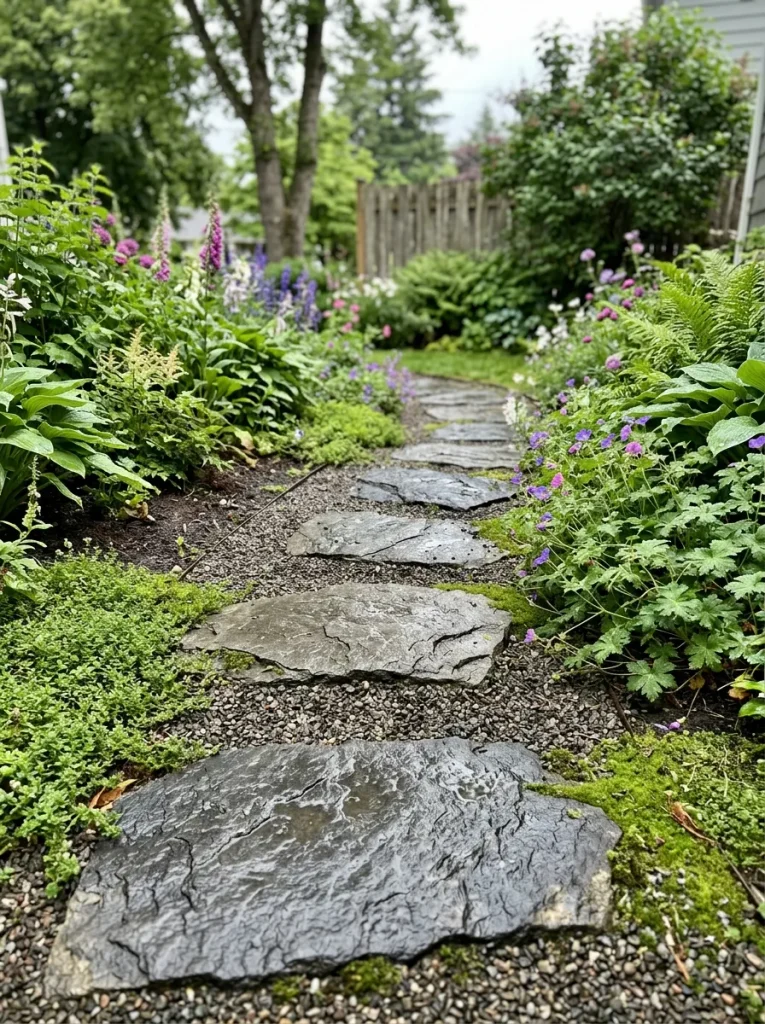
- Plan the route: Mark a direct path between garden entrances, seating areas, and planting beds to reduce foot traffic over soft soil.
- Set the spacing: Position stones at comfortable walking distances and check the layout before digging.
- Prepare the base: Remove loose topsoil beneath each stone and add a suitable compacted gravel base.
- Level the surface: Set each stone firmly so it does not wobble or collect standing water.
Stepping stones help keep muddy shoes off the lawn and prevent repeated foot traffic from compacting wet soil. Leave permeable gaps filled with gravel or suitable ground cover so some water can soak into the ground. For safety, choose stones with textured surfaces and keep the finished path as level as possible.
6. Shallow Drainage Swales
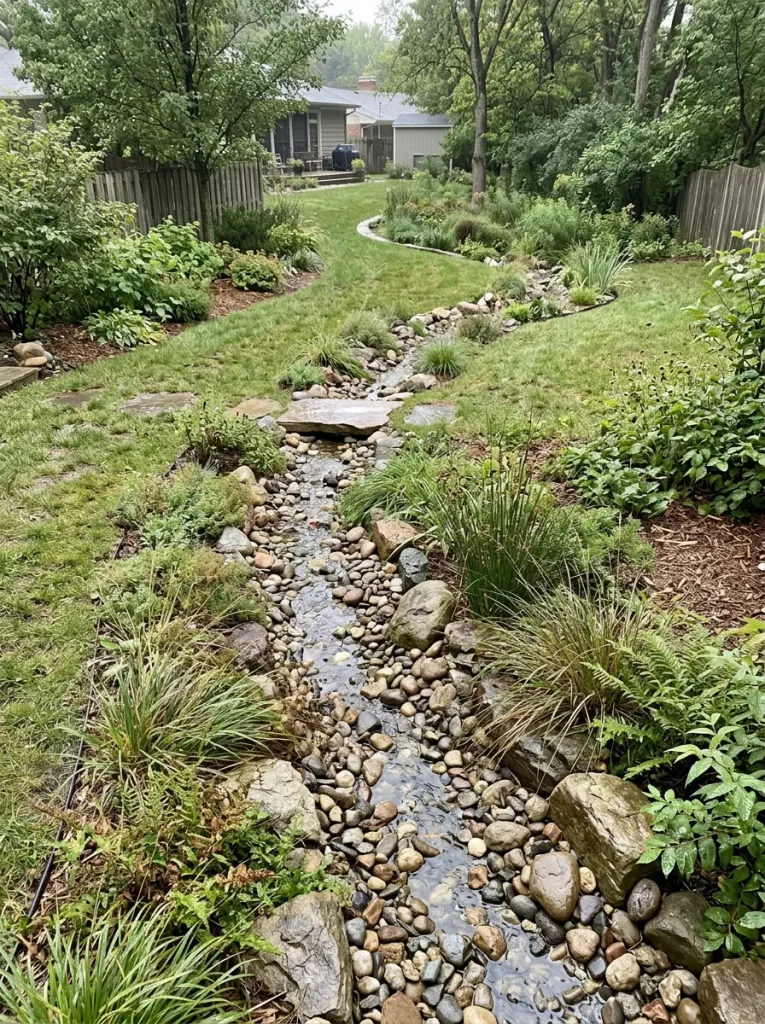
| Feature | Option A: Grass Swale | Option B: Stone-Lined Swale |
| Appearance | Blends into lawns and natural gardens | Creates a defined decorative channel |
| Maintenance | Requires mowing and occasional reseeding | Needs periodic debris and sediment removal |
| Best For | Broad, gently sloping areas | Areas needing extra surface protection |
| Planting | Suitable grass or moisture-tolerant plants | Stone with selected plants along the edges |
A shallow swale guides rainwater along a planned route instead of letting it spread randomly across your garden. Its gentle slope can slow runoff and encourage infiltration where the soil allows. Check the natural fall of your yard before digging, and seek professional guidance if water flow is substantial or drainage could affect nearby buildings.
7. Rain Garden Planting
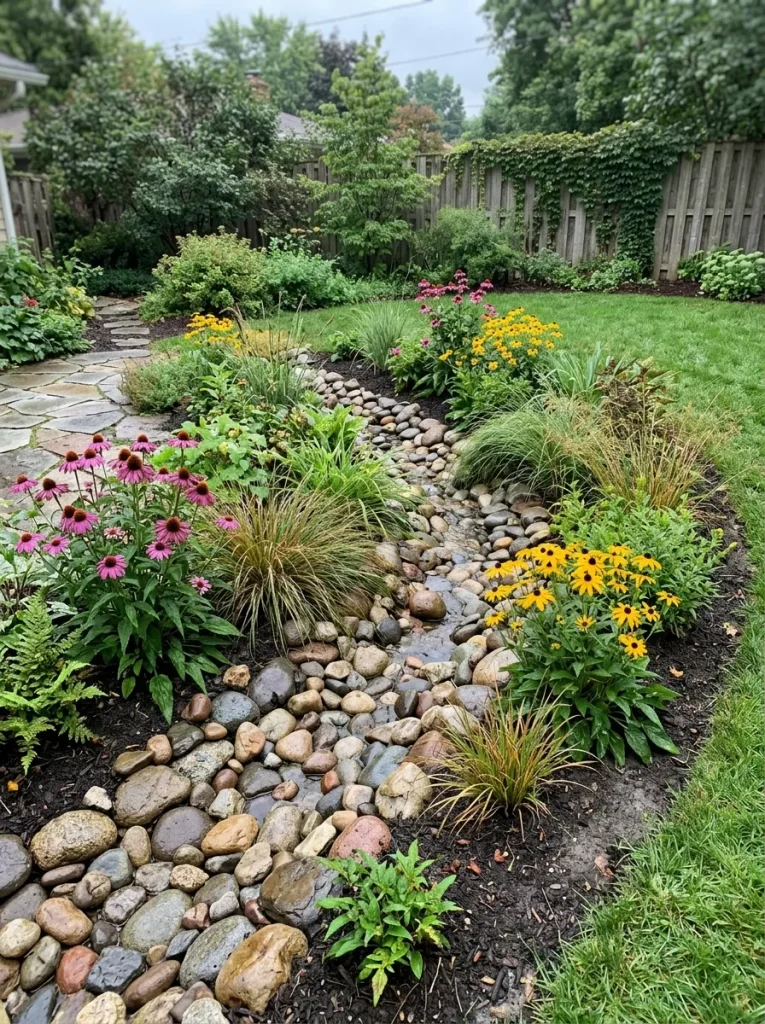
DO
- Choose native plants suited to your soil and local rainfall.
- Place moisture-tolerant plants in the lowest part of the basin.
- Add stones or suitable ground cover to help protect exposed soil.
- Direct runoff into the garden only where drainage conditions are appropriate.
DON’T
- Don’t create a rain garden beside your house foundation.
- Don’t plant species that cannot tolerate occasional wet conditions.
- Don’t send concentrated roof runoff into an unprepared planting bed.
- Don’t ignore underground utilities before digging.
A rain garden gives excess water a planned place to collect and soak into suitable soil. Its layered planting creates an attractive landscape feature while helping reduce puddles elsewhere. In my experience, choosing plants for the wettest and driest parts of the basin makes maintenance easier and keeps the garden looking balanced.
8. Rain Barrel Collection
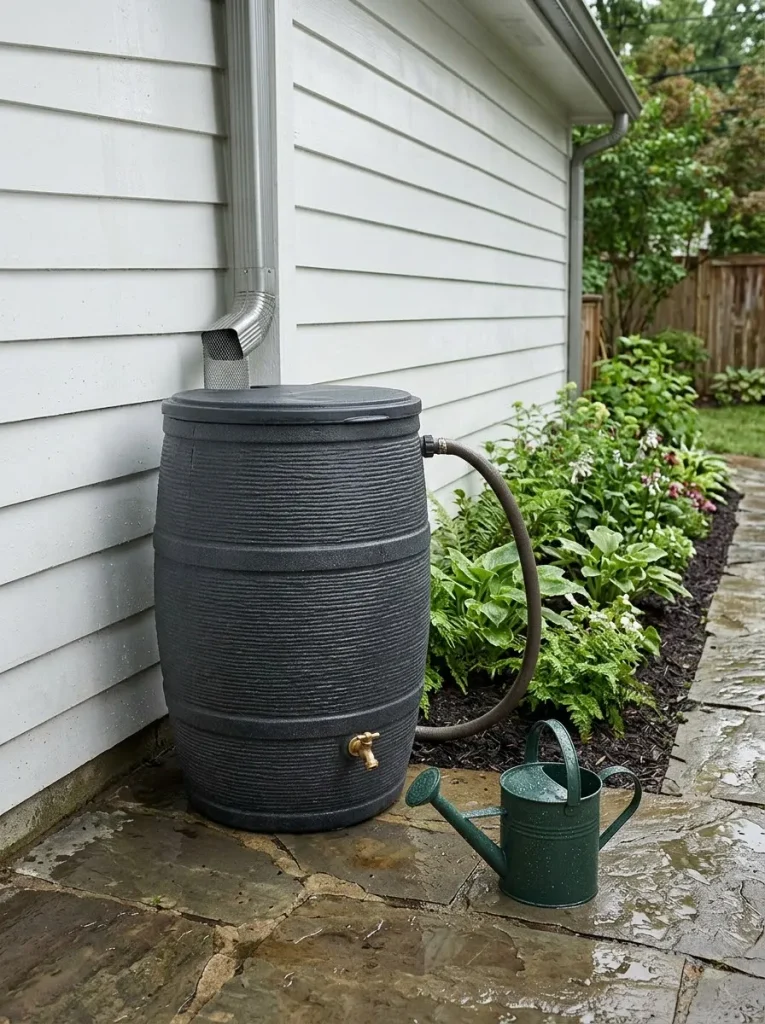
Cost: Moderate upfront cost, depending on capacity and fittings.
Installation Time: A few hours for a basic setup, depending on the gutter connection.
Skill Level: Beginner to intermediate.
Best For: Collecting roof runoff for suitable garden watering.
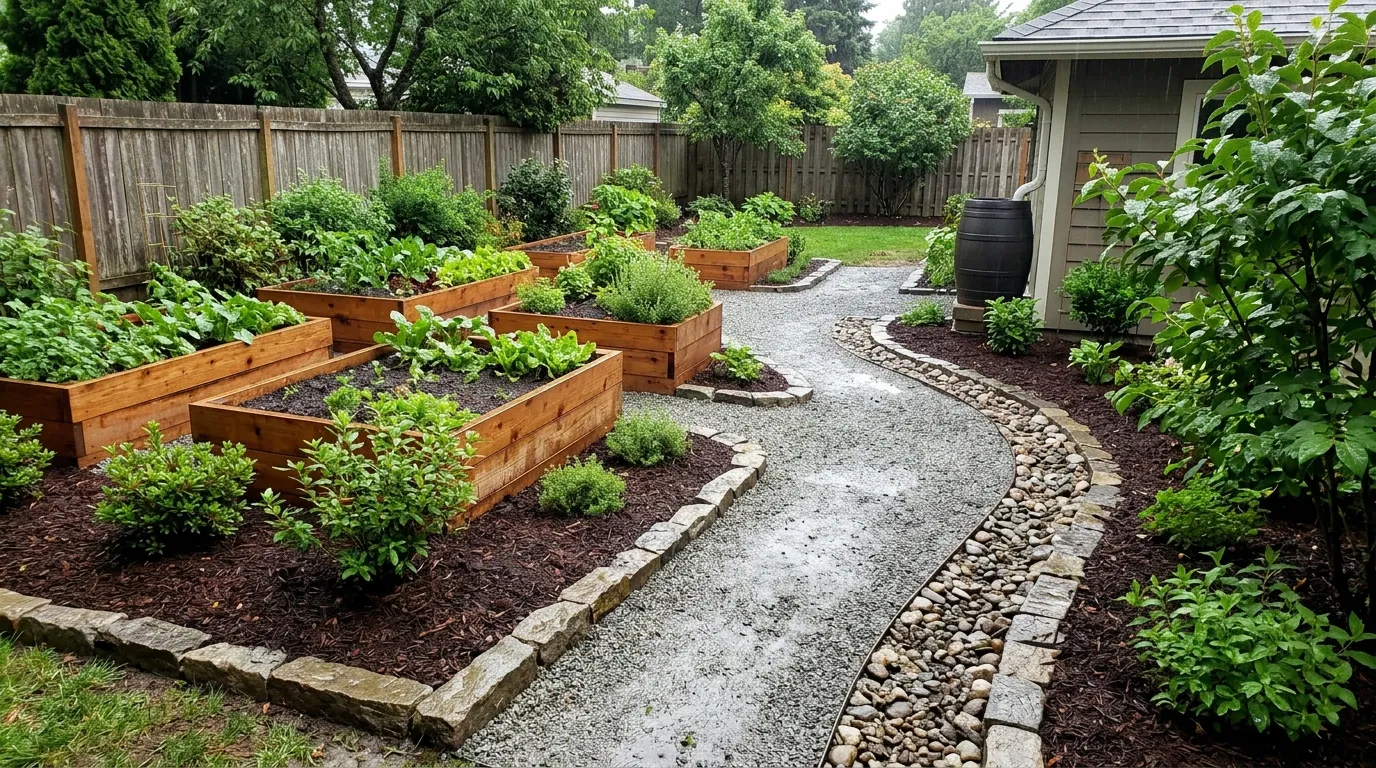
A rain barrel stores some roof runoff instead of allowing all of it to splash onto nearby soil and paths. Choose a stable, covered barrel with a screened inlet and controlled overflow, then place it on a level base that can support its full weight. Keep the outlet directed toward a safe drainage area, and use collected water according to local guidance.
9. Mulch-Free Stone Borders
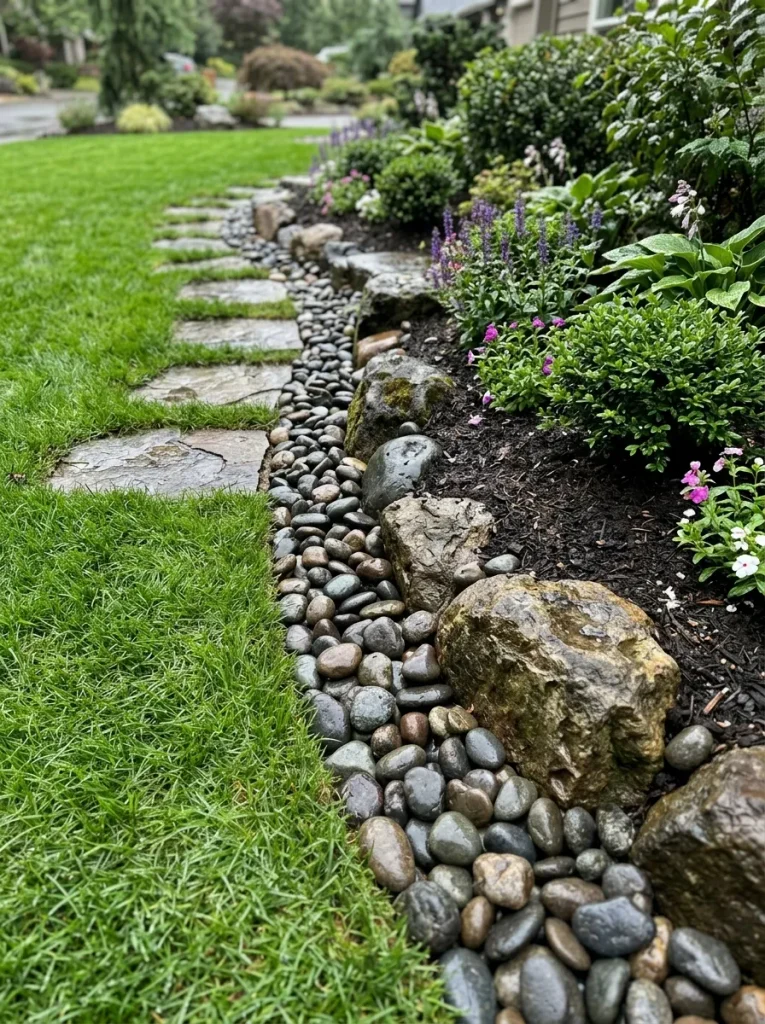
Loose mulch can scatter across paths and lawns when strong rain washes through a garden. Stone borders create a more stable visual edge between planting areas and walkways, helping keep loose soil and decorative materials contained. Choose stones suited to your climate and garden style, and install firm edging where runoff could move them.
For better results, prepare the ground before laying the stones. Remove weeds, shape the border so water can drain safely, and consider a suitable permeable base to limit sinking. Avoid using stones to block natural drainage routes, since trapped water may create new puddles rather than solve the original problem.
10. Erosion Control Mats
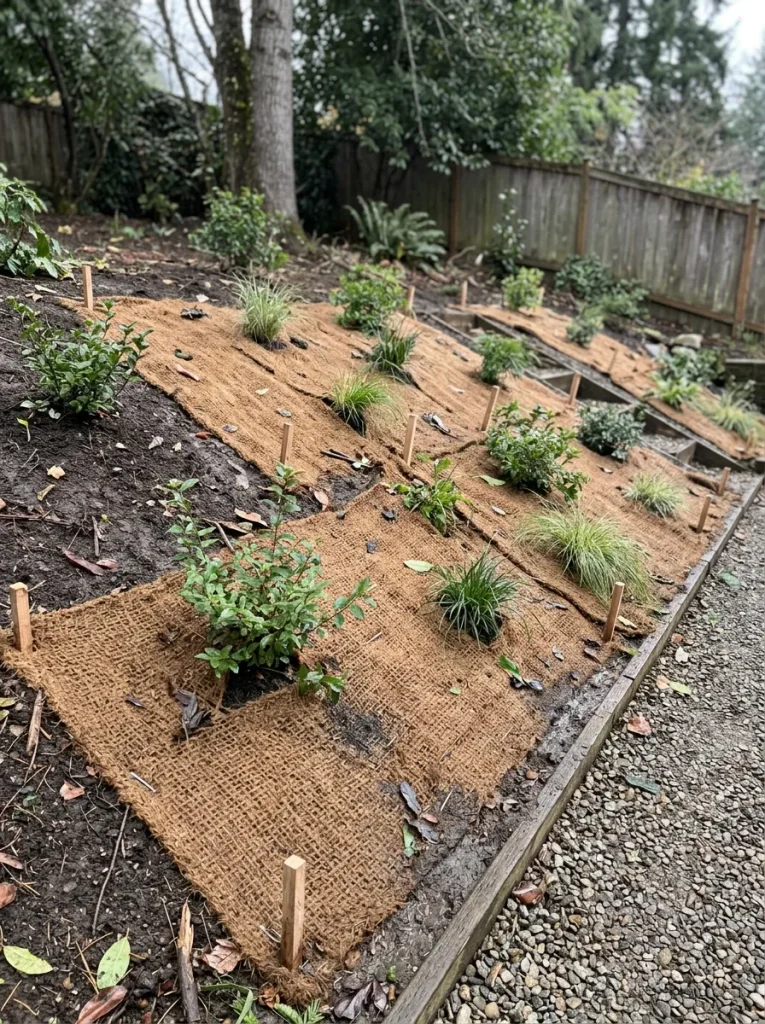
- Choose natural fibers: Coir or jute mats can help hold loose soil in place while plants establish.
- Prepare the slope: Remove loose debris and gently shape the surface before laying the mat.
- Secure the edges: Use suitable biodegradable or landscape stakes to prevent the material from shifting.
- Plant through openings: Place suitable ground-cover plants where they can establish roots and provide lasting soil protection.
- Check after storms: Repair lifted sections and remove debris that blocks water from flowing safely.
Erosion-control mats are especially useful on sloped garden beds where heavy rain washes soil toward paths or lawns. The woven fibers reduce direct raindrop impact and help keep loose earth from moving downhill. Choose a mat suited to your slope and rainfall, and make sure it does not redirect water toward buildings.
11. Compost-Enriched Soil
Quick Tip:
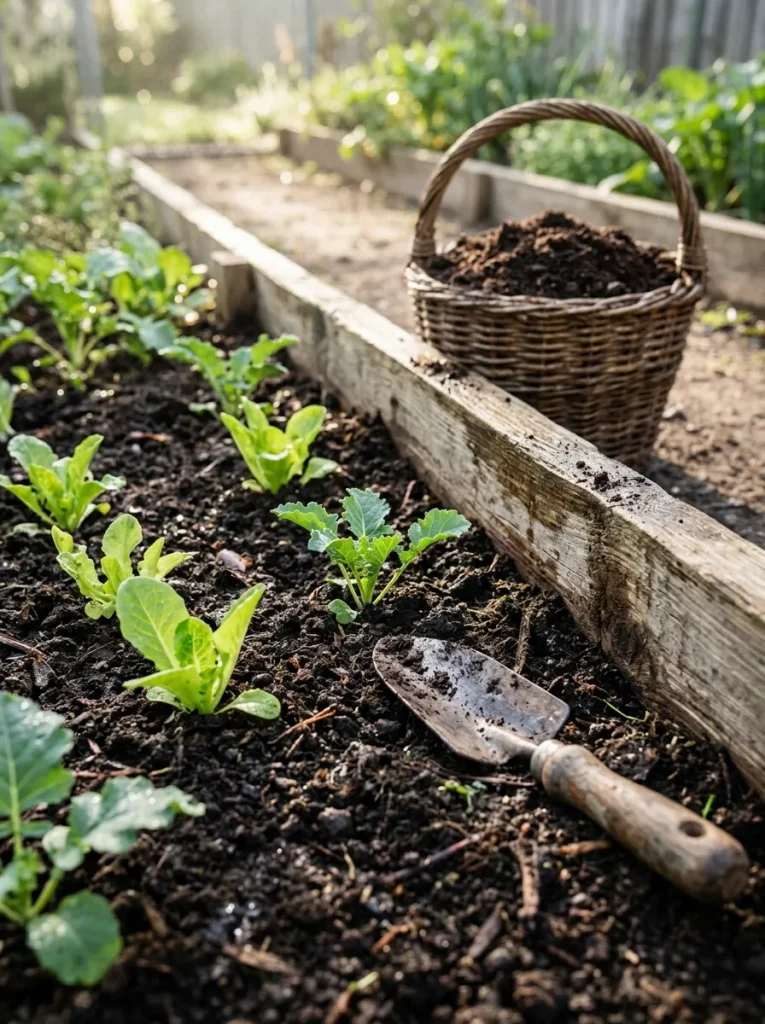
Mix finished compost into the soil according to the needs of your plants and the condition of your existing ground. Avoid working or walking on waterlogged soil, because doing so can increase compaction and make drainage problems worse.
Healthy soil can help your garden handle rainfall more effectively, especially when organic matter improves its structure. Compost supports soil organisms and can improve water movement in some soils, while also helping suitable soil retain moisture between storms. Add it gradually, and remember that heavy clay, a high water table, or poor site drainage may require additional solutions.
12. Stabilized Garden Slopes
BEFORE
Rainwater rushes down a bare garden slope, carrying soil into the lawn and leaving small channels behind. Plants may become exposed as loose earth shifts, while muddy deposits collect along the bottom edge.
AFTER
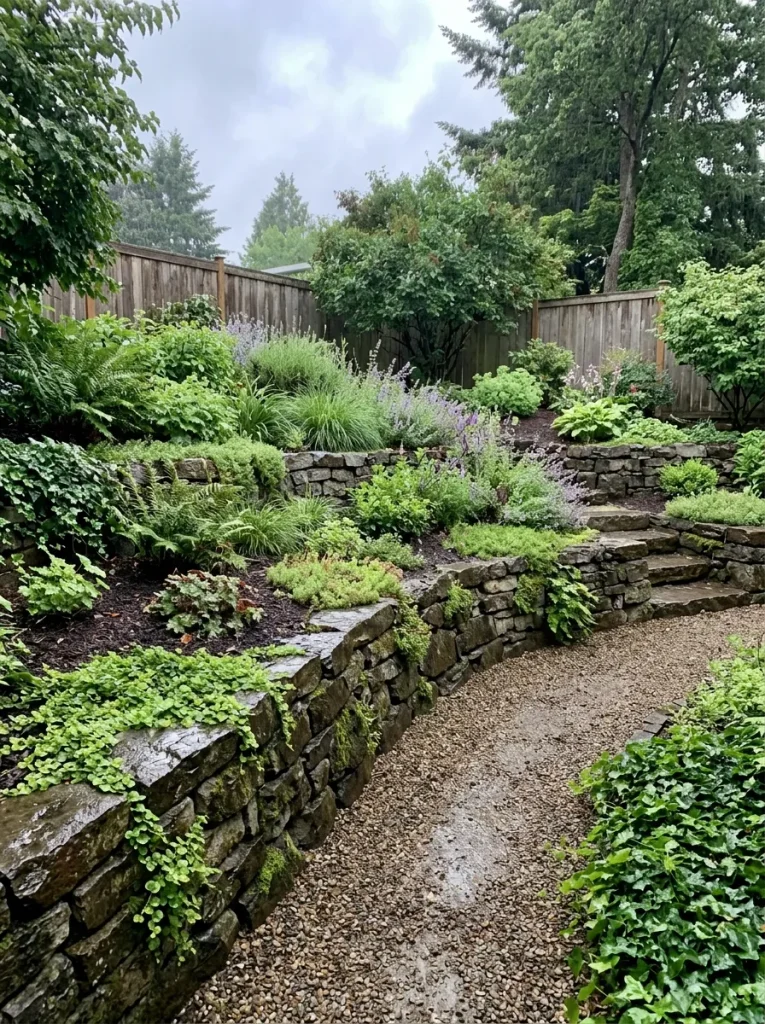
Terraced planting areas, suitable retaining structures, and established ground-cover plants help hold soil in place and slow surface runoff. The garden gains clearer boundaries, and less loose earth reaches nearby paths.
For gentle slopes, dense ground cover and carefully arranged planting beds may provide enough protection. Steeper slopes or areas with substantial runoff may need professionally designed retaining structures and drainage. Never block a natural watercourse or redirect runoff onto neighboring land. Plan the slope around safe water movement as well as appearance.
13. Ground Cover Plants
- Choose suitable varieties: Select ground cover plants suited to your climate, sunlight, soil, and rainfall conditions.
- Prepare the soil: Remove weeds and loosen compacted soil only when it is dry enough to work safely.
- Plant at suitable spacing: Follow the nursery’s spacing recommendations so plants can spread and form a living cover.
- Water carefully: Help new plants establish without saturating already-wet soil.
- Fill bare patches: Add more plants where rain continues to expose or wash away soil.
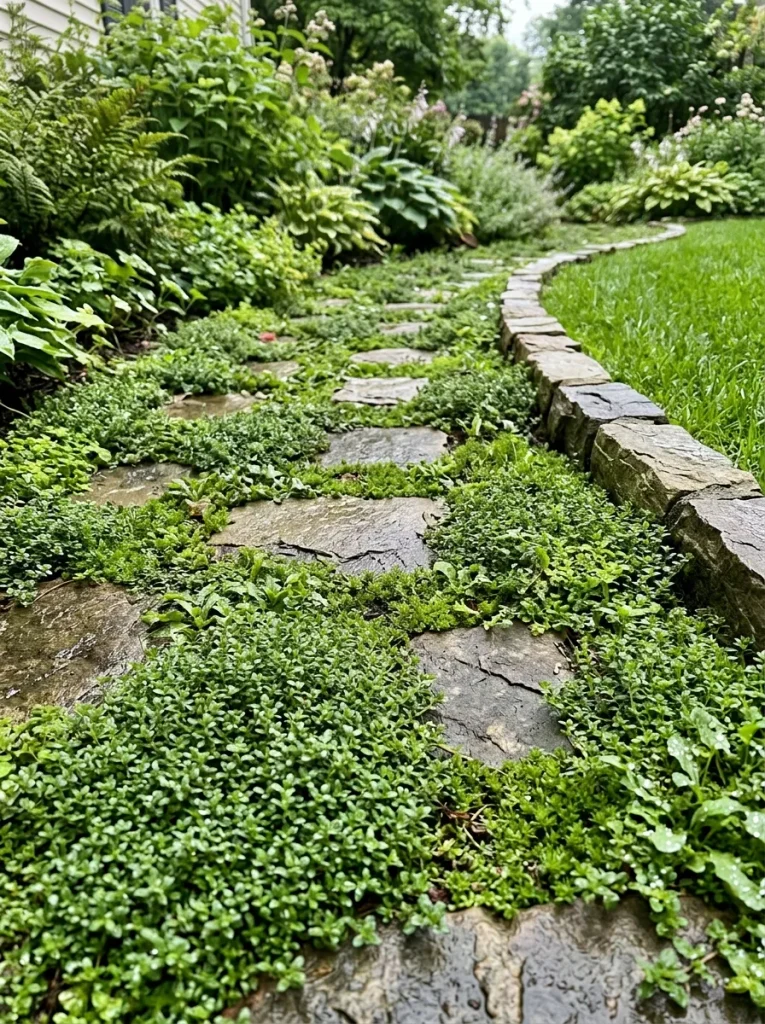
Bare soil is vulnerable to raindrop impact and surface erosion, especially on slopes and exposed garden edges. Dense ground cover shields the soil and helps roots hold it together over time. Choose plants that stay manageable in your garden, and combine them with mulch or edging while they establish.
14. Rainwater Splash Blocks
| Feature | Option A: Concrete Splash Block | Option B: Flexible Downspout Extension |
| Main purpose | Spreads water away from the outlet | Carries water farther from the house |
| Installation | Simple placement on a stable base | Connects to the downspout outlet |
| Best use | Small runoff areas with suitable grading | Areas where water needs a longer route |
| Maintenance | Check position and erosion after storms | Check for kinks, blockages, and movement |
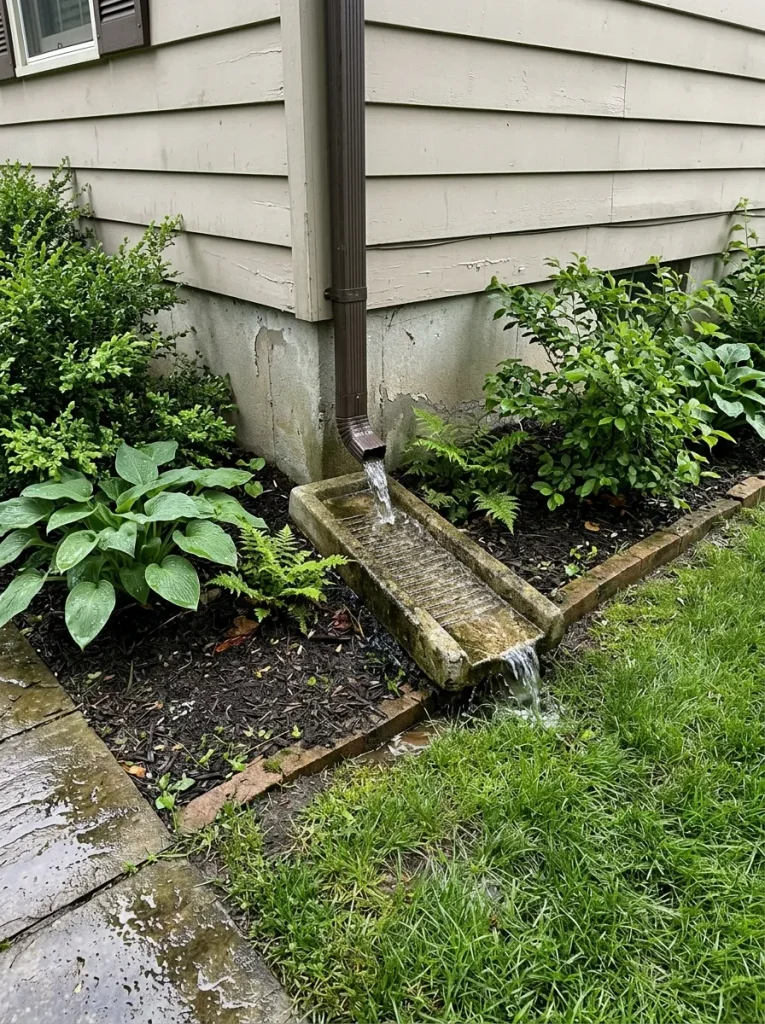
A splash block can reduce the force of water leaving a downspout, helping prevent soil from scattering across nearby flower beds. Place it on stable ground with a suitable slope toward a safe discharge area. It will not solve major drainage problems by itself, so monitor the outlet after heavy rainfall and adjust the setup if water still pools.
15. Secure Garden Edging
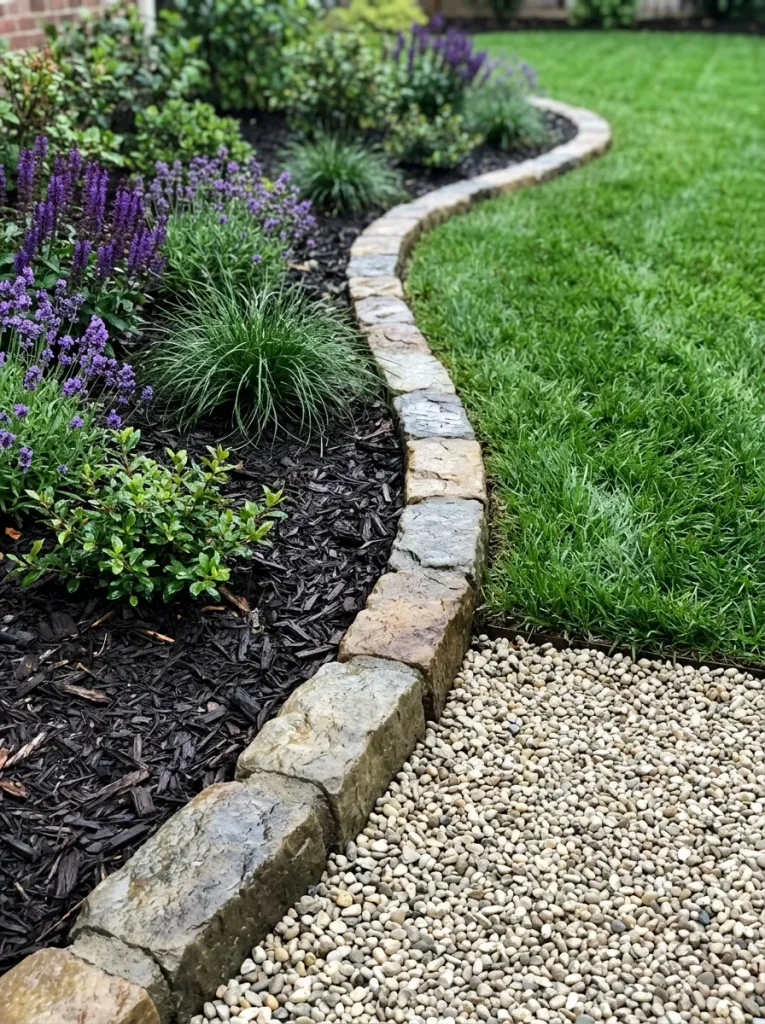
DO
- Install sturdy edging along paths and planting beds where soil tends to spill.
- Set the border securely into suitable, well-prepared ground.
- Keep edging low enough to avoid creating a barrier that traps unwanted water.
- Inspect joints and loose sections after strong storms.
DON’T
- Don’t use flimsy edging where fast runoff regularly passes.
- Don’t block natural drainage channels.
- Don’t bury plant stems beneath piled soil or mulch.
- Don’t direct collected water toward your home’s foundation or neighboring property.
Well-secured edging creates a clear boundary between soil, mulch, gravel, and lawn. It helps contain loose materials and makes post-storm cleanup quicker, particularly beside paths and sloping flower beds. Choose stone, suitable timber, or durable landscape edging based on your garden’s style, soil conditions, and the amount of runoff the area receives.
16. Clear Drainage Grates
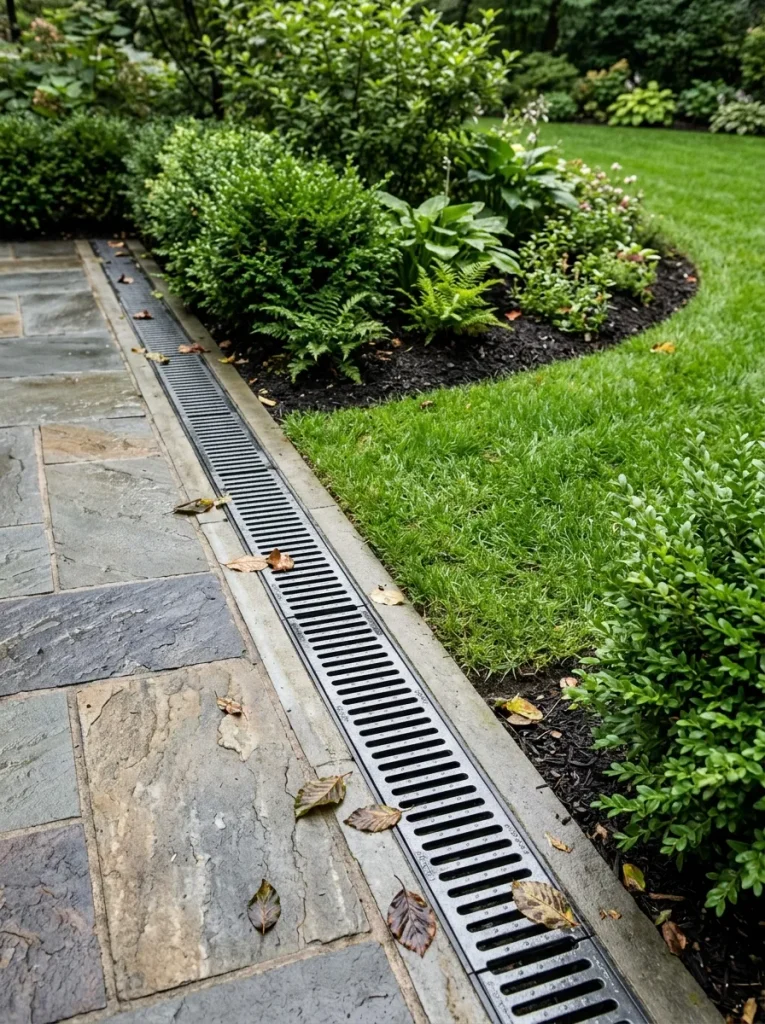
Cost: Low for routine cleaning and basic tools.
Time: About 15 to 30 minutes for a routine inspection.
Skill Level: Beginner.
Best For: Gardens with surface drains, patio channels, or yard inlets.
Blocked drainage grates can turn a manageable rainstorm into a messy cleanup. Remove leaves, twigs, and loose mulch from grates before forecast storms, then check them again after rainfall. Keep a small garden rake and gloves nearby, and never remove a drain cover or enter a drainage structure unless it is safe to do so.
17. Rain-Safe Container Plants
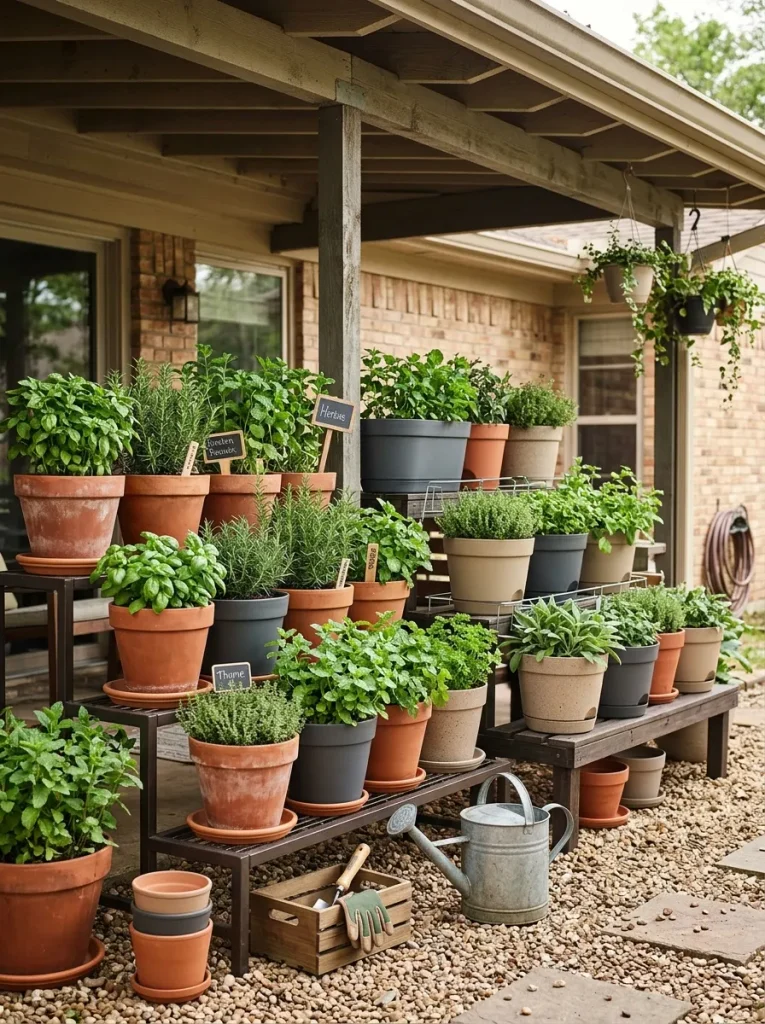
Potted plants can quickly create a muddy patio when heavy rain washes soil over the rims. Choose containers with drainage holes and secure them on stable stands so excess water can escape without spilling soil across walkways. For lightweight plastic pots, use heavier planters or sheltered positions where strong winds are common.
Group containers by their water needs and raise them slightly on suitable pot feet to prevent drainage holes from sitting in puddles. Empty saucers after storms when needed, and use potting mix designed for containers rather than dense garden soil. A little planning keeps your plants healthier and your outdoor floor easier to clean.
18. Covered Potting Bench
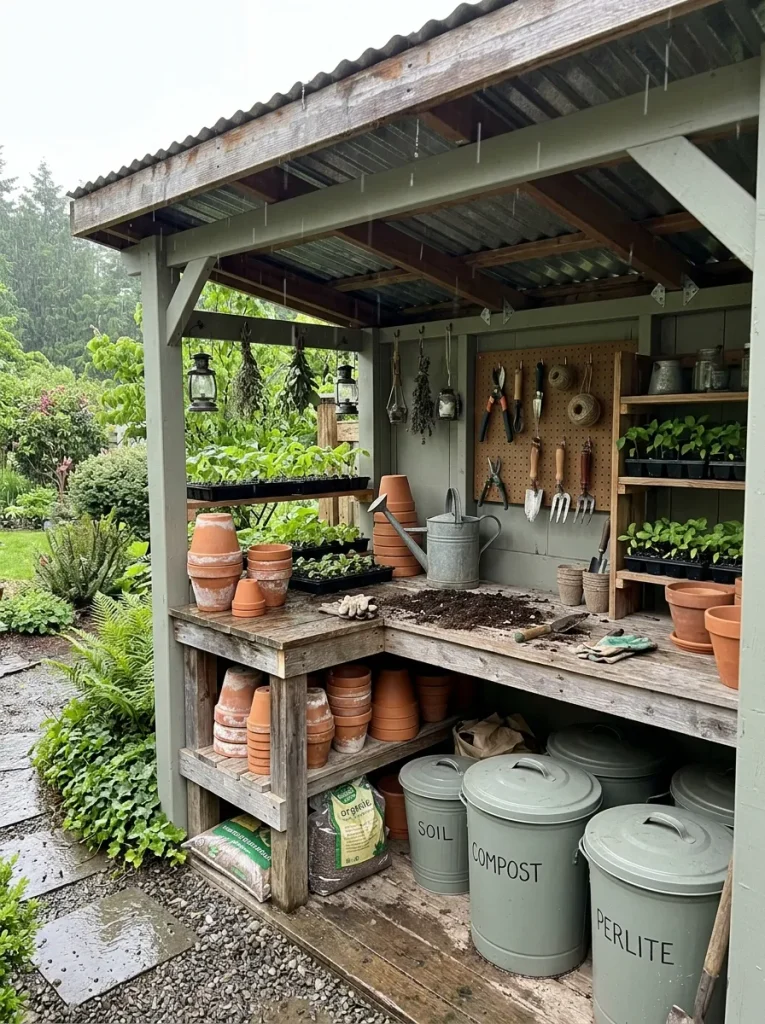
- Add overhead cover: Position a small awning or sheltered roof above the work surface to protect supplies from direct rain.
- Store soil securely: Keep compost, potting mix, and fertilizers in suitable sealed or covered containers.
- Organize hand tools: Hang trowels, pruners, and gloves on hooks so they stay off wet ground.
- Use a washable surface: Choose a bench top that can be wiped clean after planting.
- Keep the floor clear: Store empty pots on shelves instead of leaving them scattered around the work area.
A covered potting bench keeps everyday gardening tasks organized even when the weather changes. It helps prevent spilled soil from mixing with rainwater and spreading across patios or paths. Choose a sheltered location with good ventilation, secure the structure against wind, and store products according to their labels, especially where children or pets may have access.
19. Gravel Drainage Trenches
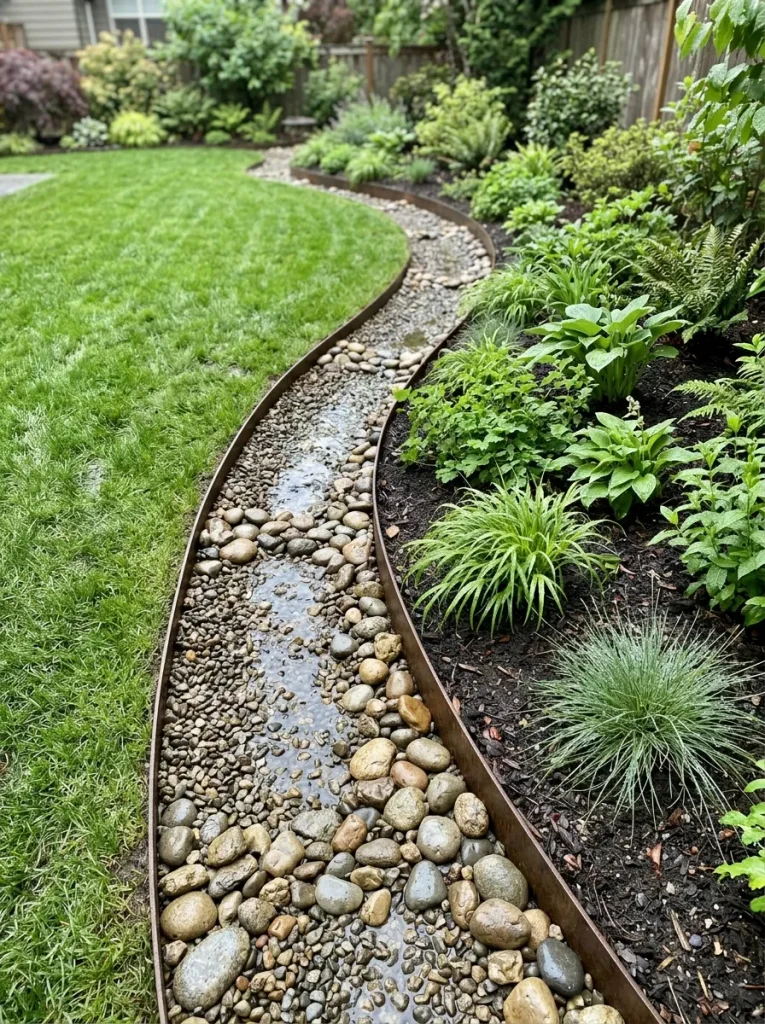
Cost: Moderate, depending on trench length and materials.
Time: Several hours to a full day for a small project.
Skill Level: Intermediate.
Best For: Areas where surface runoff repeatedly collects along paths or garden borders.
A gravel drainage trench can guide excess surface water toward a suitable outlet while keeping muddy runoff away from planting beds. Its effectiveness depends on the soil, slope, and drainage design. Before digging, locate underground utilities and check local requirements. Larger water problems may need professional assessment rather than a simple gravel-filled channel.
20. Lawn Aeration
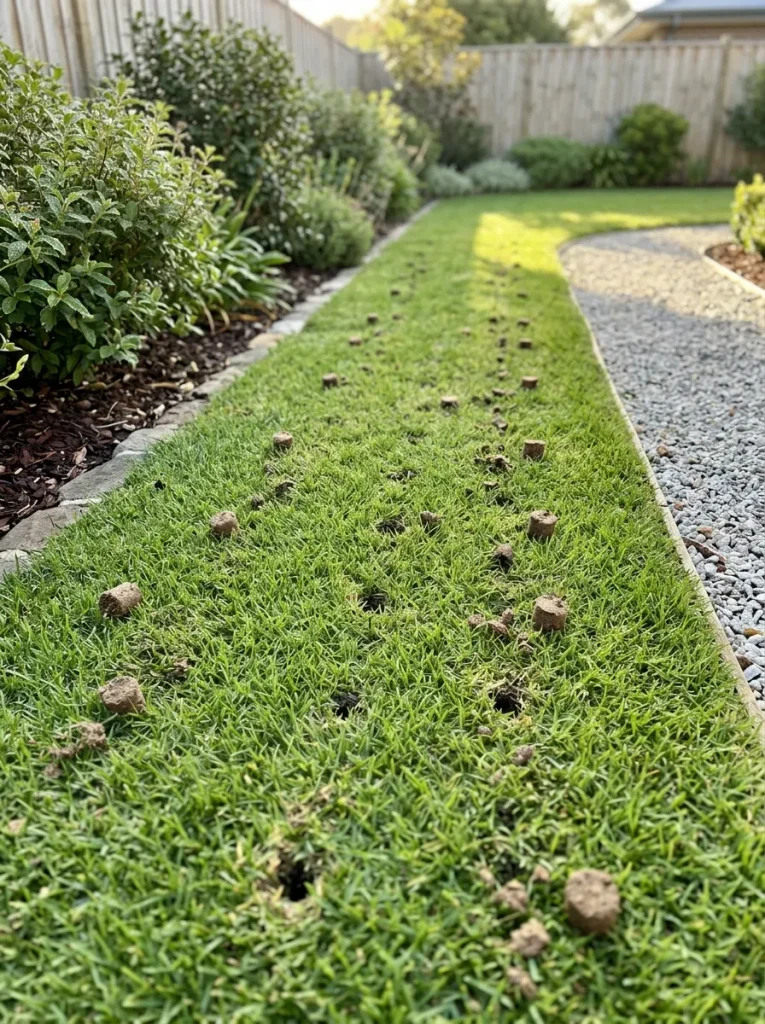
Compacted soil can cause rainwater to run across the lawn instead of soaking into the ground. Aeration creates small openings that help air and water move through suitable soil, particularly in lawns that receive frequent foot traffic.
For the best results, aerate when the soil is slightly moist but not saturated. Avoid working on a waterlogged lawn, since walking or operating equipment over wet ground can make compaction worse. Choose an aeration method suited to your soil, and combine it with better runoff management where puddles persist.
21. Leaf Catcher Barriers
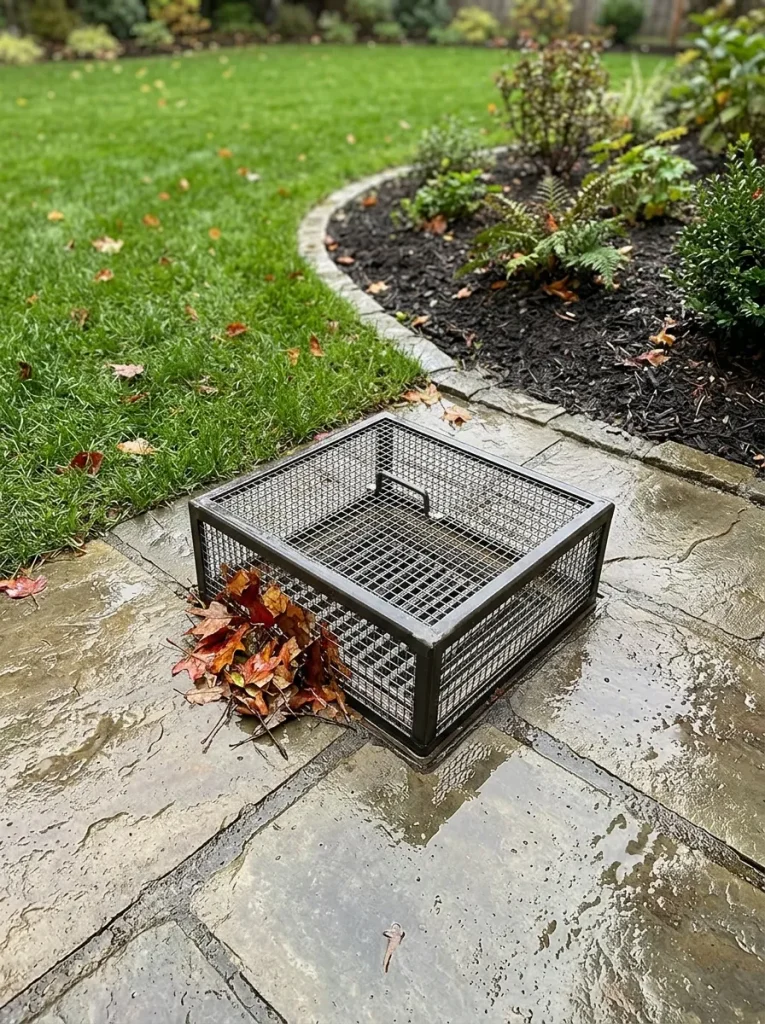
- Choose a suitable screen: Use a removable leaf guard designed for your particular drain or channel.
- Check it before storms: Clear fallen leaves and small branches before heavy rainfall arrives.
- Inspect during rainfall when safe: Watch for water building up around the screen and clear obstructions promptly.
- Keep access convenient: Choose a design that can be removed easily for routine cleaning.
- Check the outlet: Make sure collected debris has not blocked the drainage route farther downstream.
Leaves and twigs can quickly block garden drains, causing water to spill onto lawns, patios, and planting beds. A suitable debris screen helps catch larger material before it enters the drainage system. Clean it regularly, especially during autumn, and never allow a screen to restrict essential drainage during intense rainfall.
Conclusion
A beautiful garden can stay inviting even through rainy weather with the right preparation. From raised beds and protective mulch to clear drainage channels and sturdy garden edging, small improvements can help control muddy runoff and protect your plants.
Start with the area that causes you the most trouble, then choose a solution suited to your soil, slope, and rainfall. These practical ways to prevent garden mess heavy rain creates can make outdoor maintenance easier and help your garden recover after storms.
Save this article on Pinterest for your next garden project, try an idea that fits your space, and share it with fellow gardeners. A little planning today can make rainy days much easier to manage!